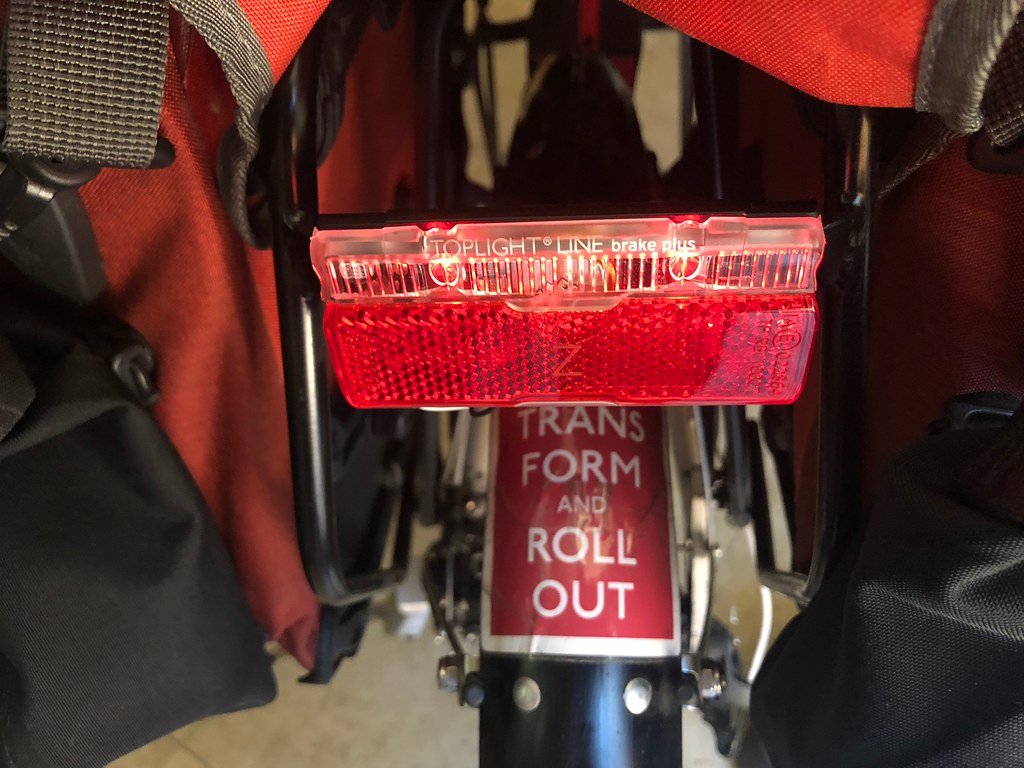
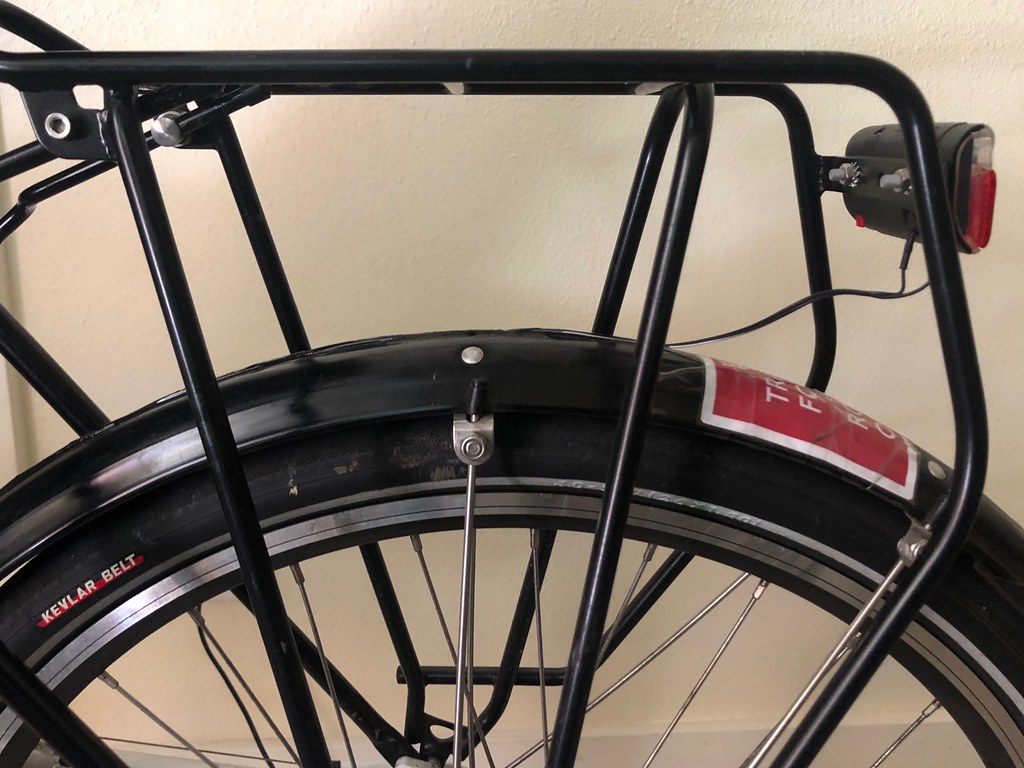
If you’re riding at night, you need a tail light. If you’re riding a lot, you want one that’s wired in, so you never leave it at home by accident and never need to worry about powering it. But how do you wire the thing up?
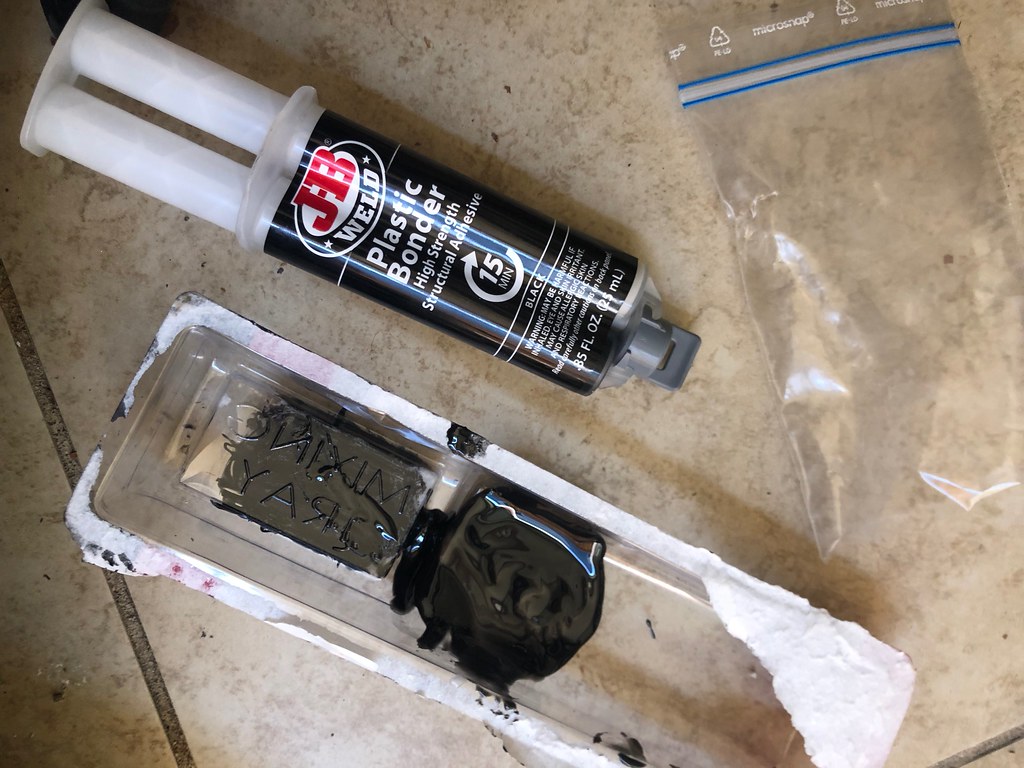
In the past, my solution has been to ziptie the wire to the frame and the rack, but more than once I’ve accidentally broken the wire while moving the bike around or arranging heavy gear. So now I’m trying something else: Plastic adhesive!
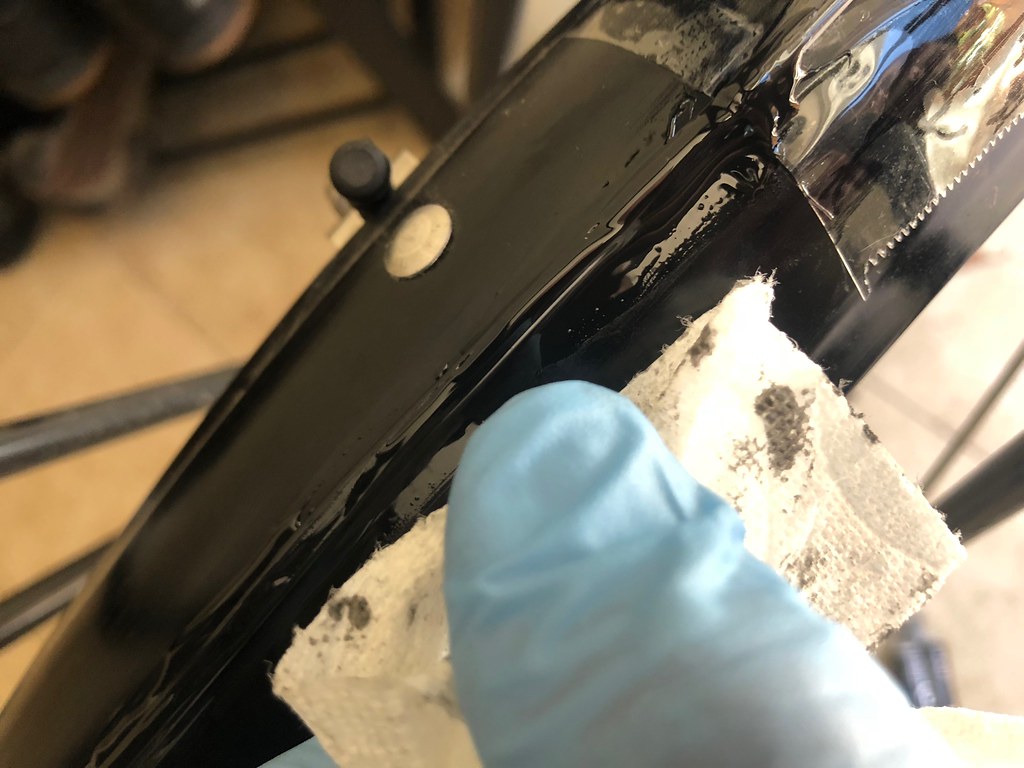
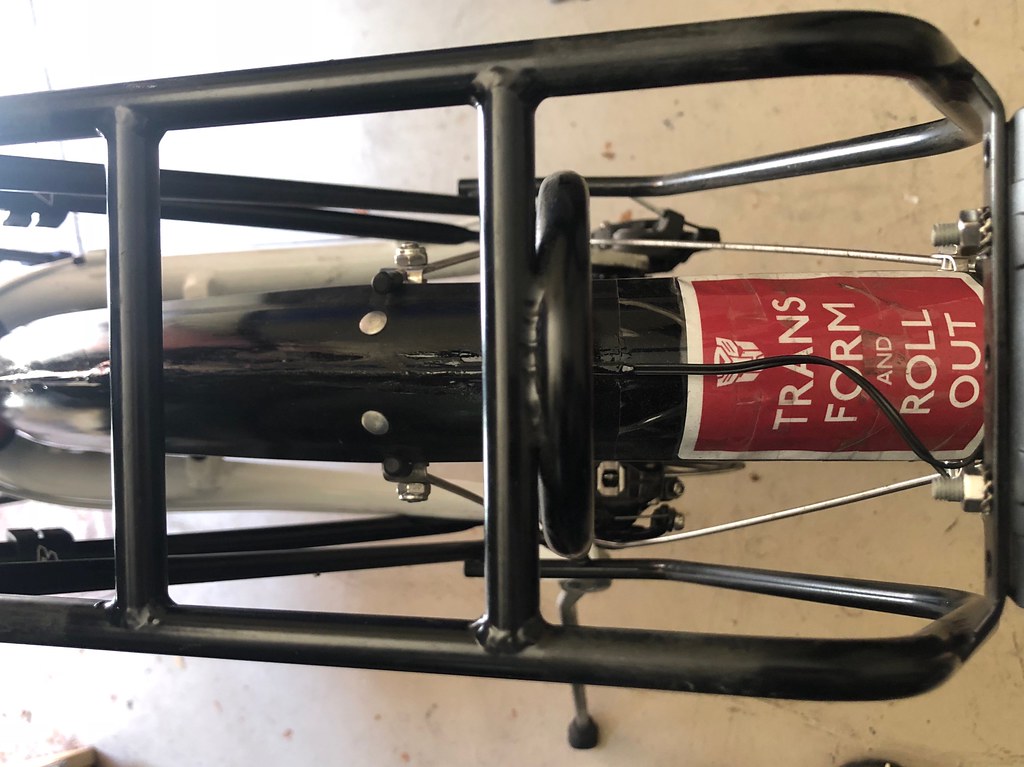
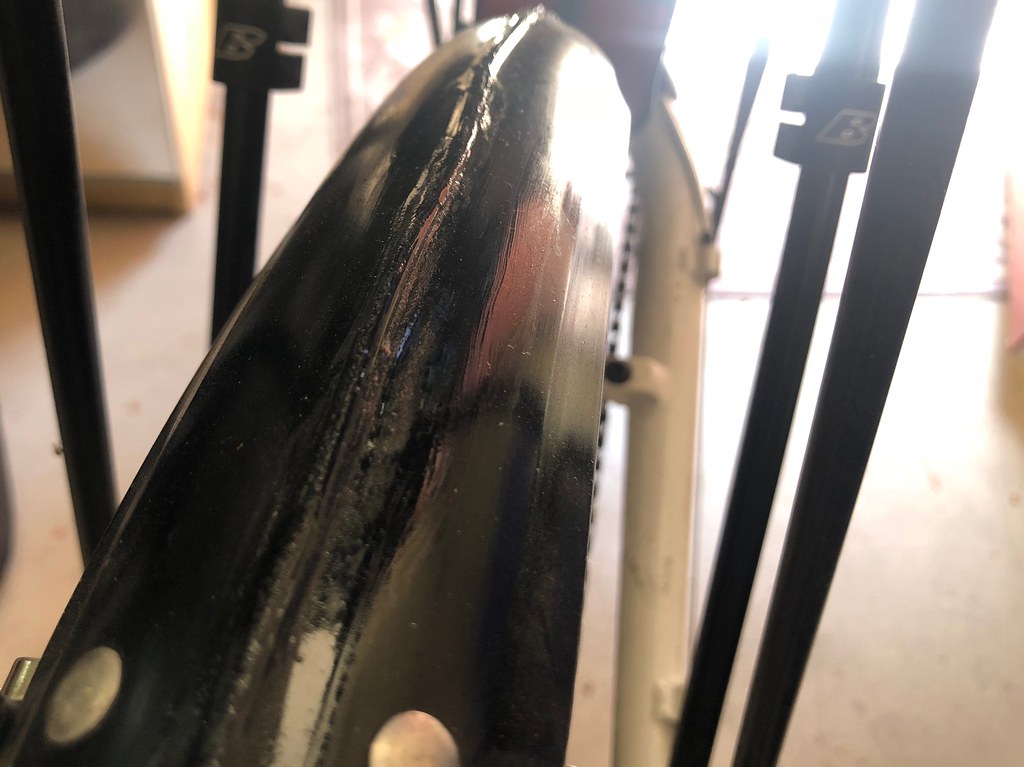
I taped the wire down over the fender, leaving most of it exposed, and then I busted out the JB-Weld.
Using some rubber gloves and a paper towel, I applied enough adhesive to cover the wire, then cleaned up around it to make a smooth ridge running almost the entire length of the fender. When that was set, I peeled off the tape and covered the remaining gaps.
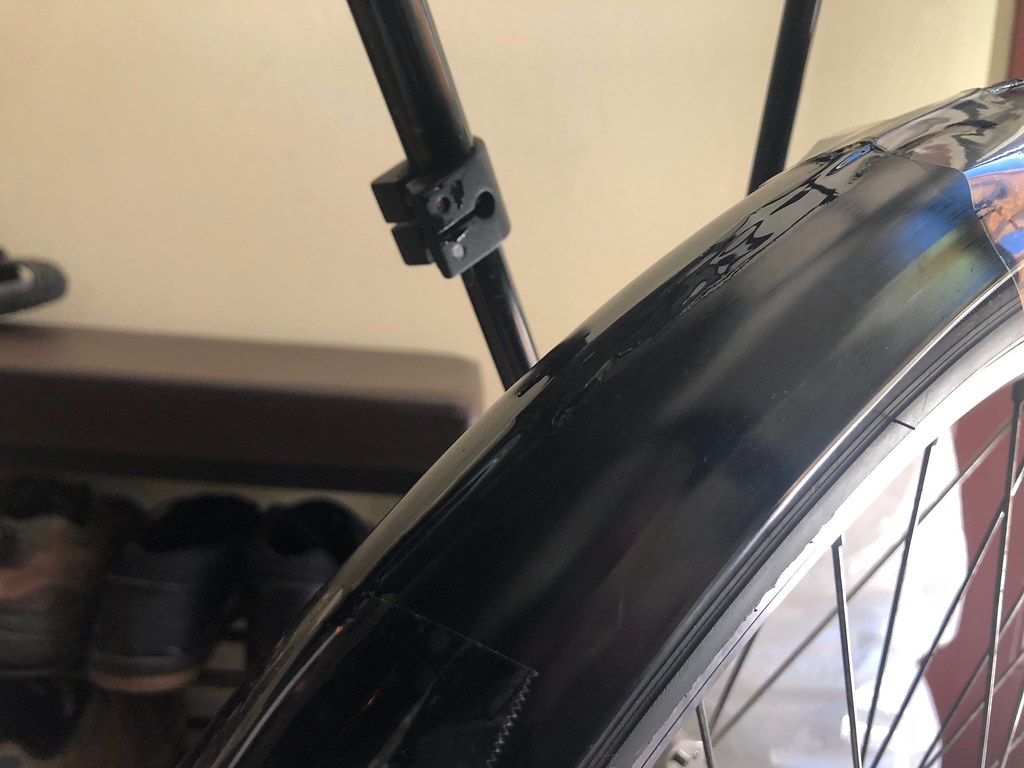
The result: A wire that is as out of the way as possible, safe from corrosion, and won’t get snagged by rack equipment.
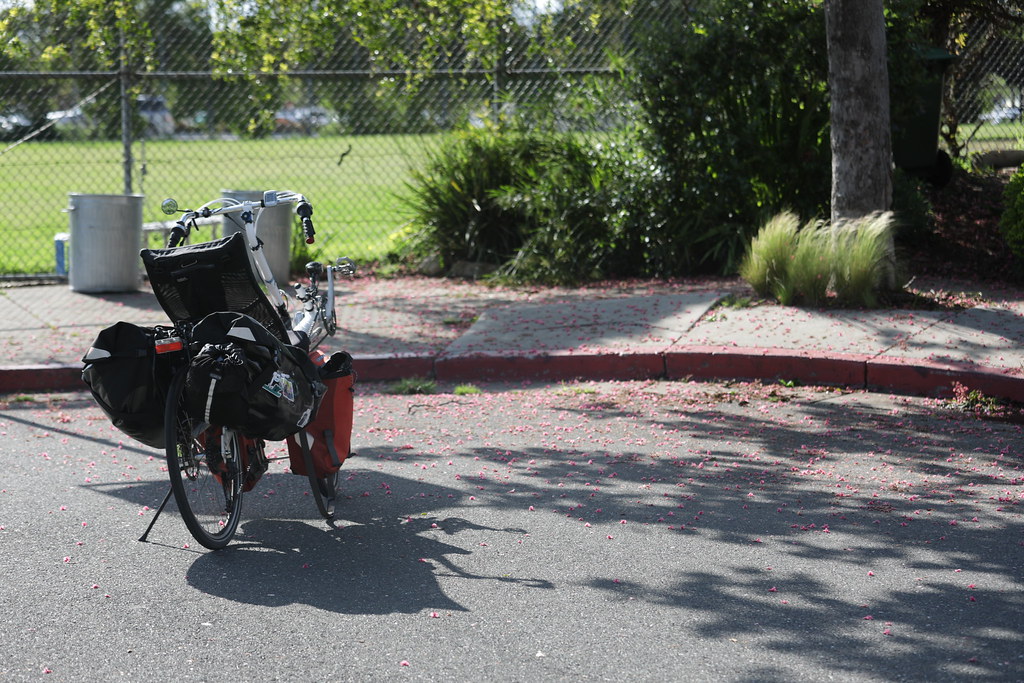
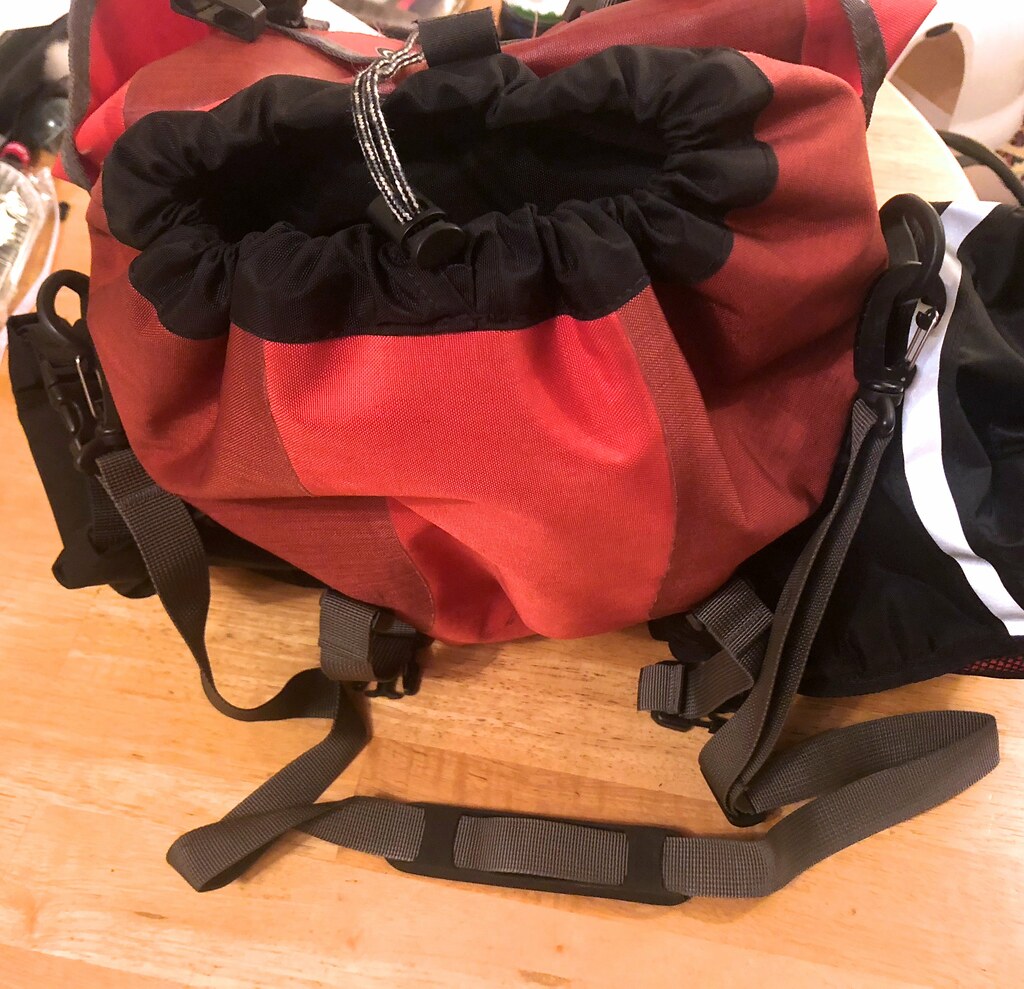
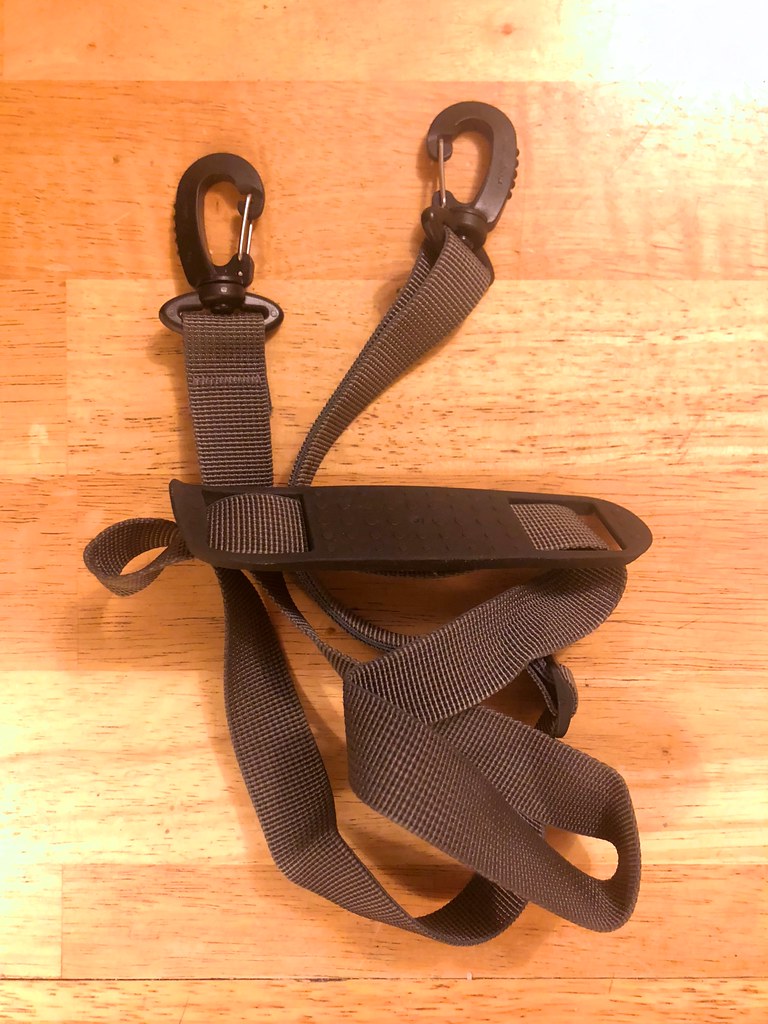
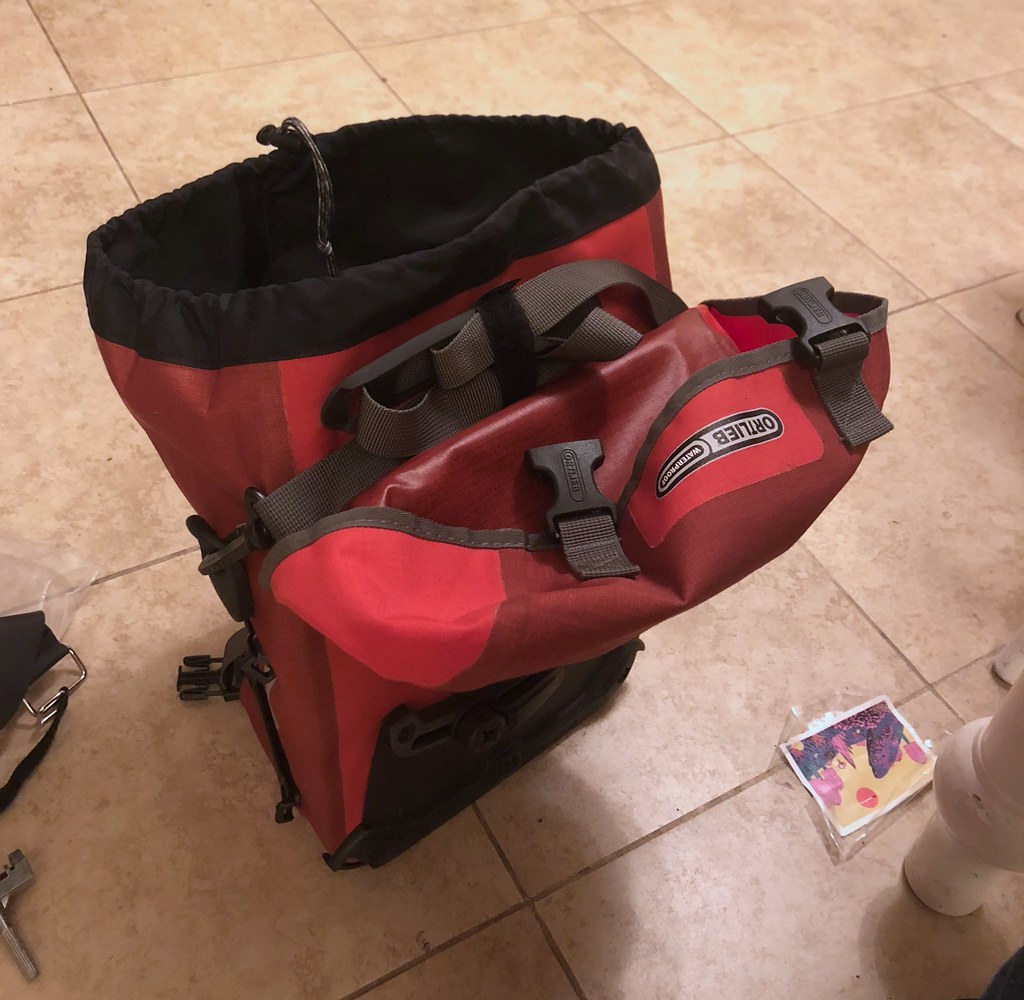
The long carrying straps for these Ortlieb bags are really handy…
Until you want them out of the way. For example, when you’ve placed the bags on your bike and you don’t want the straps getting tangled in your wheels.
What’s a busy bike tourist supposed to do with these dang things? Unclip them and stow them inside the bag, every time? Leave them clipped, but drop them inside the bag, where they’ll get wrapped around bits of luggage?
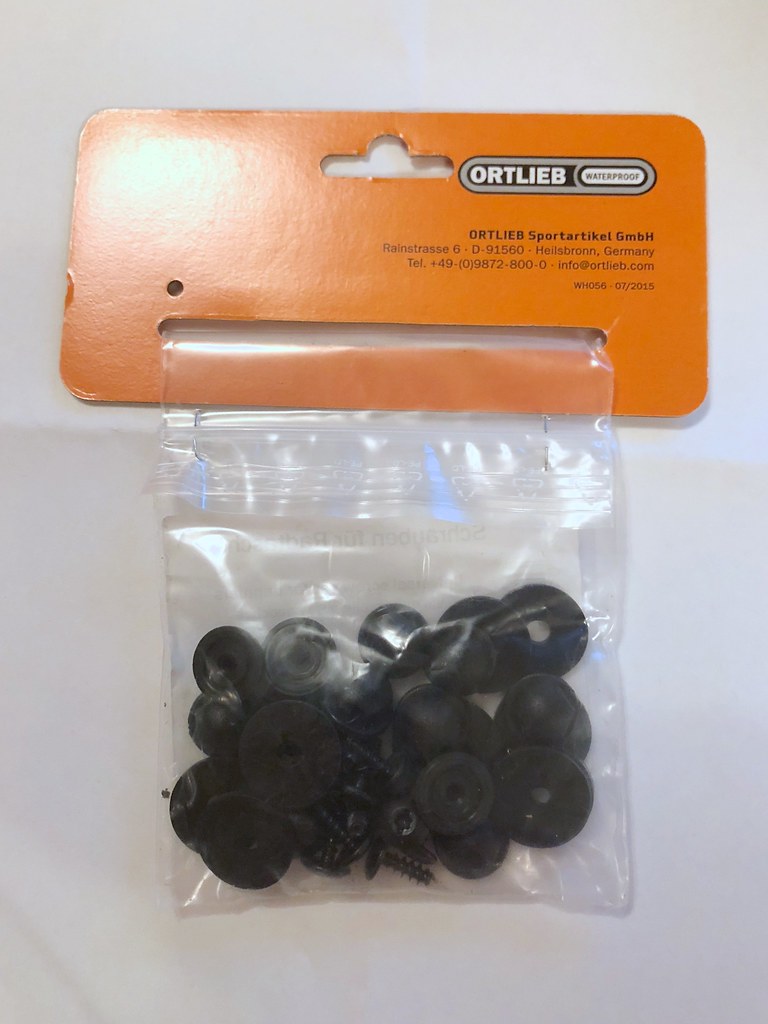
Here’s a solution. It works so well it should probably be part of the original bag design. First, get ahold of a bag of extra Ortlieb doodads.
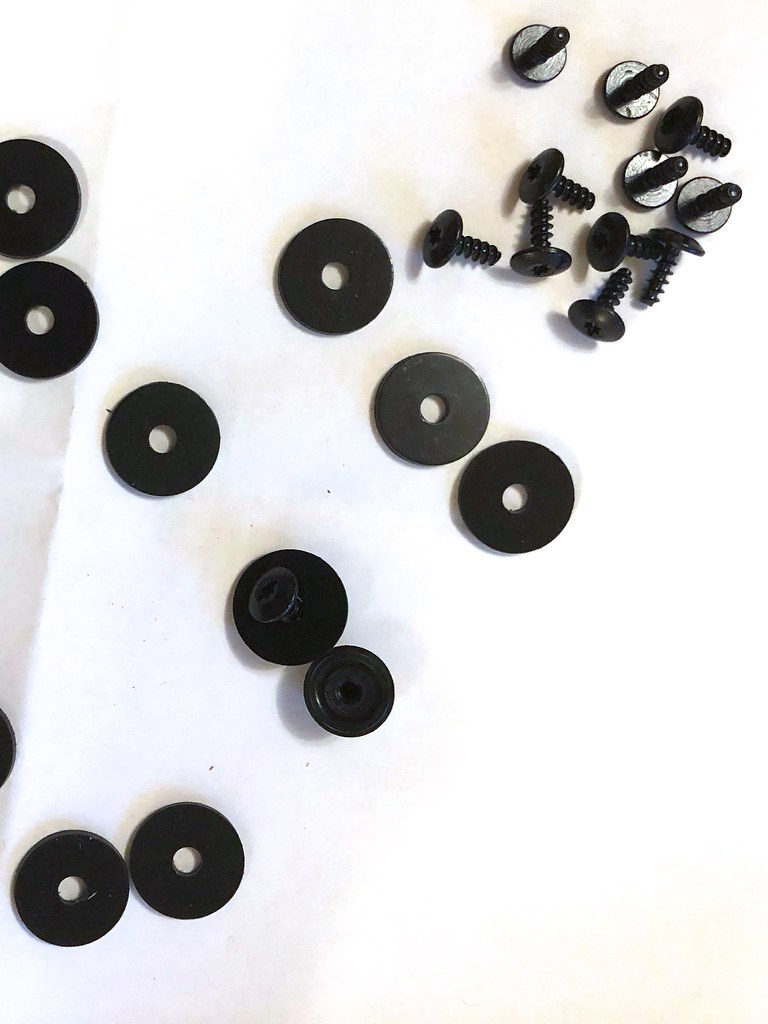
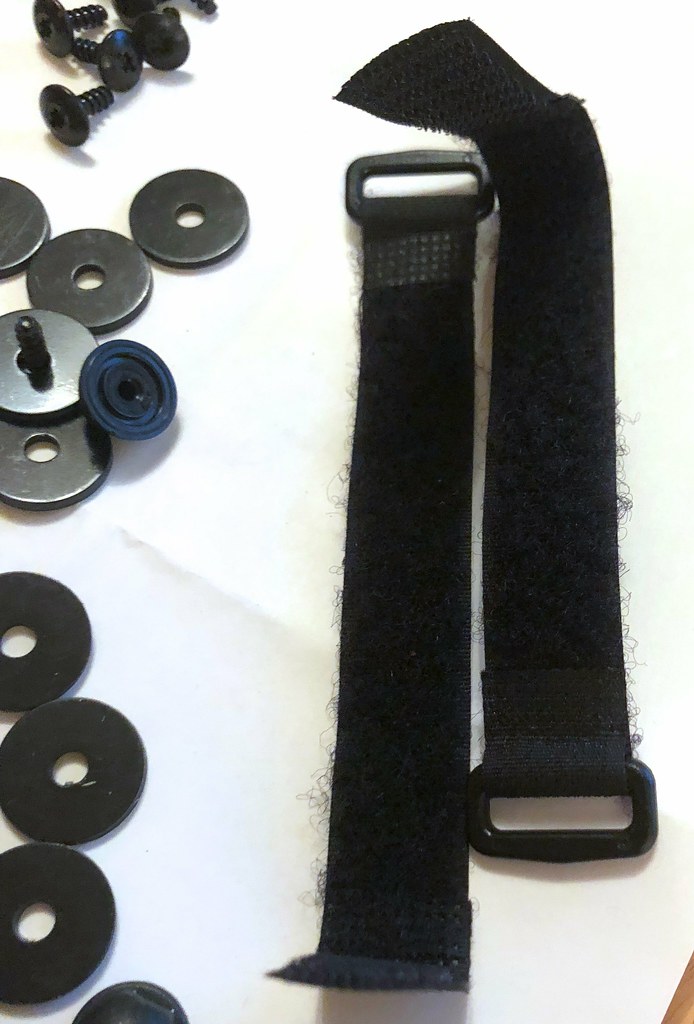
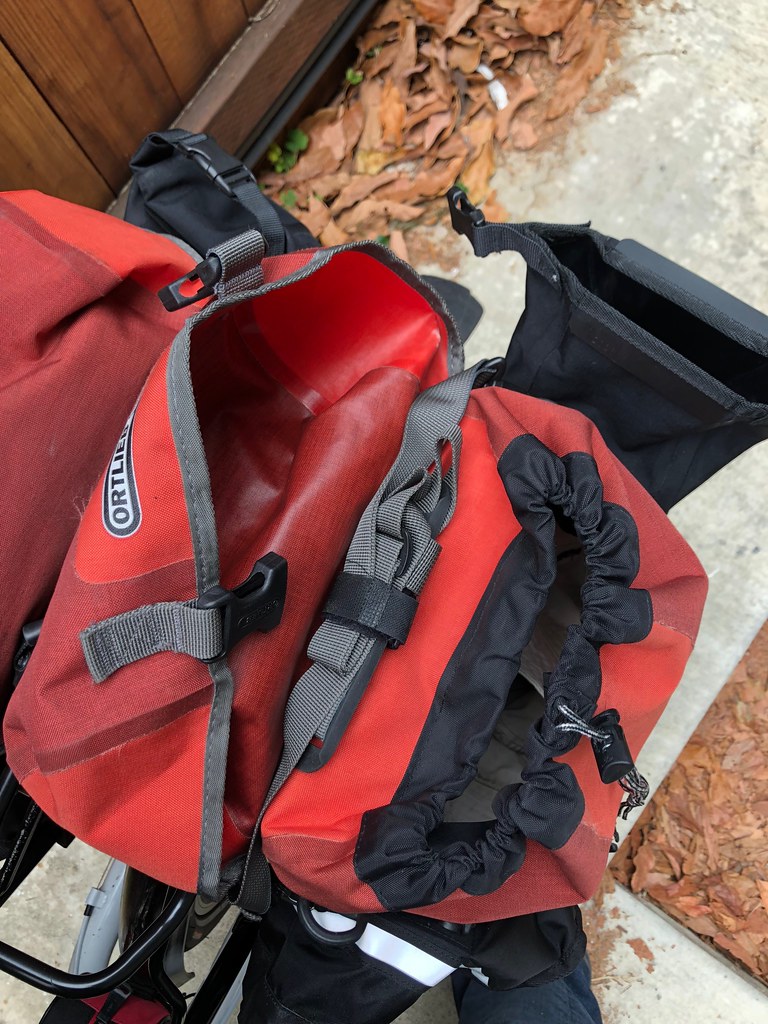
Then get ahold of two velcro straps. These are pretty common; you can find a dozen different kinds on Amazon. Using the same brass punching tool that Ortlieb supplies for mounting pockets and water bottles, poke a hole near the lip of each bag, on the side where the lid is connected. Then poke a hole through each of your velcro straps, near the buckle.
Use a nut, a screw, and a couple of washers from the spare parts collection to attach each velcro strap to one of the bags. You can now fold up the carrying straps, and secure them neatly to the lip of each bag, using the velcro straps like so:
It’s very tidy, on and off the bicycle. Now you can keep the straps attached and available all the time, but totally out of the way then you don’t need them.
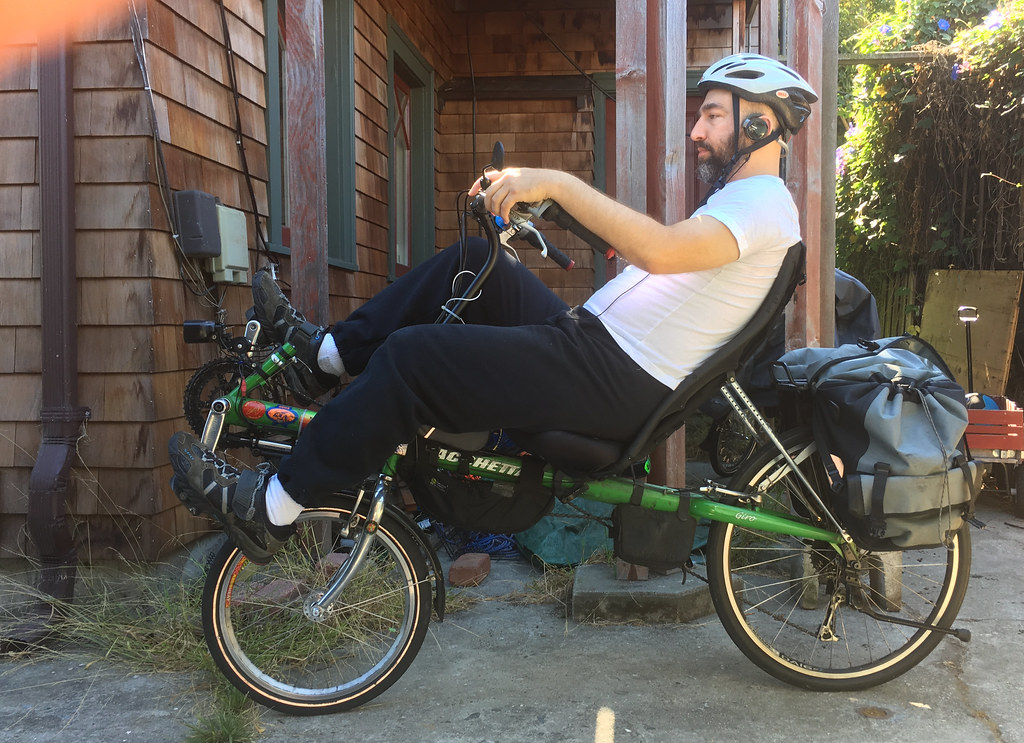
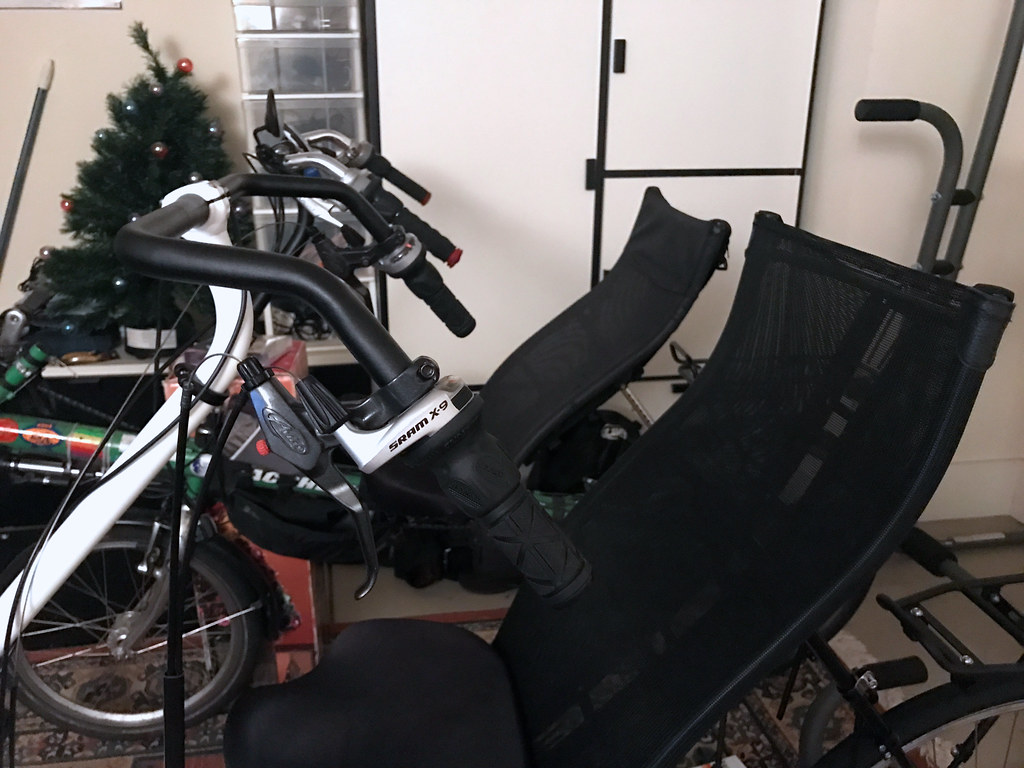
When I’m not doing tight maneuvers, I rest my arms way up on the handlebars. That means I position the handlebars way closer than normal.
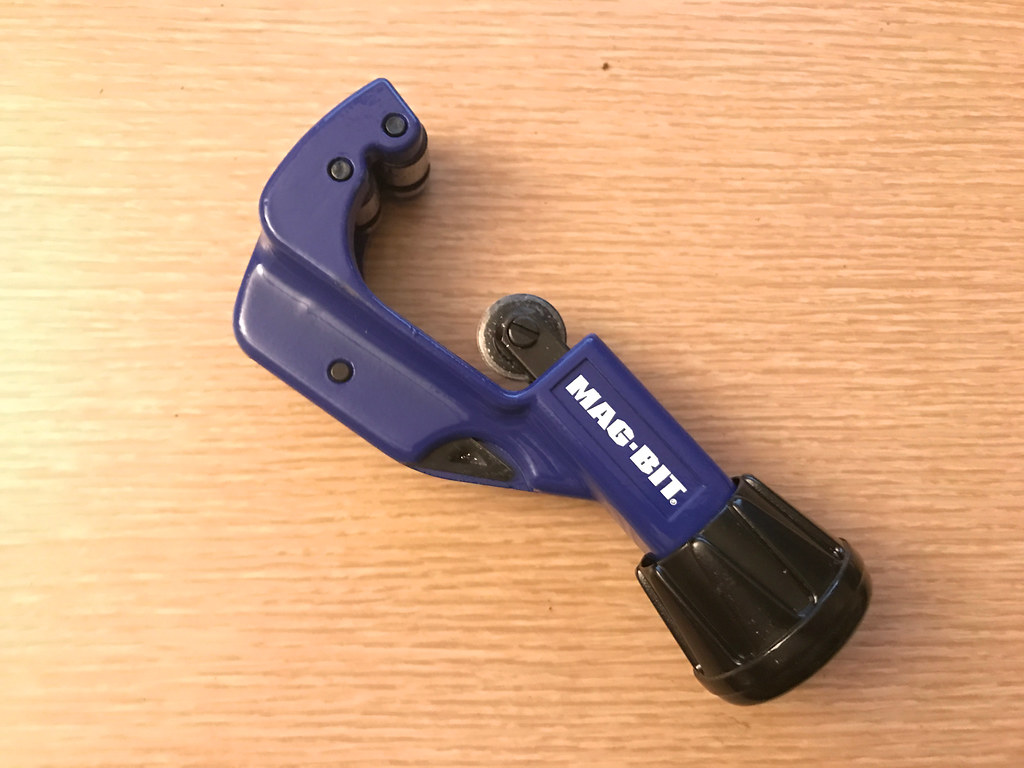
To get the same setup on my new bike, I had to get a longer steering riser tube. After much discussion with Zach, we concluded that the easiest thing to do was ask Bacchetta to send us a riser tube meant for their Bella long-wheelbase bike. That worked beautifully except it was too long. So, it was time for another crude do-it-yourself adventure:
Marking how much I need to saw off.
This is a pipe cutting tool. You stick it on a pipe and spin it around. Pretty smart design!
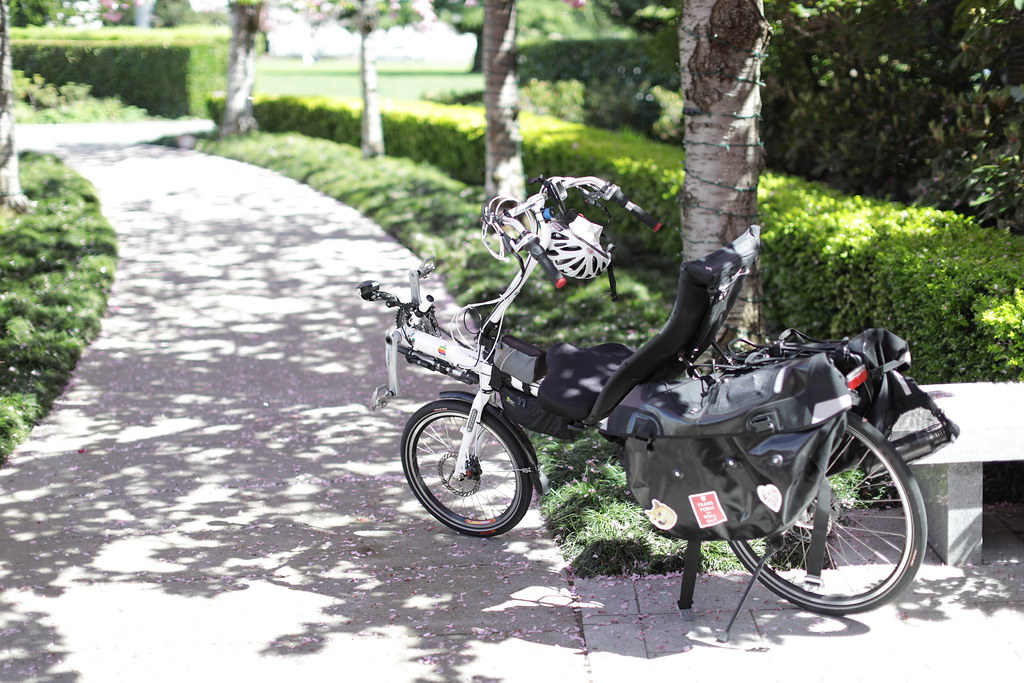
Bacchetta’s handlebars are now really wide, like most other recumbent designs. It’s like steering a plow. Does this mean I have to get used to them?
Nah. I can just swap handlebars.
New bike in front, old bike in back. The alignment is almost the same. Now to swap the handlebars...
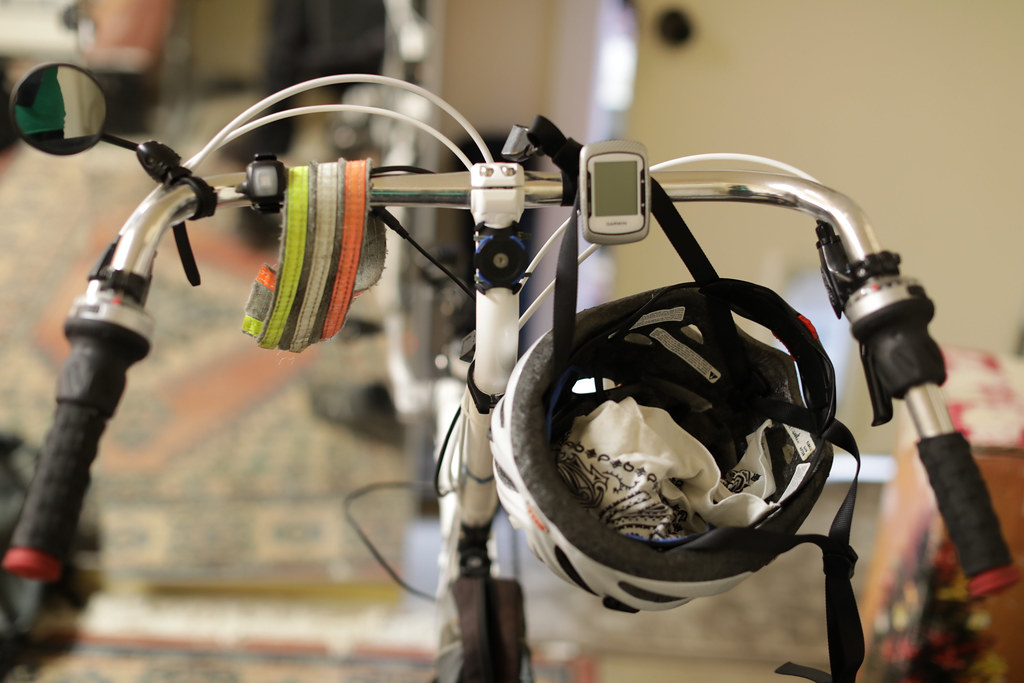
New bike, old handlebars. To keep the new shifters and brakes I had to swap them between bars, which meant removing the bar grips. They are very sticky. I'm still struggling with the one on the right!
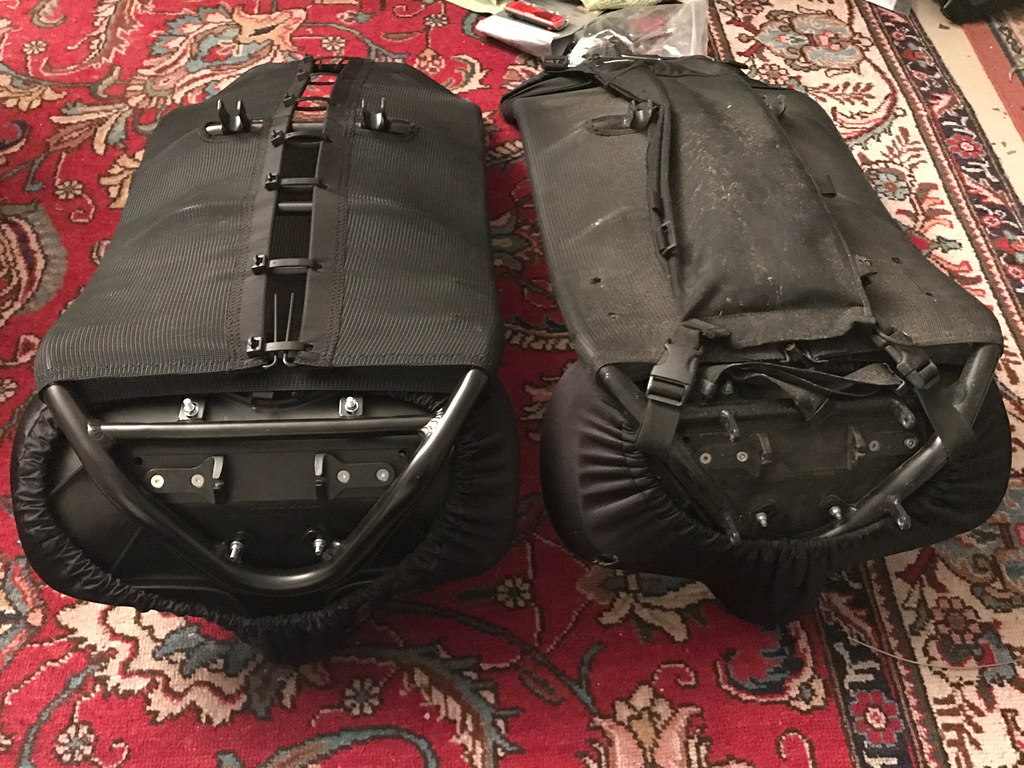
Bacchetta’s seats no longer include the eyelets for directly attaching an under-seat rack. Does this mean I have to give mine up?
Nah. I can just swap seats and keep using my old one.
New version of recurve seat on the left, old seat on the right. Note the attachment point on the old seat for an under-seat rack.
Look at that crusty old thing! But it’s so comfortable…
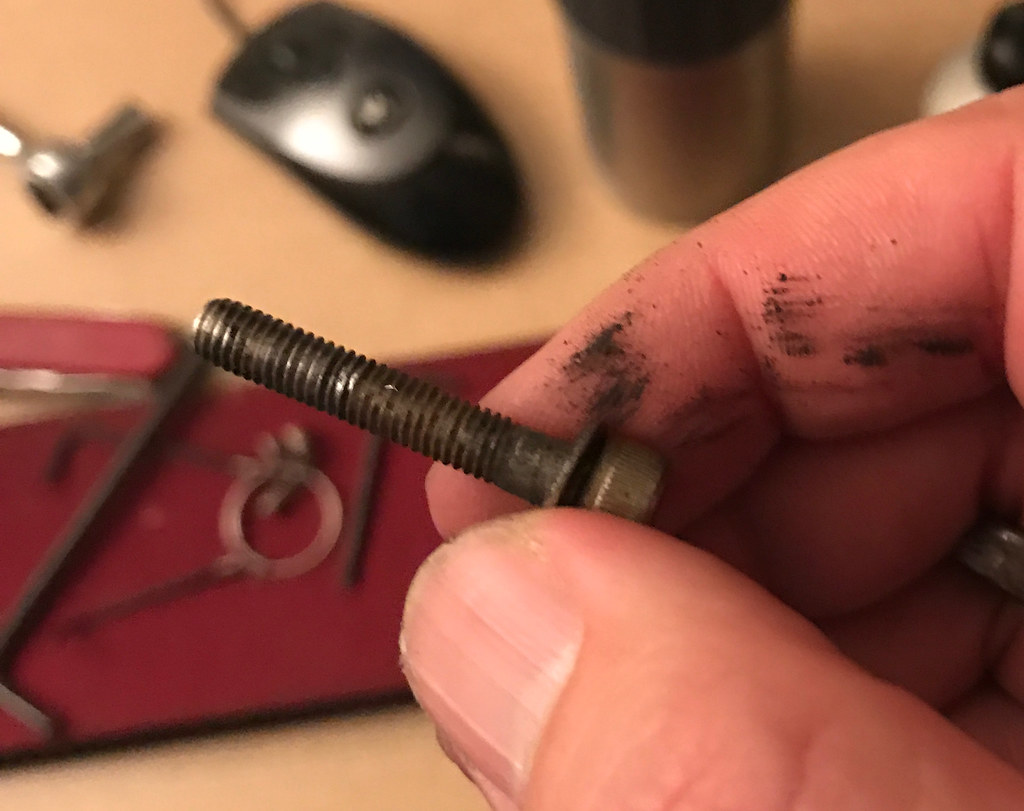
The bolts connecting the support struts to the seat of a Bacchetta recumbent, after 20 years of use.
Top set: 20 years old. Bottom set: brand-new.
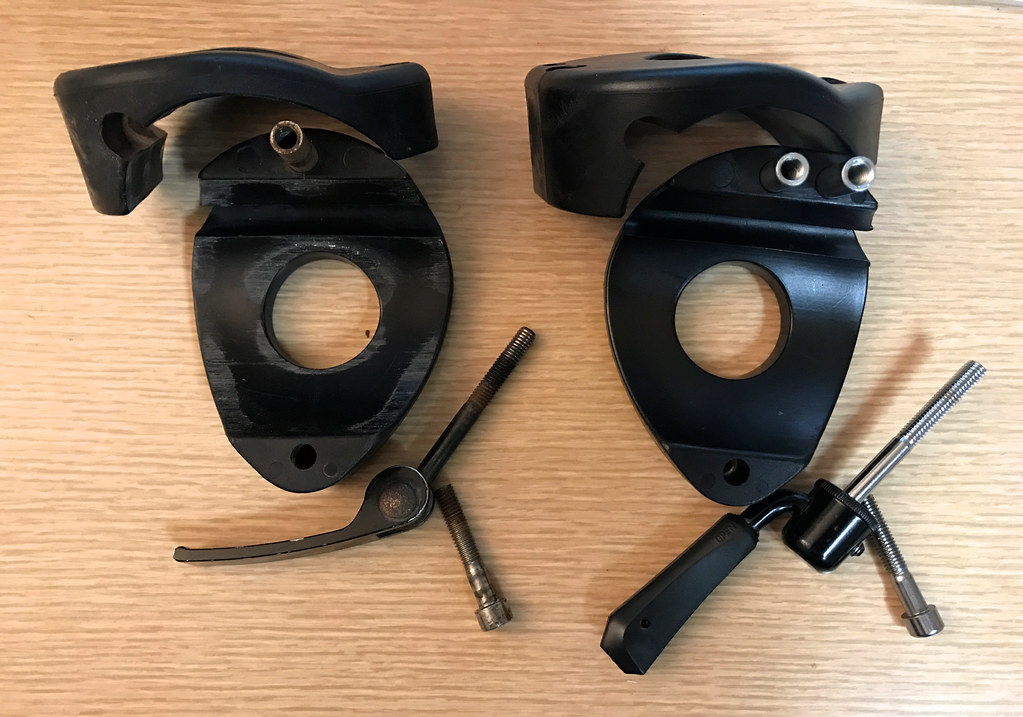
While I’m moving parts around, I might as well replace that worn out seat clamp on the old bike with a nice new one…
20-year-old seat clamp on the left, brand new seat clamp on the right. The design has evolved!
I can’t transfer the stickers from my old frame, but I can put equivalents on the new one:
Chococat in the lead!
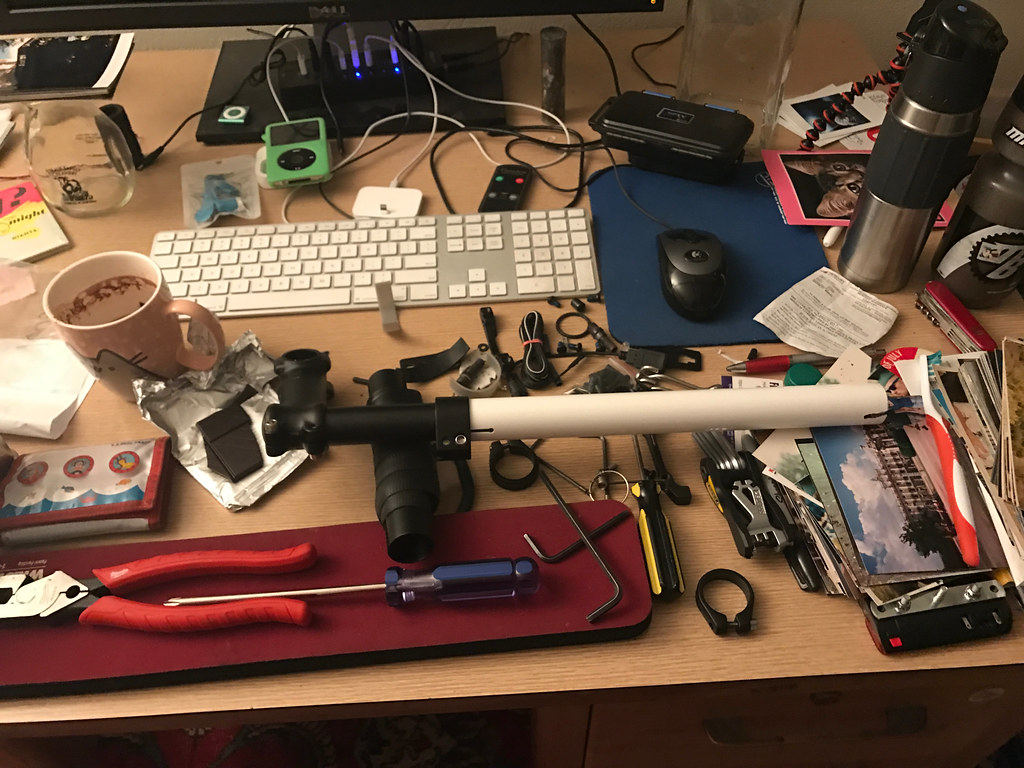
Doin’ a lot of work on this bike… Things are starting to get messy!
You know what? I’m putting my arms on the same bars, and putting my butt on the same seat, so I’m basically riding the same bike. This bike isn’t “Valoria II”, it’s still just “Valoria”, but fancier.
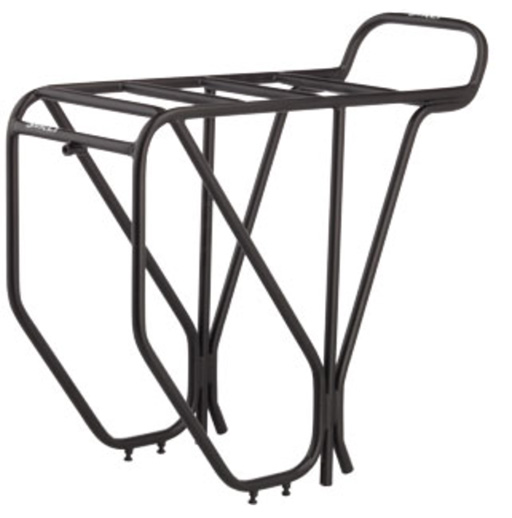
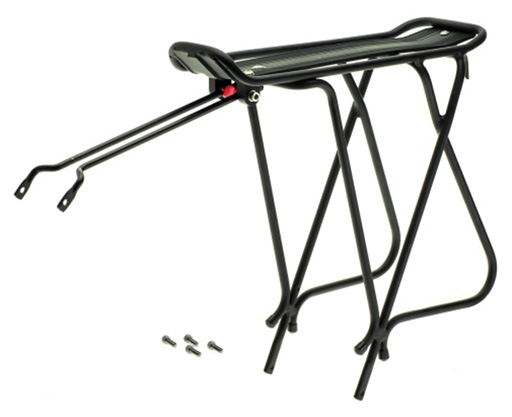
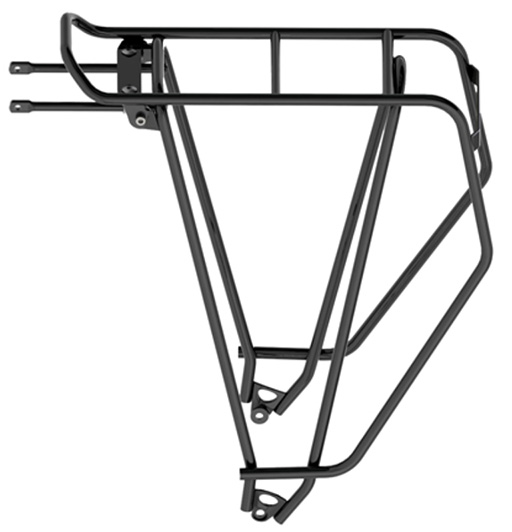
It is a relatively lightweight bolt together rack with a lot of adjustability. So not ideal for loaded touring but people have used it for that purpose. The weight rating is 25 kg.
It’s a pretty snazzy, minimalist-looking rack. (By the way, I found what looks like the generic version of it for about half as much money.) It took a very long time to assemble and position properly since I wanted it as high as possible off the ground. It also has some flex to it, which might not be a good thing. They say you want a rack to be as stiff as possible.
Could I really rely on this skinny little thing to carry 50 pounds over bumpy roads?
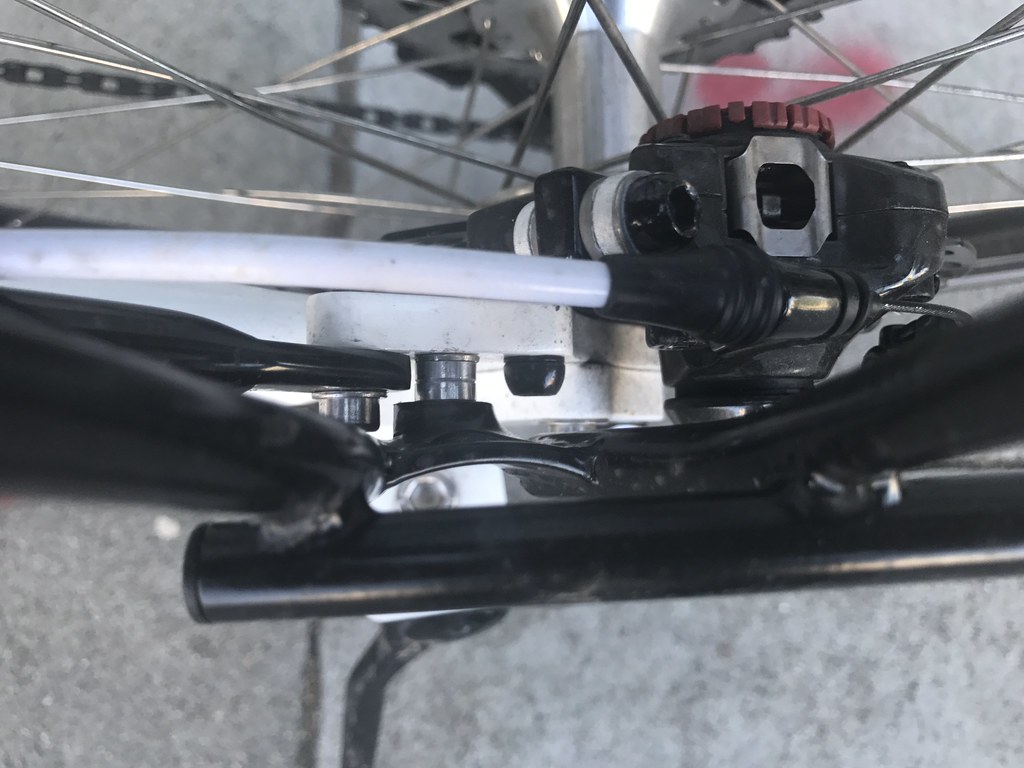
I went in search of other options. It was going to be an especially difficult search because of the weird positioning of the rack mount points on my 2016 Giro frame. They were sandwiched between the mounts for the seat struts and the disc brakes:
That is not much room to work with. The fact that I had to use spacers to fit Bacchetta’s own rack is an embarrassment. Would any other rack have struts narrow enough to fit without spacers? Is the distance between the rack arms going to be a problem?
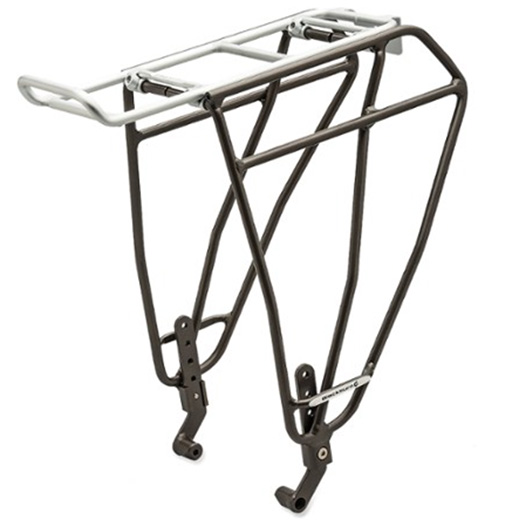
This was my go-to choice, except for the weight. I’ve always toured with an aluminum rack and found them plenty dependable. Heck, my frame is aluminum now. Moving to a steel rack seems kind of backwards.
This was my second choice, except I would be giving up the handle. It’s hard to overstate how useful a rack handle is for moving the Giro around in tight spaces. Also, the light mount on this rack is a total afterthought, and their load rating seems really out of wack. Did they actually test that?
Not quite European-style light mount (RedLite only)
Stupid proprietary mounting strip along the top
This would have been perfect except for that mounting plate. I wish Topeak would sell a good rack without that plate, but they apparently want to compel you to use only their bags.
This is Blackburn’s more upscale offering. I had an idea that the articulated mounting arms would fit inside that narrow gap around the mount points on the Giro … but when I got a closer look they were too thick. Mounting this rack would require spacers just like the rest.
Interesting to see what Ortlieb wants to contribute to the rack market. Looks like they just want to make something that has their QL3 mounting system directly integrated. Good for them. Unfortunately the amount of reinforcement around the mount points makes them too big to fit on my frame without long spacers – long enough to widen the rack all the way beyond the top of the bolts that hold my seat struts in place. That’s an awful lot of extra strain on a rack.
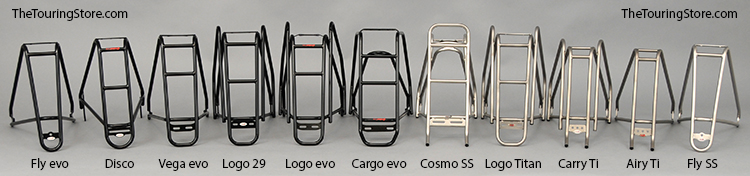
When considering the Tubus racks I found this photo from The Touring Store very helpful:
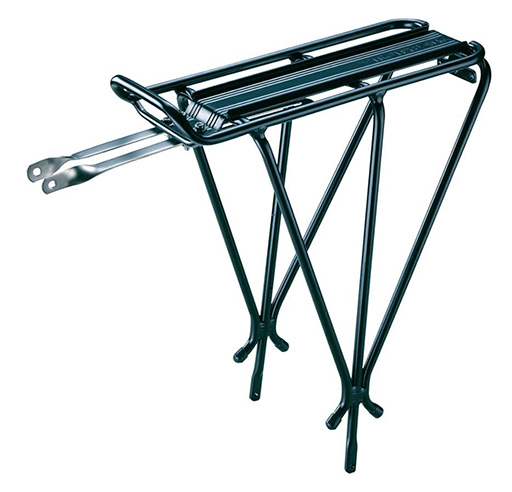
The base weight of this fancy rack is astonishingly low, but once you add in the mounting hardware it moves up and becomes merely impressive. Tubus has discontinued this rack but you can still find it around. I think it’s mostly good for bragging rights. The weight difference between this and an aluminum rack with the same capacity is less than the weight of a good-sized sandwich.
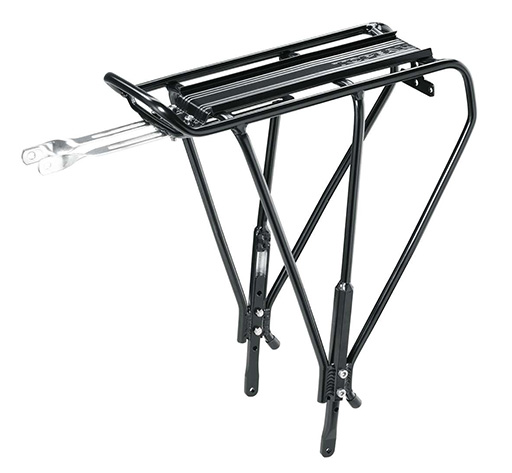
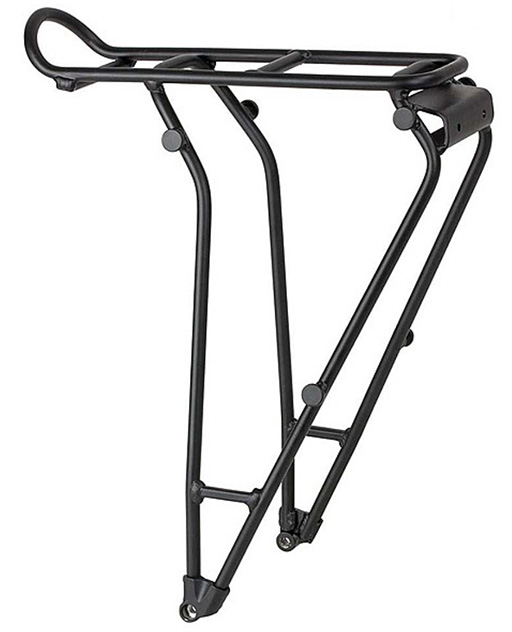
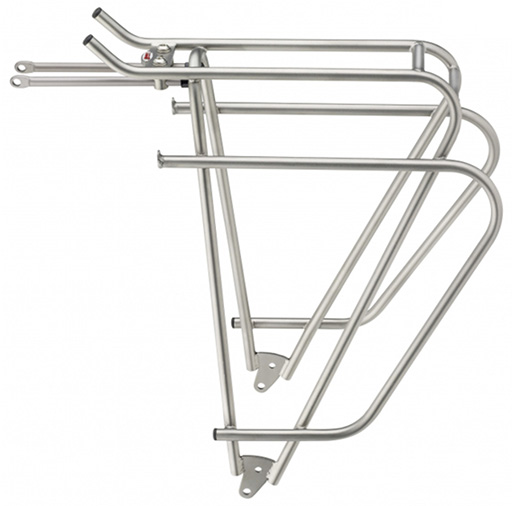
Even lighter than the Tubus Carry, this was the flagship Tubus rack for a while, and it’s easy to see why. Titanium is a very sexy material and the rack design is almost perfect. Sadly, Tubus discontinued it. I would track one of these down and use it except there is a slightly better, and more road-tested option…
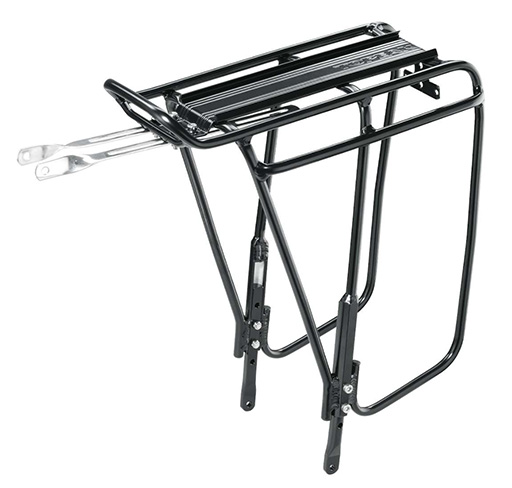
This is a newer revision of the same rack I have on my Bridgestone upright bike. It has two differences: A better shape for the mount points, and a carrying handle. 40 kilograms of load capacity (88 pounds) is plenty, and the frame design is very stiff. It’s also much lighter than the Surly, and doesn’t need an adapter to mount a European-style tail light.
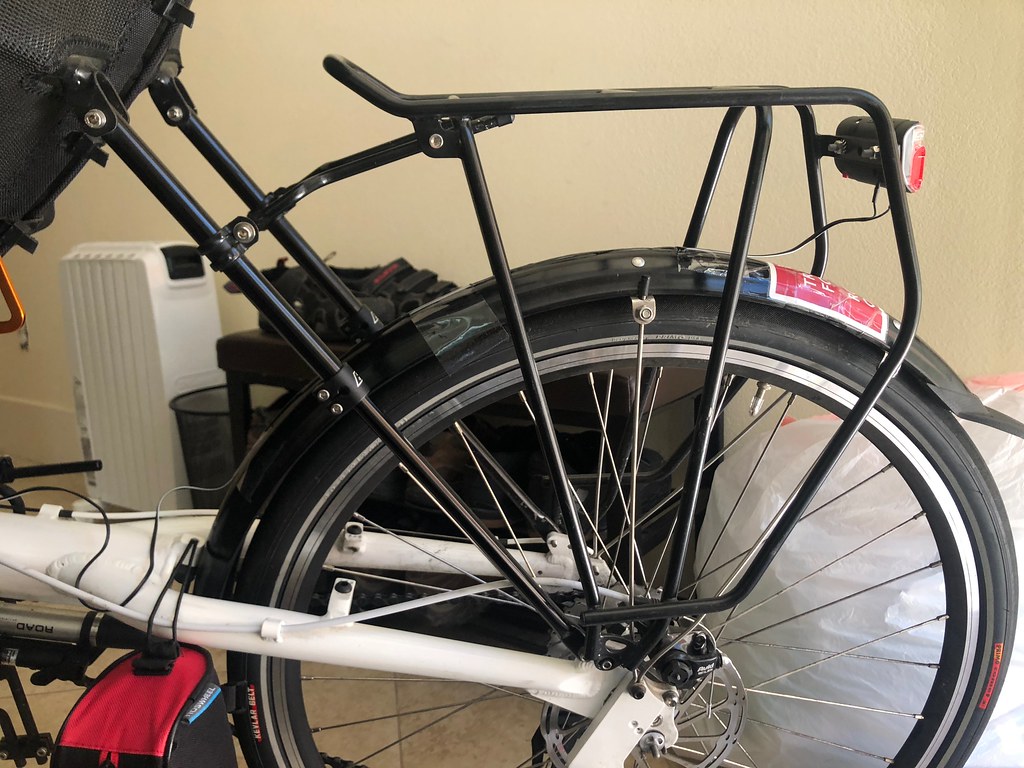
The Tubus Cargo is my choice.
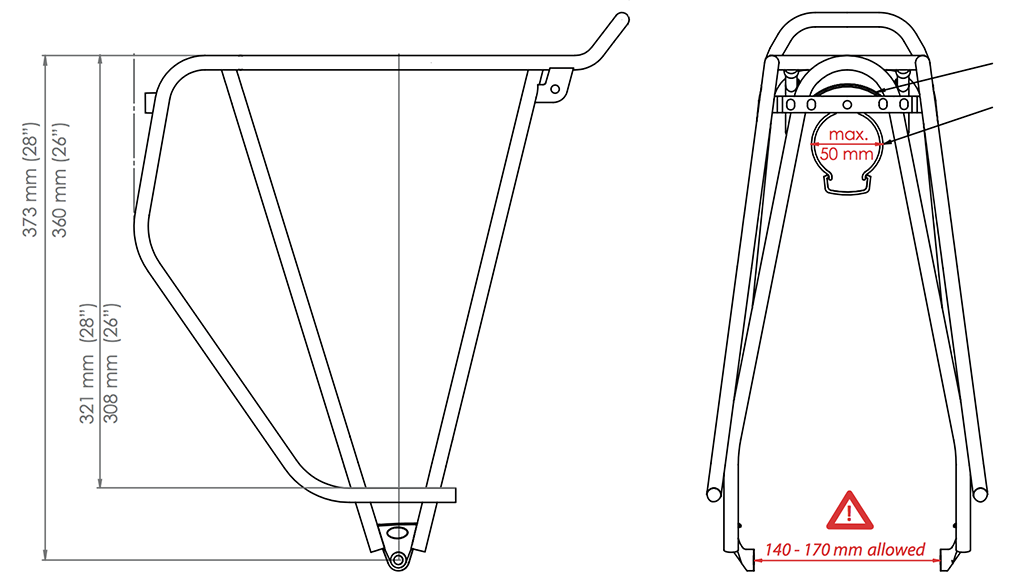
The space between the rack mounting holes on the Giro frame, including the thickness of the frame itself, is exactly 150mm. That happens to be in the middle of the width tolerance for the Tubus Cargo:
This means I can put spacers on either side – up to a centimeter each – without compromising the rack.
Also, notice the way the mount points project inward, like the ends of a clamp. That gives me plenty of clearance around the bolt heads that stick out on the seat struts.
This is important because the rack ends are pretty wide:
If I didn’t have that extra space, I’d run into those bolts for sure.
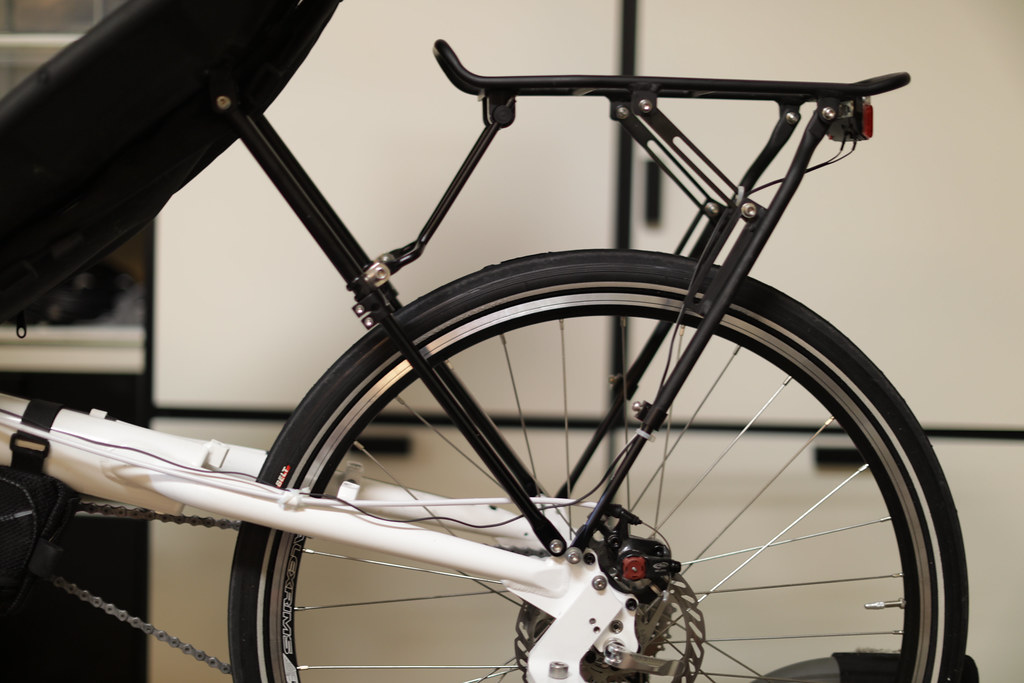
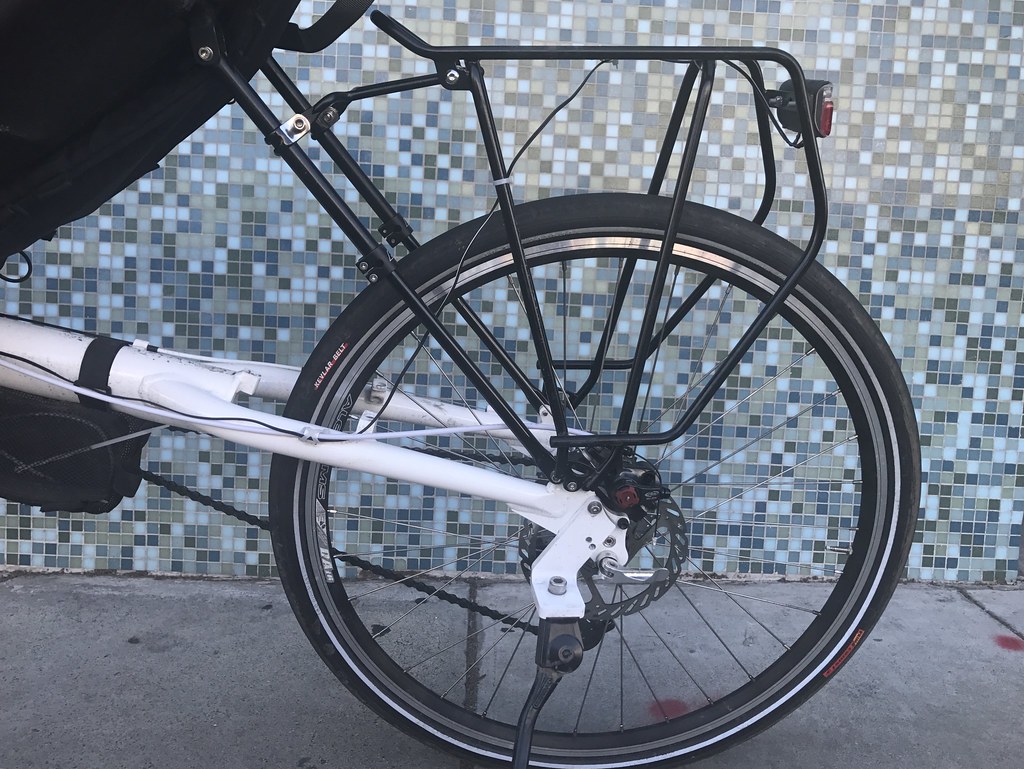
A picture is worth a thousand words, so here’s a gallery showing how it turned out:
It's quite sturdy and I can't detect any flex in it, unlike the standard rack which flexed alarmingly with bags on it.
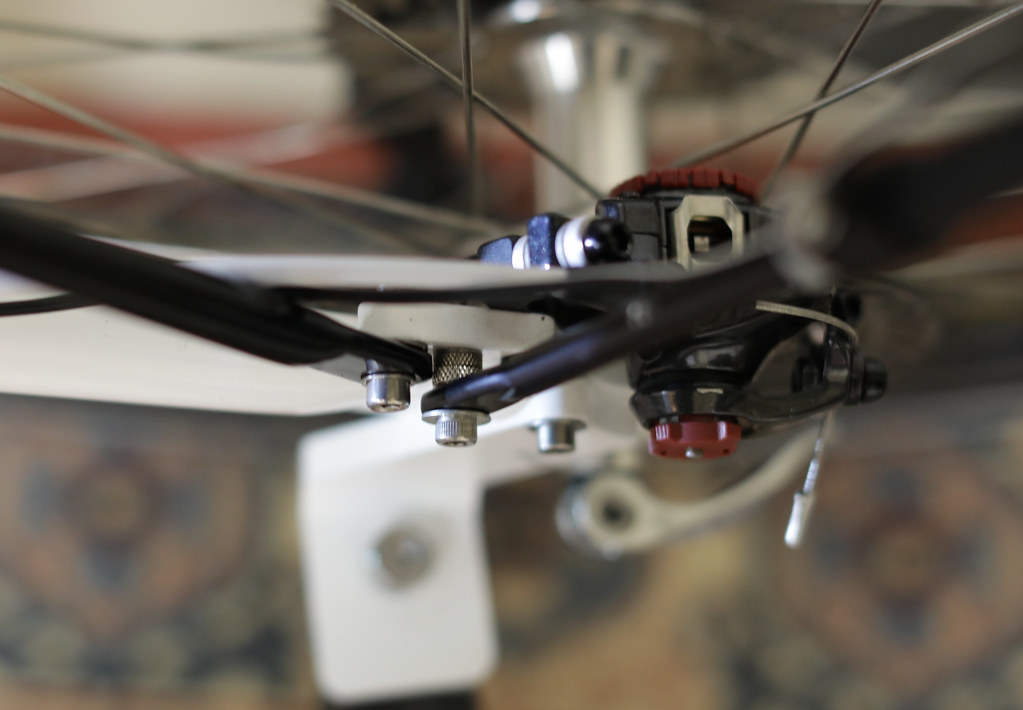
It's close, but the rack manages to leave space for both the disc brake assembly and the various bolt heads around it.
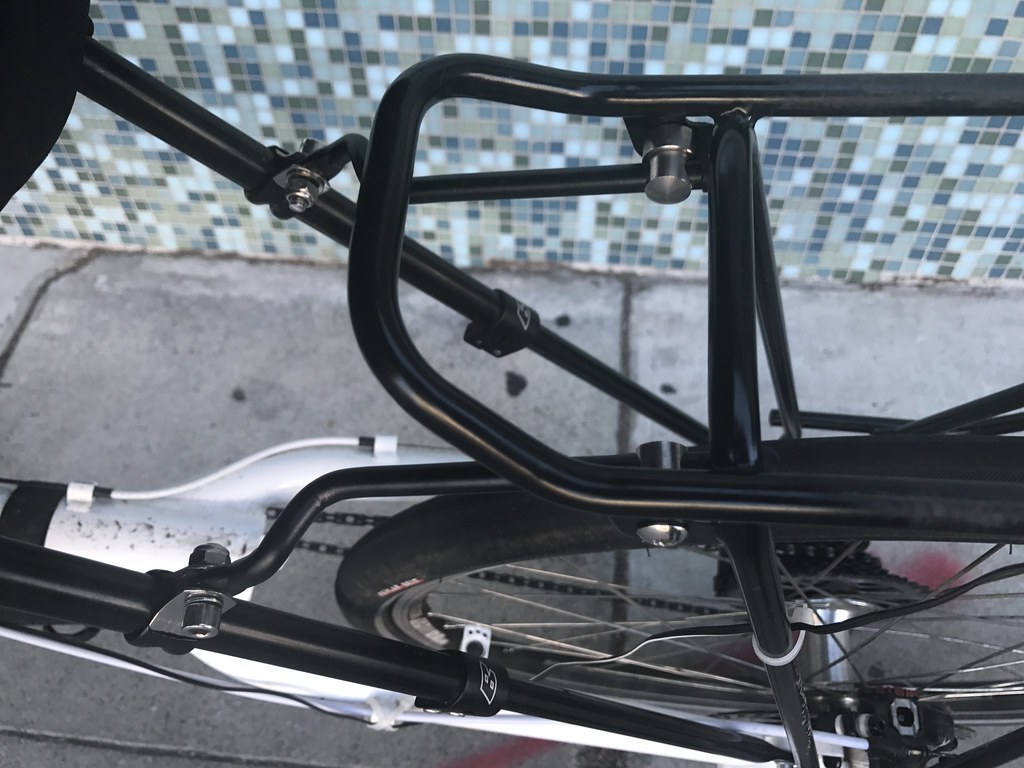
These are actually the arms from the standard Bacchetta adjustable rack. I liked the fit a little better. The arms that come with the Tubus work fine though.
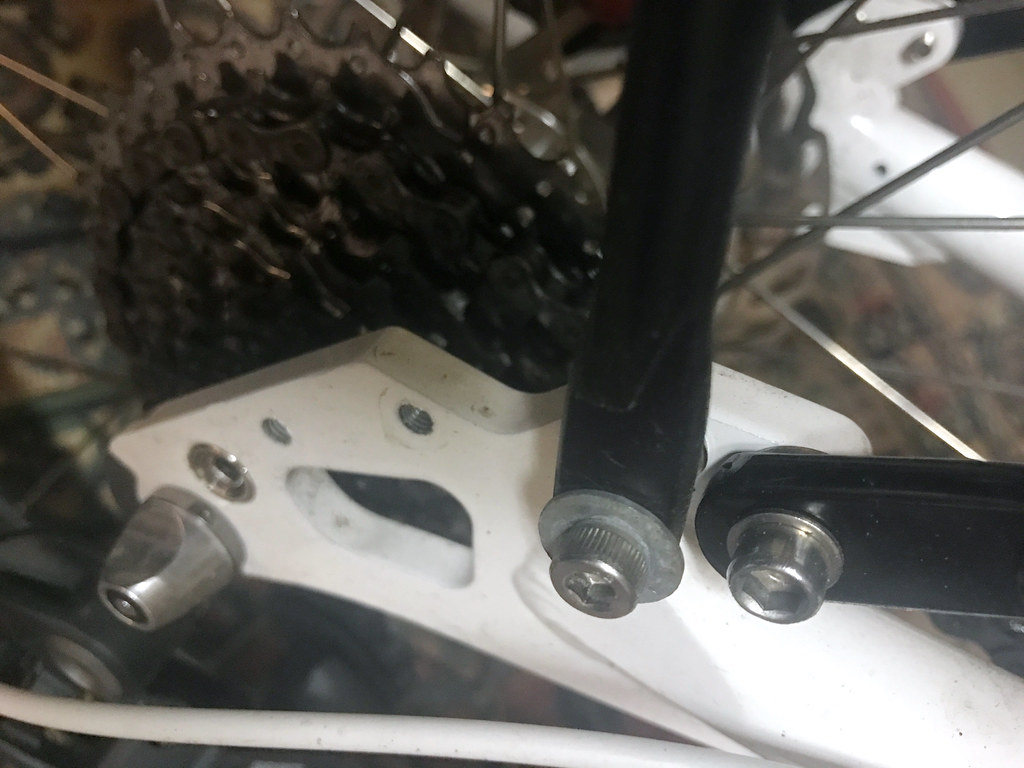
Closeup of the spacers I needed to fit the rack to the frame.
The aluminum spacer I used – visible in the fourth photo – came from Amazon. I know I paid too much for them but it was just too convenient to throw them in with some household goods in another order.
It only took a few test rides to know that I was dealing with a much, much better rack than the standard Bacchetta one. After a few months, during which I loaded it up with a huge pile of gear and sailed around Oakland for hours at a time, I was convinced that I’d made the right choice. The handle was perfect, the weight was low, the capacity was high, and the brake light mounted easily.
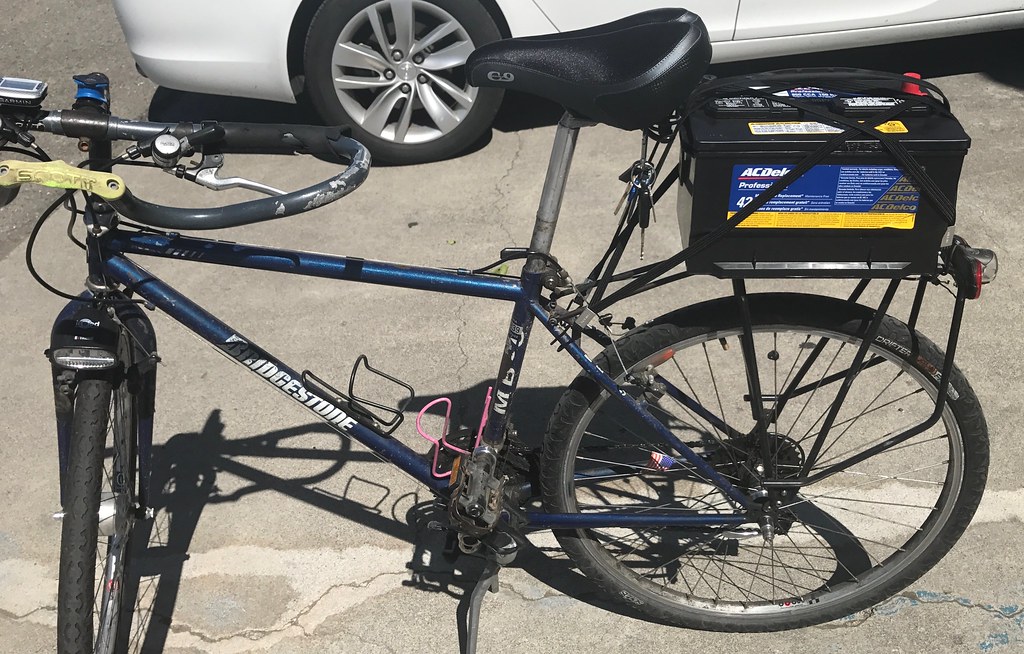
In the meantime, the Tubus rack that I’d put on my upright bike nearly ten years ago continued to be a workhorse. Just last week I used it to transport a truck battery across town.
I’ve found that a front fender on a recumbent is essential, but a rear fender is not. There are two details that make this true for me that might not apply to other people though:
I have a frame bag on the back of my seat that blocks water and dirt from flying through the seat and wetting my back.
I use waterproof panniers and cover the top of the rack with a waterproof bag.
This arrangement more-or-less does what a fender would do anyway.
Me:
The fender set that comes with the Giro-20 is fine, but I only need the front fender. Is there a way to leave the back one out?
Zach:
They only sell the fenders as a front and rear set for $45. If you just want a front fender, Planet Bike offers a similar front fender that is sold individually for about half that price. Also you can get a German SKS front fender from HP Velotechnik for $18.
Me:
The SKS looks exactly like the one on my Giro!
Zach:
There’s a reason for that: The fenders Bacchetta offers are Taiwanese copies of the SKS fenders.


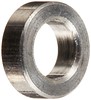 The aluminum spacer I used – visible in the fourth photo –