Australia and Tasmania: The Flight In
I had loads of time at the checkin. A visa to travel in Australia cost 25 bucks at the counter. There was no need to stamp my passport – the records were stored electronically. All these fresh, blank pages would have to remain blank, for now.
I stood in line for almost an hour, and I swear, the music played over the loudspeakers was deliberately selected to turn human brains into soggy mush. Overwrought love ballads and face-punching anthems about partying. First time, that Lady Gaga song is catchy. Second time, it’s a chore. Third time, it makes me grit my teeth and look for the speakers so I can cut them. I wore my headphones and listened to my own music, and felt better. In fact, since I had all day, and was officially on vacation time, I was in quite a good mood, despite my surroundings. I bopped along to my music and shoved my bicycle box ahead of myself on the carpet until I got to the front desk, where I checked the bike with no extra fees. The box was oversize but it qualified as “sporting equipment”. Hah!
The checkin line was long, but the security scan was easy. I grabbed four plastic trays, for my backpack, laptop, ipad, and shoes, and was through in a few minutes. I had no suitcase to be rummaged through, and I drank the rest of my water and pitched it into the trash just as I got to the checkpoint.
While walking around the LA airport I noticed something strange. I was surrounded by all kinds of people, but I noticed a “type” of person – a sequence of people so similar that they made a repeating pattern. The best name I could think of for the the type was “poodle women”. They had many of the following traits:
- Soft sweatpants
- A “clever” tattoo half concealed
- An almost suspiciously even dark tan
- Eye makeup
- Long hair – blond or bleached blond, or with bleached highlights
- A shape conveying a slight aversion to exercise and a slight excess of drink (or, if you’re on a college campus, she’s in shape.)
- An aloof, unfriendly manner, belying a nervous fear underneath.
- “UGG” boots
She will not smile at you, she will not look directly at you except to check whether you are looking at her or to stare you down, and if she is in conversation, it will be with someone who looks just like her, about something banal. I counted half a dozen young women like this as I walked around the airport, so similar they may have been from the same family. What gives?

As the plane moved into position I saw an incredible sequence of blinking lights, strips, colored bars, and wavy lines on the tarmac. Each signal has a meaning that pilots or other airport staff need to know, and I imagine it takes a lifetime to learn all the details. And that is possible, since the system has been around for a lifetime at least. It certainly couldn’t have started this complex – it must have ratcheted up as the years went by.
I was flying V Australia, and the first thing I noticed were the instantly adorable accents of all the staff. I always listen to Pete Namlook’s “Autumn” on my iPod as a plane takes off, since it’s the perfect looong instrumental buildup, airy and profound, but I had to pause it for a while just to listen to the flight attendants talking. I’m sure in a few days of immersion this will not sound as unique, but for now, it tickles my ears.
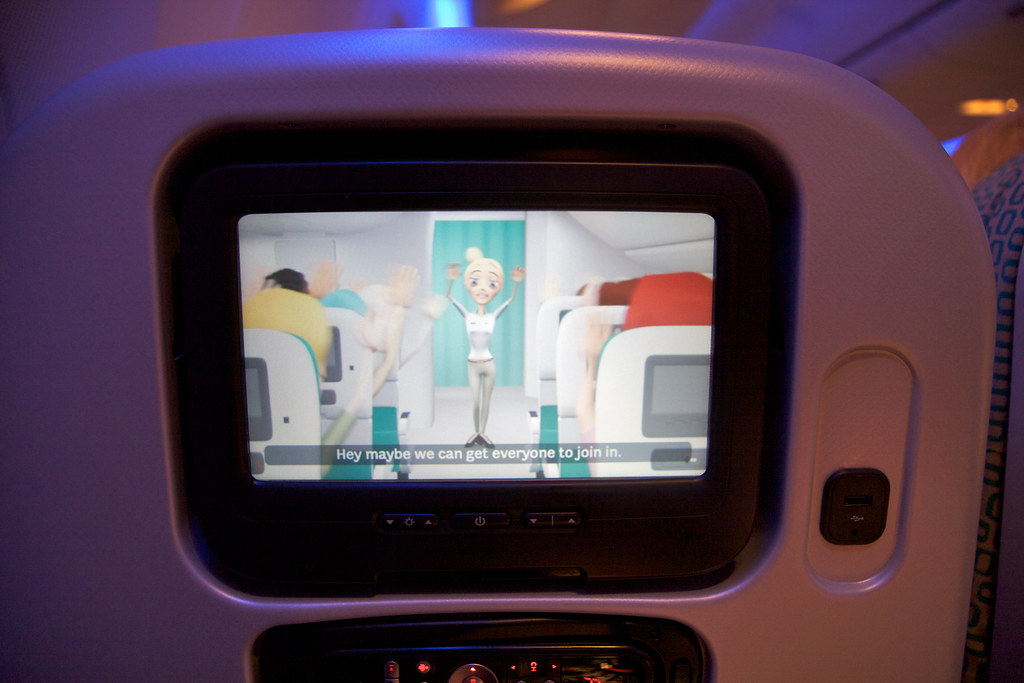

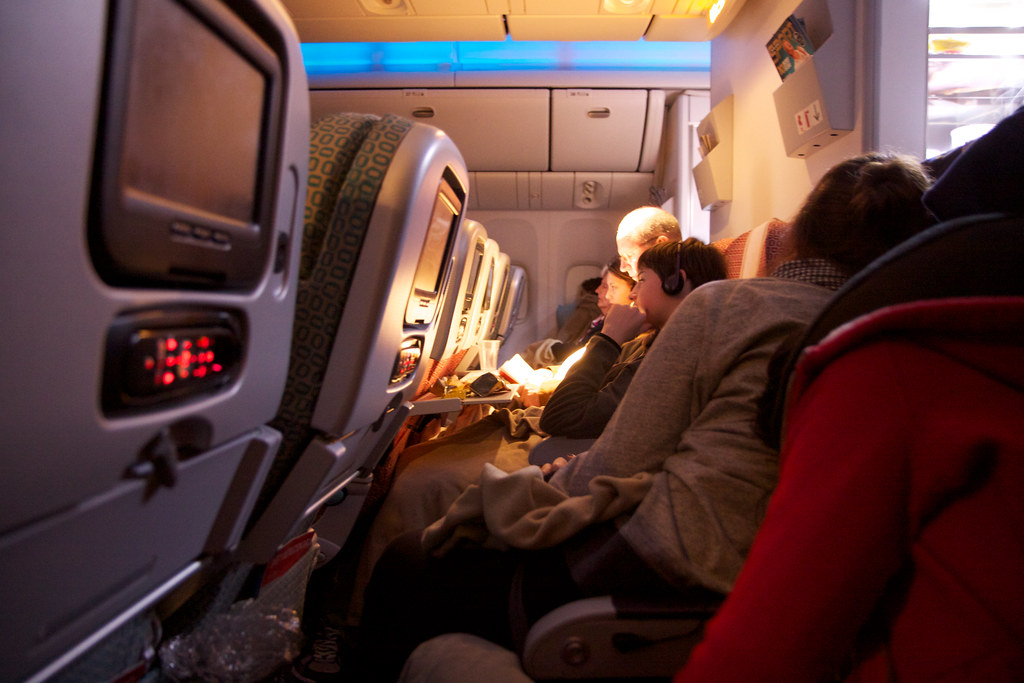
Another thing that tickled me was the introductory video they broadcast on the displays embedded in the seats. “These long flights can knock you about a bit,” says the announcer. “So be sure to keep limber, by getting up and walking around the cabin when you can, and drink plenty of water.”
About 20 minutes into the flight, the girl sitting next to me pressed a few buttons on her display and began playing a 3-D driving game, using the control pad mounted just below. A driving game, in a seat-back display, on a plane. Worlds within worlds, maaaaan. While she played I noticed she had a scarf tied around one of her wrists. A motion-sickness pressure point, or just a fashion accessory?
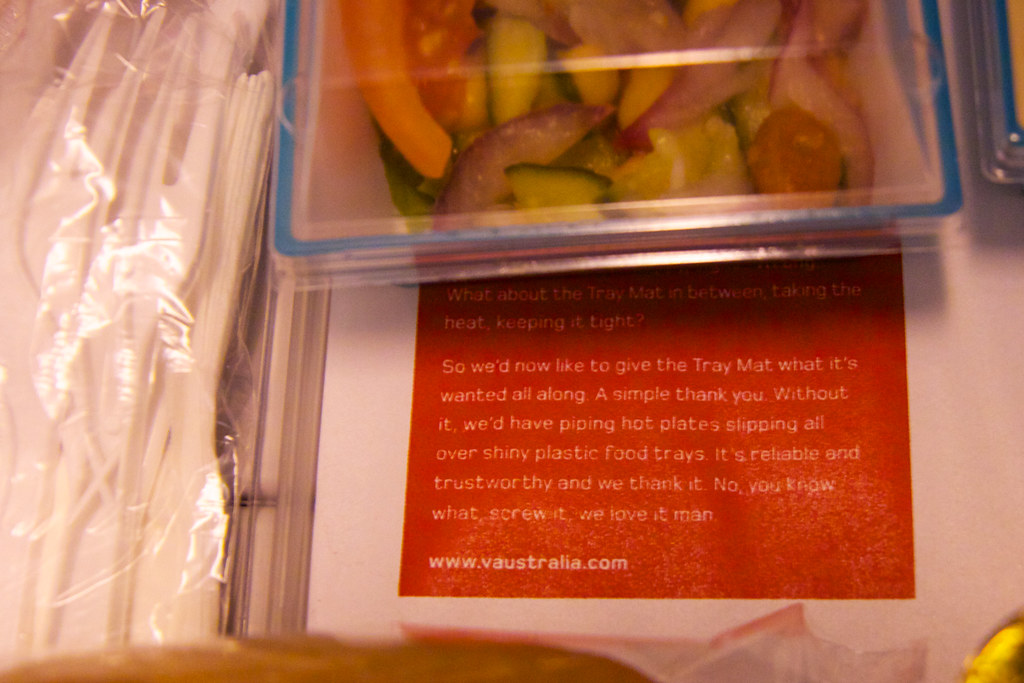
V Australia also has adorable corporate banter on their dining utensils. This is the first time I have ever seen copy from an international airline that contains the phrase “No, you know what, screw it.”
It was cramped but livable. I listened to “The Wee Free Men”, then a big chunk of “Hat Full of Sky”. I didn’t want to bust into the new Pratchett book until I had reacquainted myself with the main character, Tiffany Aching.
The enormity of what I’m doing still hasn’t set in. I’m traveling 8000 miles in 14 hours of flight, to a country on the other side of the Earth. And I’m doing it because I feel like it.
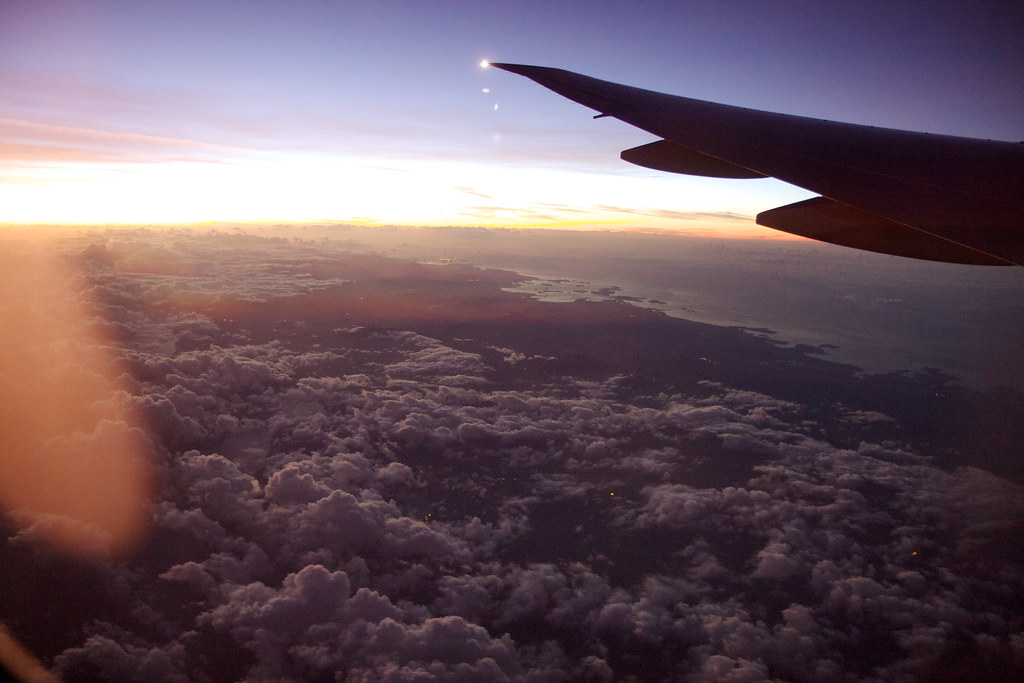

I slept unevenly for quite a while, then woke up and looked out the window. I think this is somewhere over Fiji.

The little seat-back computer says it’s -48 degrees Fahrenheit outside, at 36,000 feet. Carraaazy, man.
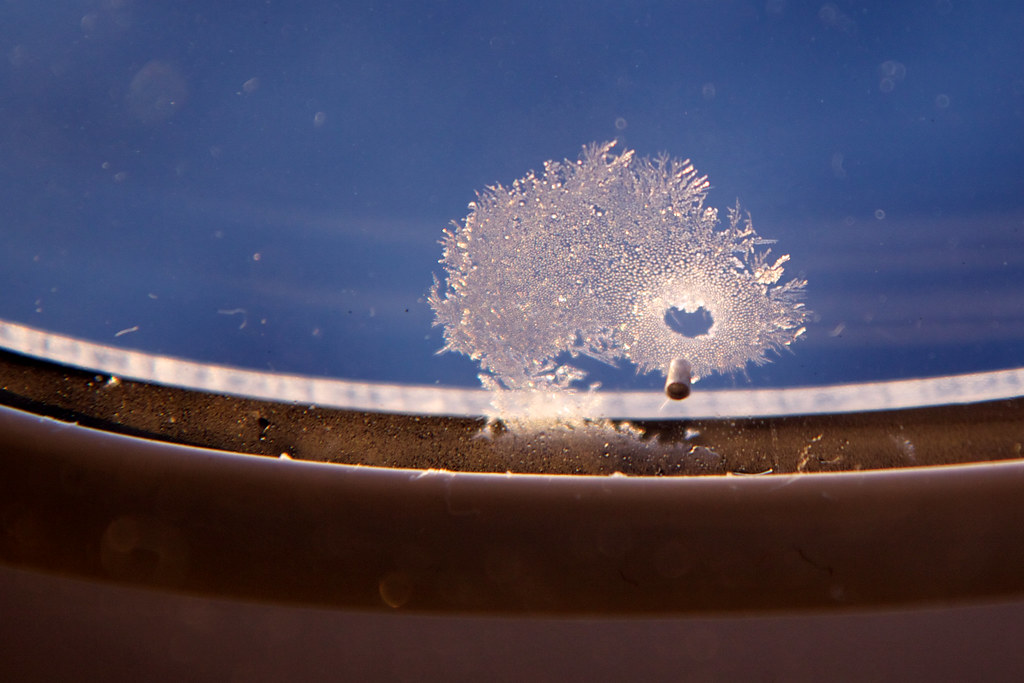
A little heart of ice formed in the membrane between the two windows. Awww!

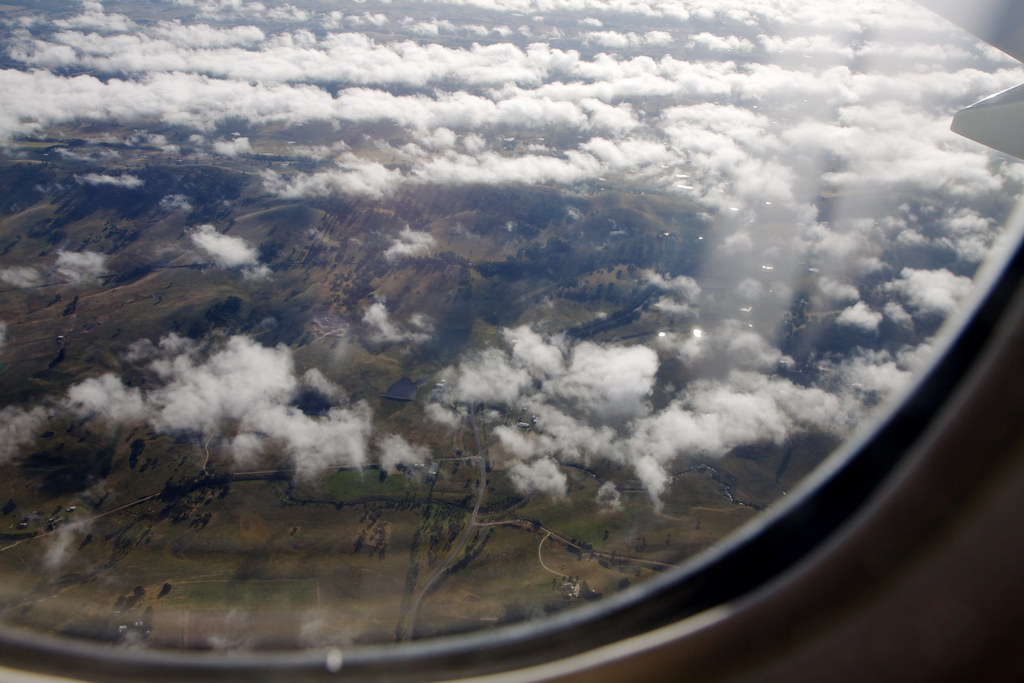
As the day brightened up and we passed over mainland Australia, the clouds got more serious.

Everything looks so flat from up here…
Descending now, but still quite a long way up…