
Bicycle Touring Far From Home
March 18, 2019 Filed under Uncategorized
Here are ten handy rules to follow when you’re going on a long-range bike tour, especially one far from home. This is based on my own experience and I update it as I learn.
The number one rule:

Never hurry anywhere, ever.
Are you late for that train connection on the other side of the city? Too bad. Cancel the reservation and remake it for later. Even if it costs you money.
Really want to get over that 7000-foot mountain pass, but your schedule only has one day for it? Take a day off and use it to re-arrange your schedule.
Fifteen miles outside of town, but that lovely restaurant closes in an hour? Get creative: Call the restaurant and ask if they deliver to your hotel. Call your hotel and ask them to receive the meal before you arrive. Straining on the pedals and rushing around corners is not an option.
Not hurrying also applies when you’re off the bike. Do your best to avoid getting into situations where you have to hurry to pack your gear, unpack your gear, lock your bike, choose your route, book your next destination, cook, eat, set up your tent, and so on. Fixing a mistake you made when you were hurrying will often cost far more time than it would’ve taken to slow down in the first place.
- Items left behind,
- flats from under-inflated tires,
- prematurely dead batteries leaving you disconnected or in the dark,
- a hanging strap chewed up into your gears,
- items dropping out of bags who-knows-where miles back on the road,
… All way more costly than the time it takes to avoid them.
The baseline daily routine of a long range cyclist is to bicycle from the safest possible place to the next safest possible place, along the safest possible route, at the safest speed, at the safest time of day. When you’re on an adventure there will be days when you deviate from one or two of these conditions, and you’ll get away with it. However, the more you deviate from at the same time, the more trouble will seek you out. And what’s the biggest reason anyone chooses to deviate from these conditions? They are in a hurry.
Don’t hurry. I’m serious here: This rule is the difference between riding for three days and getting your spine broken by a truck on day three, and riding for three years and rolling into the driveway back home on the last day without a scratch on you and a head stuffed full of amazing memories.

A new friend from Russia!
Don’t mind the conversation.
Riding that loaded bike, you’re a curiosity to almost everyone you meet, including other travelers.
That high visibility adds to your safety. People will want to talk to you, and if you’re friendly in response they will often want to help you as well – offering food, a ride, even money or a place to stay. You can trust these people almost universally. Ask for anything you need, as long as you don’t feel like a jerk for asking. The worst they can do is say no. Consider printing (or hand-drawing) a little stack of contact cards so you can hand them out.
It’s the people who don’t approach you – the people who keep their distance and stare, or who point you out to their friends but don’t engage directly – that you need to be careful around.
Sometimes it’s best to embrace the first kind of people as protection against the second. For example, accepting a ride from the kind elderly couple in the back of their pickup, just to move a few miles down the road from that creepy group of teenagers eyeballing you and your bike at the restaurant. After enough time on the road you’ll develop a gut sense for when people aren’t responding right. Don’t ignore it.
There’s also a more specific version of this rule:

Get into the habit of asking for advice.
If you see a cyclist coming the other way, stop for a friendly chat and ask about the road ahead. Then tell them about the road you’ve already cycled, so they get the same benefit. You’ll be teaching a good habit by example as you go.
At destinations and pit stops you can also ask drivers for advice, but take anything they say about conditions or hills with a grain of salt. Drivers usually know less than they think about roads, even the ones they drive every day.

Get a good-sized rear view mirror and learn how to use it.
In many situations, snapping your head around for a quick look is just too much to coordinate. Besides, you might be whipping it right into the side mirror of a truck!!
Being able to instantly see that you should just roll off the road and wait for an especially big vehicle to clear some narrow chunk of road can save your bacon.

Use an intercom device.
If you are cycling with partners, get radio intercom devices for your helmets, if you can afford them. Coordination will be much easier and the trip will be way more fun.
Almost all the intercoms for bicyclists are adapted from products used by motorcyclists. Motorcyclists wear head-enclosing helmets (at least the sane ones do) and the intercoms attach to the inside, but a bicyclist gets a more open-air design, with straps or rods that place the speakers near the ears without blocking them entirely. This is because external sound is very important:

Keep your ears open.
A little advance notice is essential when cars approach from behind or around blind corners. Even the quietest electric car will still make noise as its tires roll over the pavement. (You can’t rely on it, but it’s useful when it’s there.)
I won’t go so far as saying never wear headphones – I wear headphones regularly when I bike – but I will say keep your music at a low volume and find some way to shelter your ears from the noise of the rushing wind. Vortex-generating attachments on the outside of your headphones or helmet can actually reduce the wind so much that you can hear better than you would with your ears uncovered.
There are rancorous discussions all over the internet about whether headphones are an acceptable risk when biking. Just use common sense. Take them off when you’re trying to navigate a new city.
Try not to forge new paths
This is strange advice to give to bike tourists because they’re an adventurous bunch. But, consider this:
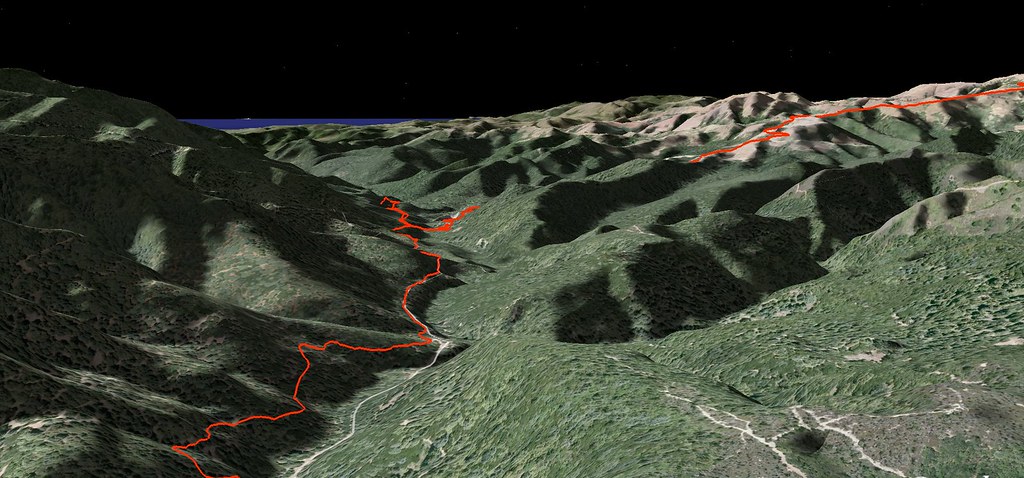
The internet has changed bike touring immeasurably by letting cyclists widely share route recordings. Any time you want to go somewhere new, tap into those online collections and see if someone else has already forged a path ahead of you. Chances are high you’ll find something to use as a reference.
Routes with flagged points of interest, or comments, like “this was insane and I’m never doing it again”, are especially useful!

Take a few more breaks than you think you need to.
Sure, you could push those pedals nonstop for an entire afternoon. You’re a touring cyclist – you’ve got stamina up the wazoo. But if your wazoo starts to hurt after the fifth consecutive hour, it will keep hurting for the rest of the day no matter how many breaks you take.
Why spend half the day with a painful wazoo? Stop every hour at least, and stretch or lay down or do a few cartwheels, because you’re on a tour and you can stop whenever the heck you want.

Make your gear easy to carry all at once.
When you’re traveling in a group this doesn’t matter, but when you’re going solo you’ll feel much better if you can lock your bike, then unload it in one go. It’s easy to lose something (to oversight or theft) if you’re leaving one pile of gear unguarded while you go back for another pile.
Usually all you need to do is put shoulder-length straps on one pair of bags, so you can wear those and pick up the other pair of bags by their handles. Instead of a rack-top bag consider a backpack.

See you later, bicycle. Good luck…

Oh look, my bike is already on the plane ahead of me! Airtags are awesome.
Stick Airtags on your bike, and on your bike box.
Checking your bike as a piece of luggage can be amazingly convenient. But if you fly enough times, an airline will eventually misplace your bike. Having up-to-the-minute accurate information on exactly where your bike is – and that it’s still in the box – is unbelievably reassuring, and is also very useful information to present to a baggage clerk when you’re trying to figure out who is responsible for the error, and what the timeframe is for getting it sorted out.
They may not have the authority or the time to go hunting for your bicycle personally, but being able to prove to a clerk that your bike exists and is at their airport will motivate them to help you, more than they would help a person who has no idea whatsoever where their item has gone.
Don’t get angry about it – that will always work against you – but be insistent. I’ve had a clerk try to mansplain to me that a 60-second-old ping from an Airtag doesn’t necessarily mean it knows where it is right then. I just calmly replied, “Airtags don’t work that way. They are actually never aware of their own location; the devices around them that receive the ping are, and those devices are what do the reporting. I can explain to you in detail how this works, if you’re interested.”
She had the grace to say no, and since I was still polite company, she kept helping me.
Anyway, for your own sanity, get some Airtags.

Good luck finding your way to the right port on this map.

The Open Cycle map has way more useful detail here than either Google or Apple can muster.
The “Open Cycling” map is your friend.
Apple and Google work pretty hard to make their maps useful, but the crowd-sourced nature of the OpenStreetMap project often raises it head-and-shoulders above the more corporate options.
Especially in Europe, which has leaned heavily into it. Get yourself an application like “Map Plus” and add the cycling version of OpenStreetMap to it, and crank up the cache settings. It has such sights to show you…

Somebody either dropped their Samsung phone out the window by accident, or threw it out of frustration.
Get a cheap spare phone.
A cell phone is an incredibly useful and convenient tool on a bike tour. It’s easy to become dependent on one without realizing. A compass and a few printed paper maps in a bag can mitigate that risk, but there’s no denying how devastating it can be to lose your phone.
So, consider buying a really cheap, ugly looking smart phone to bring along as a spare. Wrap it in a waterproof sack, tape it shut, and hide it somewhere in your gear. If you’re out in the wilderness and your fancy one gets waterlogged or smashed, all you need to do is switch the sim cards and carry on. Even if your regular phone drops into a ravine or goes to the bottom of a lake, the backup phone can still be used as soon as you find wifi.