
Customized bike (and camping) speakers
It’s hard to find good, versatile hardware, and sometimes the thing I want just doesn’t exist, so I have to get all crafty. This is another of those things I’m documenting for my own reference, in case I need to recreate it.

Bluetooth is the new hotness, but wires still sound better - and use less power.
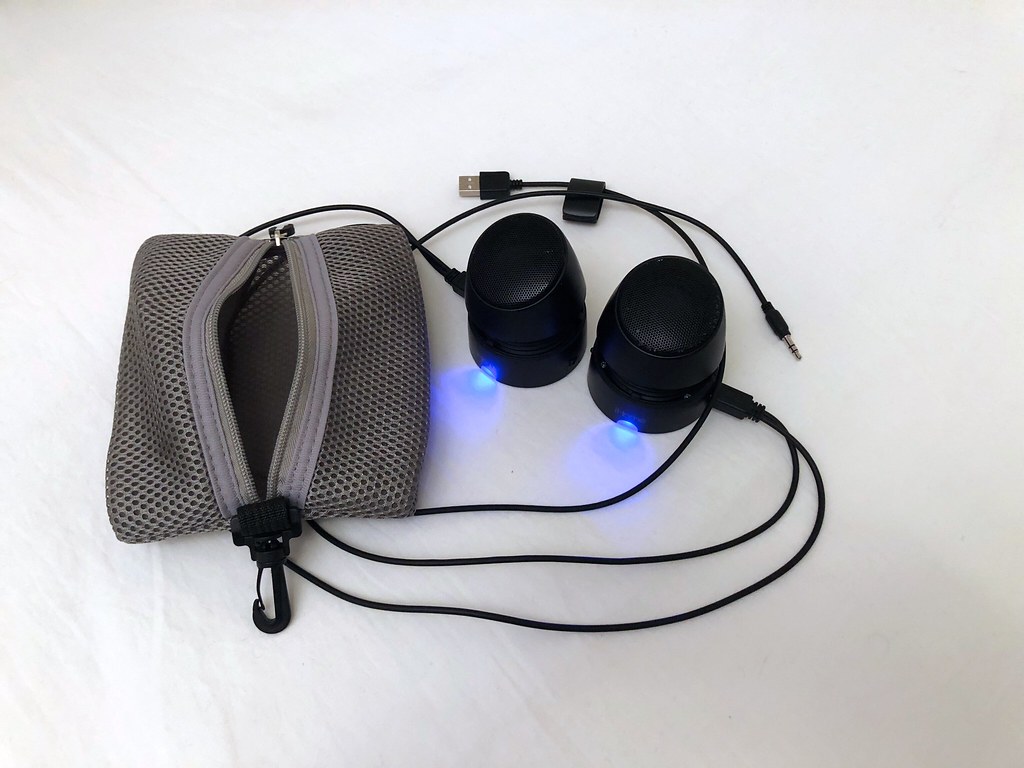
These are the iHome iHM79BC Rechargeable Mini Speakers. They sound good, pack reasonably small and light, and the design is simple. I’ve used them on many overnight hotel stays, arranged on a nightstand or next to a bathtub, and I’ve set them up in the middle of the picnic table on camping trips.
But I wanted to use them in even more places, including in a tent, and anchored to my bicycle. Here’s how I modified them.
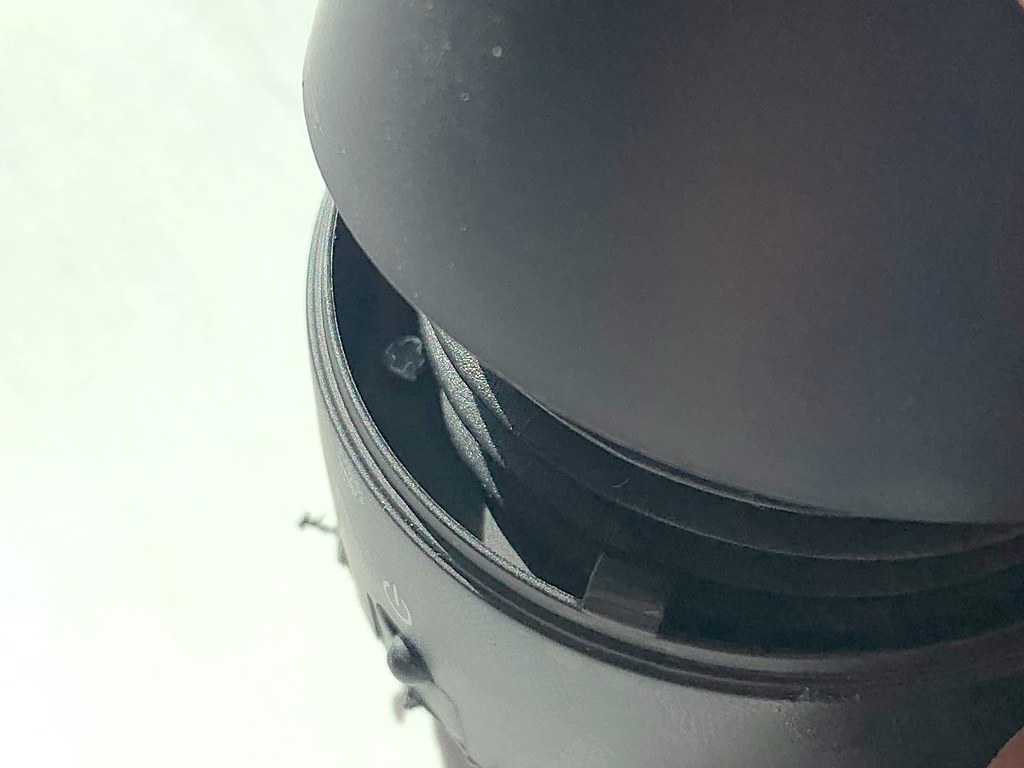
First thing to do, of course, is take them apart. See that little screw visible underneath the lid? There are three of those. I found it pretty easy to bend the lid out of the way and remove them all. With those out of the way, the bottom of the speaker popped off.
After drilling the holes; before installing the ziptie.
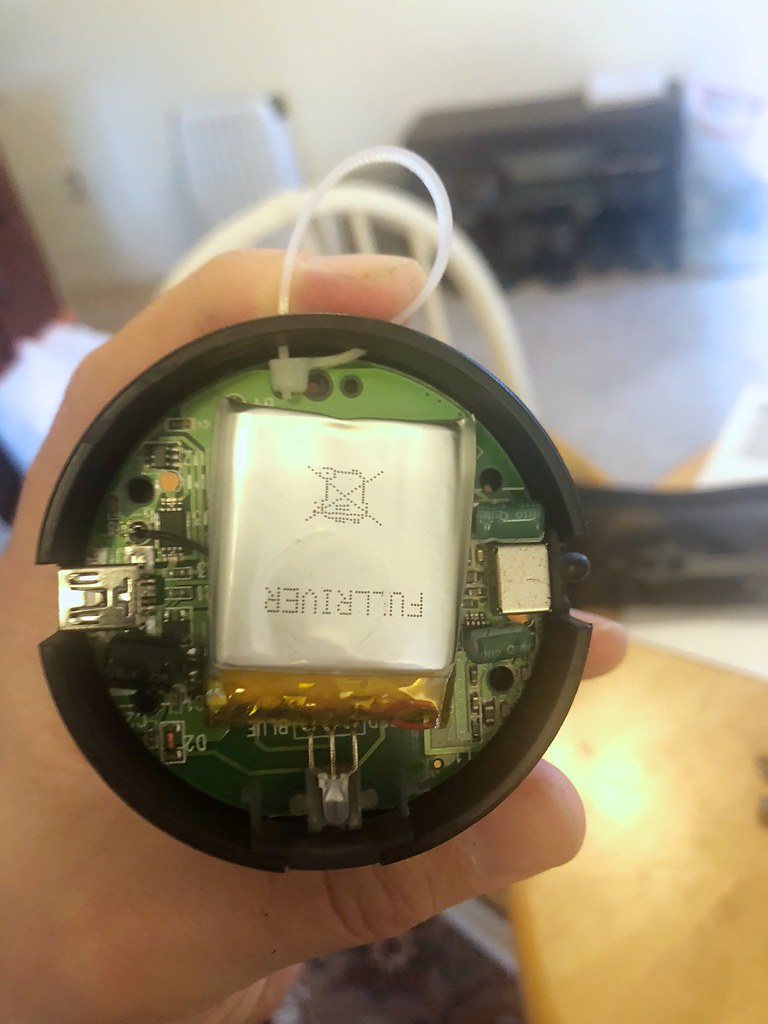
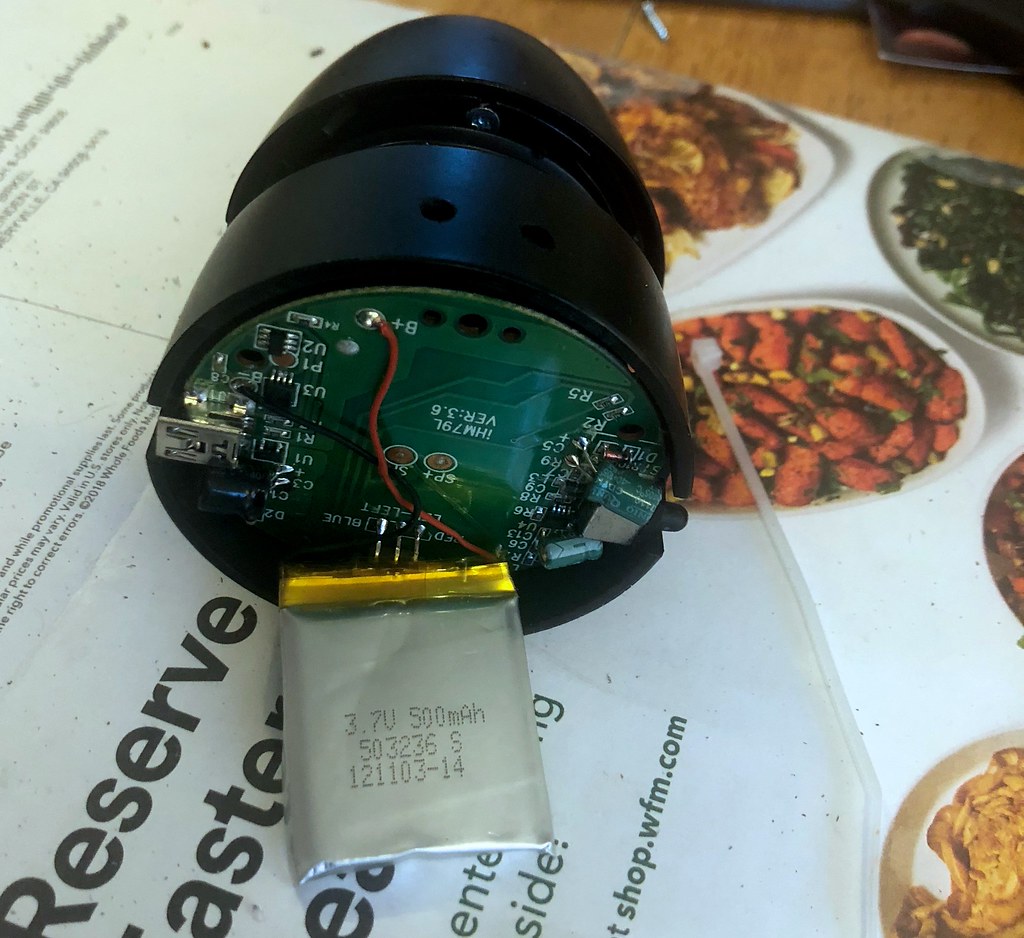
Powered by a standard 500mAh 3.7v LiOn battery pack.
There’s a little magnet glued inside the base that I pried out with a screwdriver to save some weight. The battery rests on top of the base inside the speaker, and with the base out of the way it falls out. I had to be careful not to yank the tiny wires that linked it to the circuit board.
By the way, if you want, you can swap out the rechargeable batteries at this point, and solder in some fresher ones. There are a variety of 500mAh 3.7v lithium batteries available via Amazon for example. It’s a pretty standard size.
I wanted to add loops to the sides of the speakers so I could hang them from hooks in a tent, so I got a little drill and made two holes in the side of the shell, just a little lower than the underside of the circuit board. (You can see them near the top of the photo.) Then I threaded a small ziptie through the holes, tightened it into a small loop, and clipped off the excess plastic.
With the ziptie in place, I stuck the battery on the base and pushed it back into the bottom of the shell. It only took a little bit of fiddling to get the ziptie on the right side of the plastic post inside. Then I put the screws back in.
But the fun wasn’t over yet! I also glued a Quad Lock adapter to the bottom of each speaker.
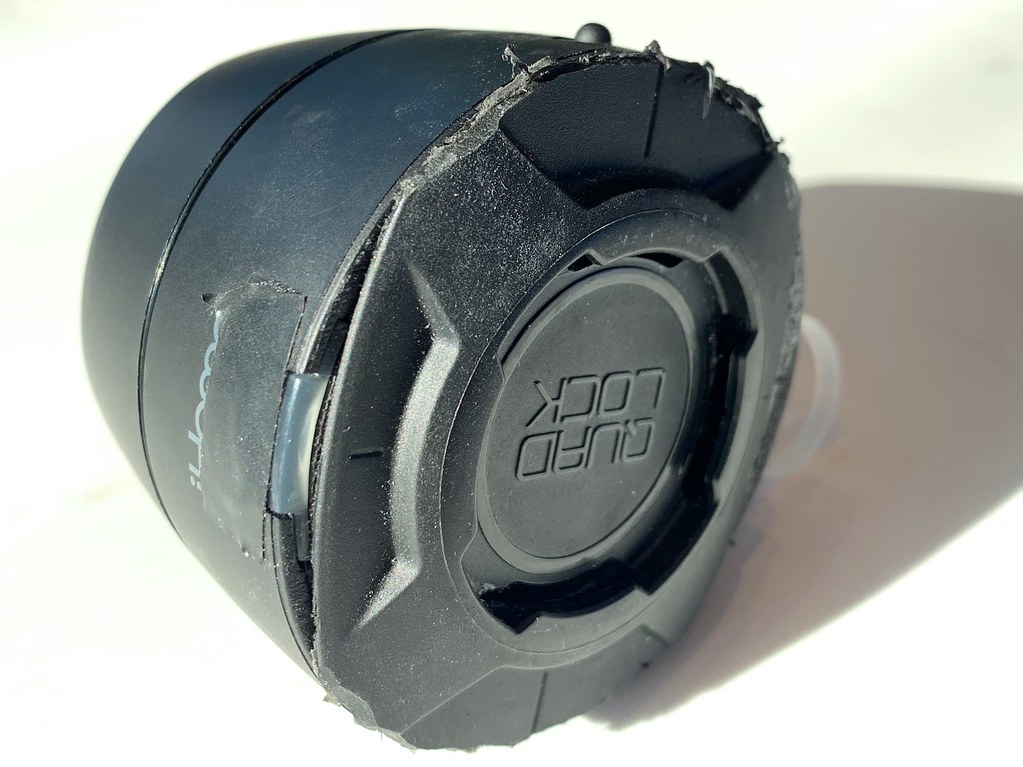
Now I could use the speakers with my laptop, or by my bedside, or on the ceiling of my tent, or on my bicycle! Huzzah! Here’s how they look:
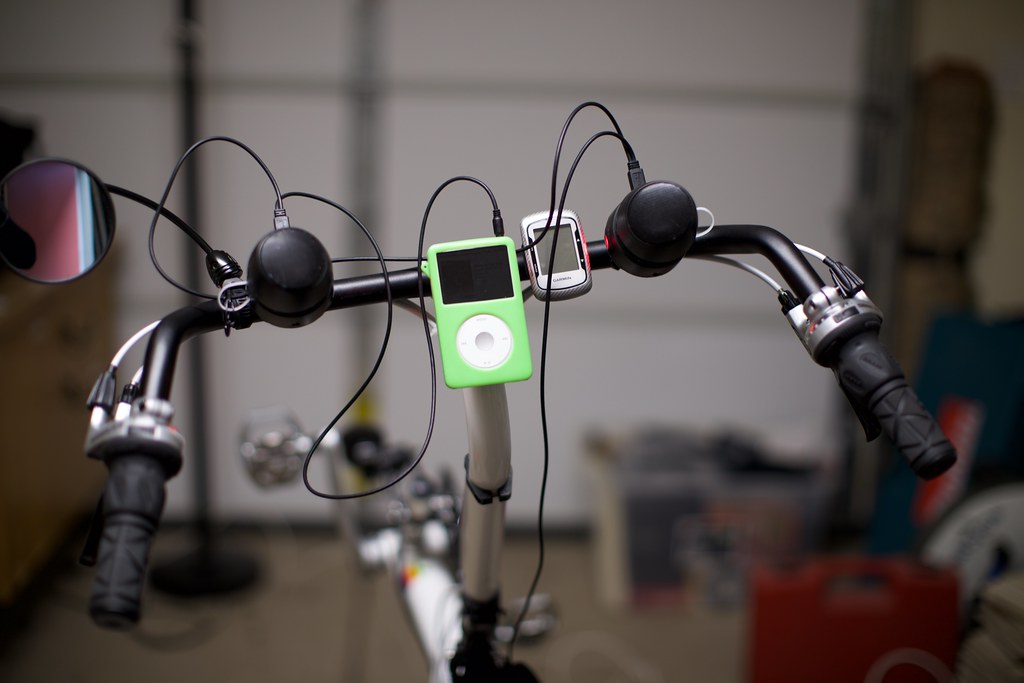
Ready for some sing-along riding!
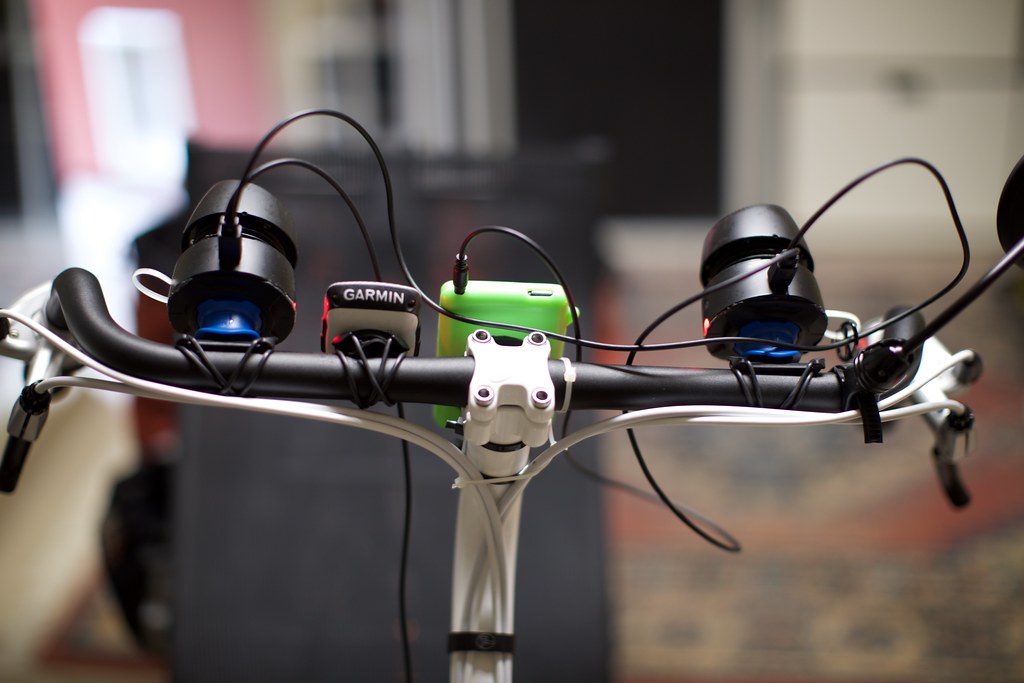
Perfect stereo for an audience of one ... and loud enough to irritate others too!
Yeah I guess the wires make it a little messy. But it sounds great!
Pingback: » Iceland gear and packing Mile42