Adding a 20t chainring
When you pedal a bike, your feet push pedals. Those pedals turn on arms. Those arms are called cranks. The cranks are attached together, and in the middle you have one or more rings with teeth on them, around which the chain moves when you pedal the bike. The whole apparatus is called a crankset, and those rings are called chainrings.
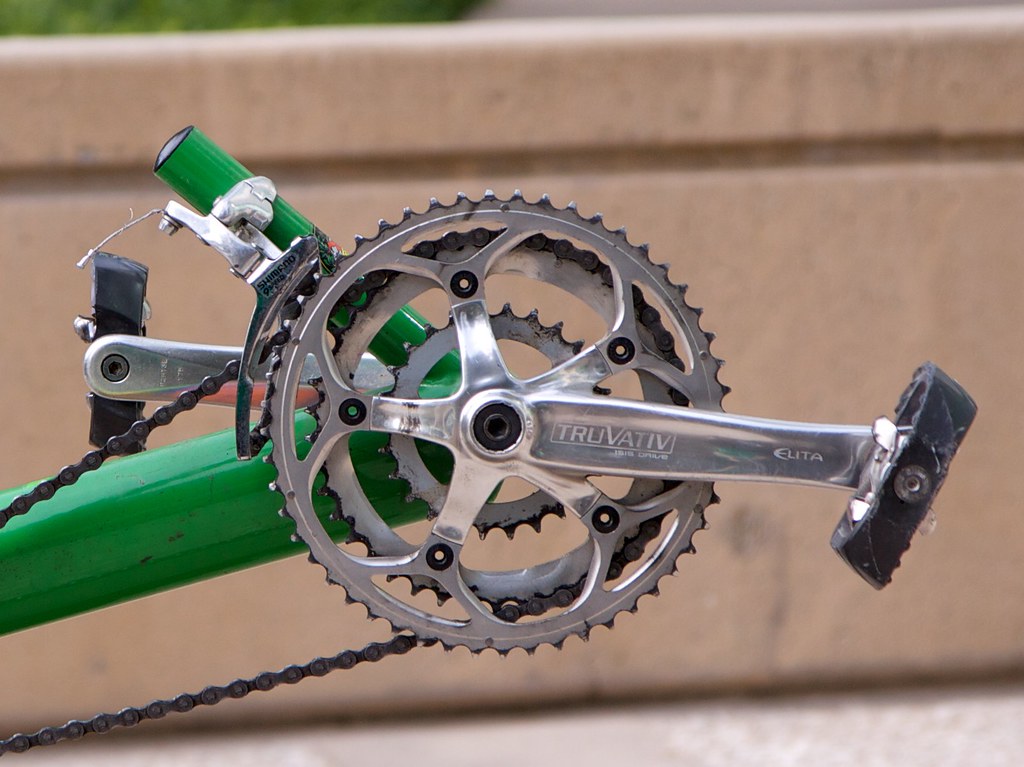
For example, this is the standard Bacchetta Giro 20 crankset with three chainrings on it. The chain is currently on the middle ring. The standard Bacchetta rings have 50 teeth, 39 teeth, and 30 teeth, from largest to smallest. This was the crankset on Valoria, my original Giro 20.
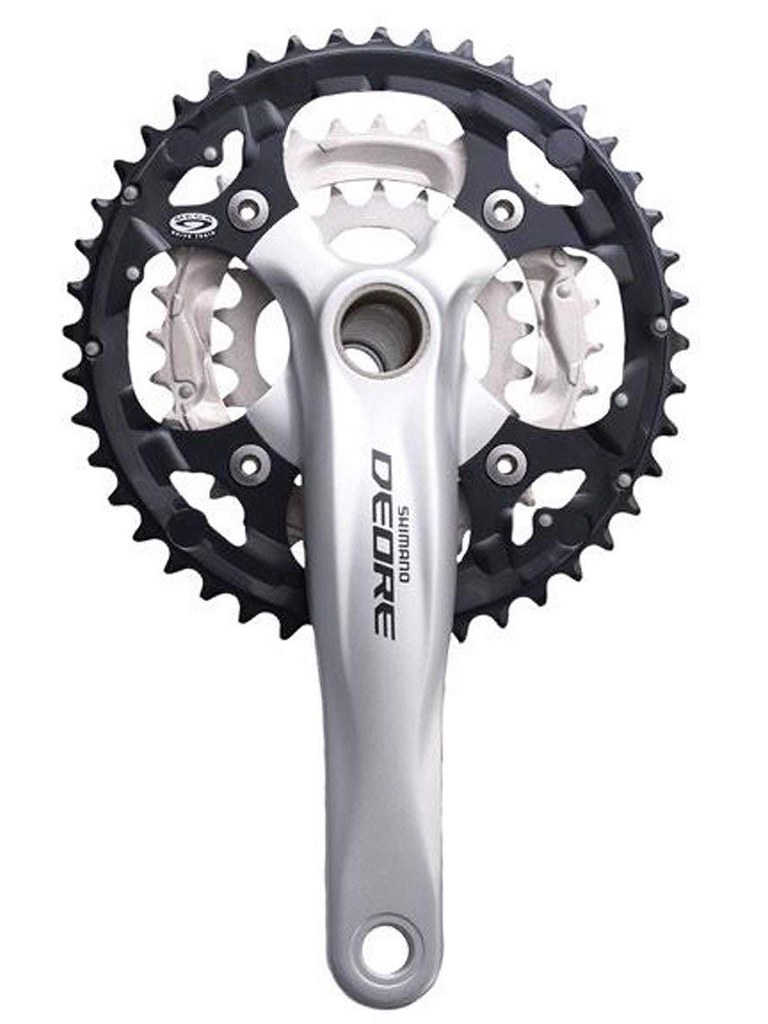
On the left you can see a Shimano Deore M590 crankset, with 44, 32, and 22-tooth chainrings. This is the crankset I installed on Valoria II. Having a 22-tooth ring in the smallest spot instead of the standard 30-tooth ring allows me to spin the pedals about 40% faster and still put out the same amount of power. That means I can carry all my touring gear up hills more easily. I can drop my maximum speed lower without straining my knees. My experience has shown me that with this chainring I can slow down to about 2.5 miles-per-hour and still keep the bike steady.
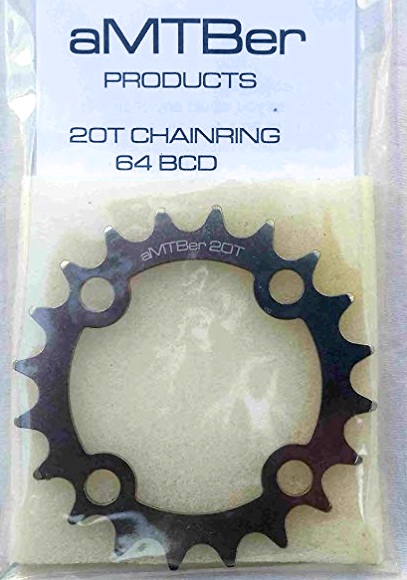
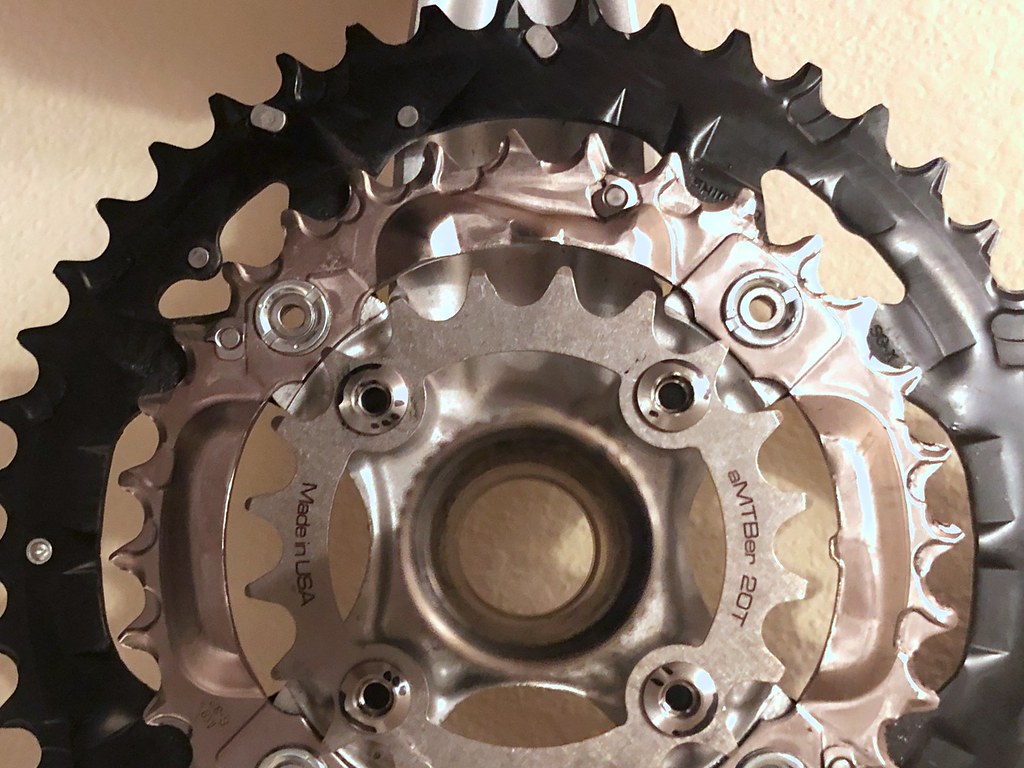
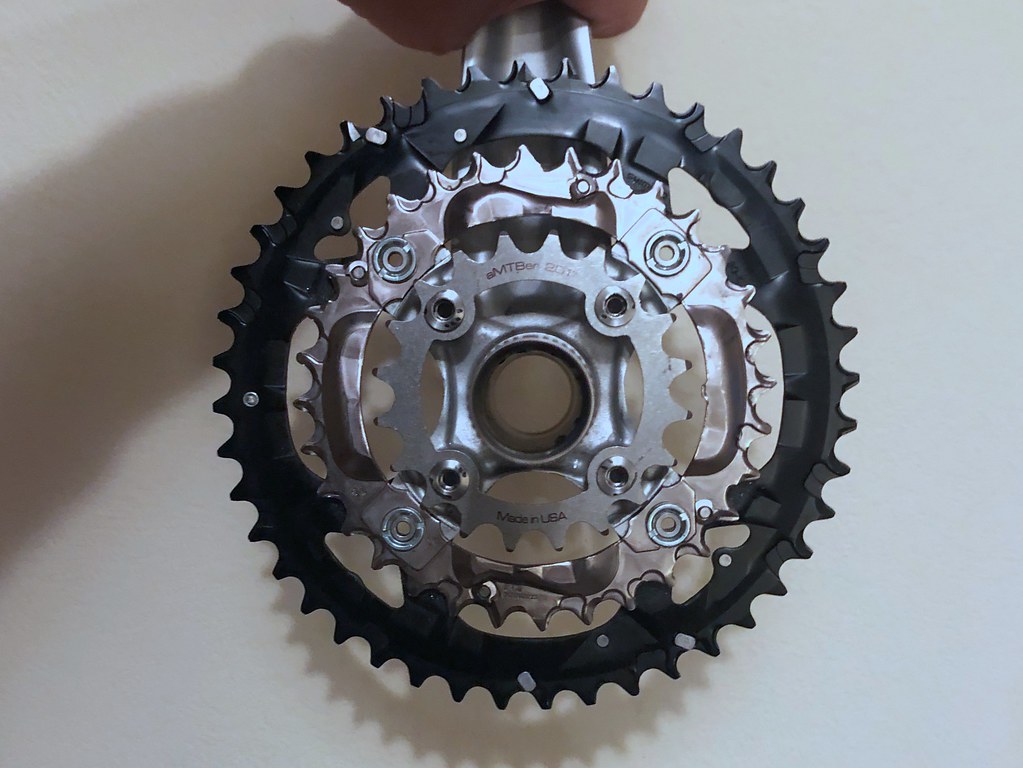
On the right you can see a 20-tooth chainring. This is what I intend to install onto the Shimano Deore M590 crankset, swapping it out with the 22-tooth chainring. It will speed up my cadence by 10% on top of the 40% speedup I already have.
Why is this worth doing? Why does this matter to me? I think the best way to explain this is with an experiment:
Take your bike outside. Now stack eight full-size bricks on the back of it. Yeah, the kind of bricks you build walls with. Now, get on the bike, and pedal those bricks up the steepest hill you can find, over and over again, until you’ve climbed the equivalent of 2000 feet with those bricks. Now repeat that exercise every day for two weeks.
Long-range bicycle riders are all a little bit crazy, because this is what they do. They make it manageable by climbing as slowly as they can. After a hundred hours pedaling like this, you are ready to do whatever it takes to go even a little bit slower; oh yes! If you’re lucky you can go slow enough that your digestion can actually keep up with this all-day energy demand, and you won’t starve to death right there on your bike! I’m only sort of joking.
So yeah, I’m putting this gear on. I’m going as low as I can go.
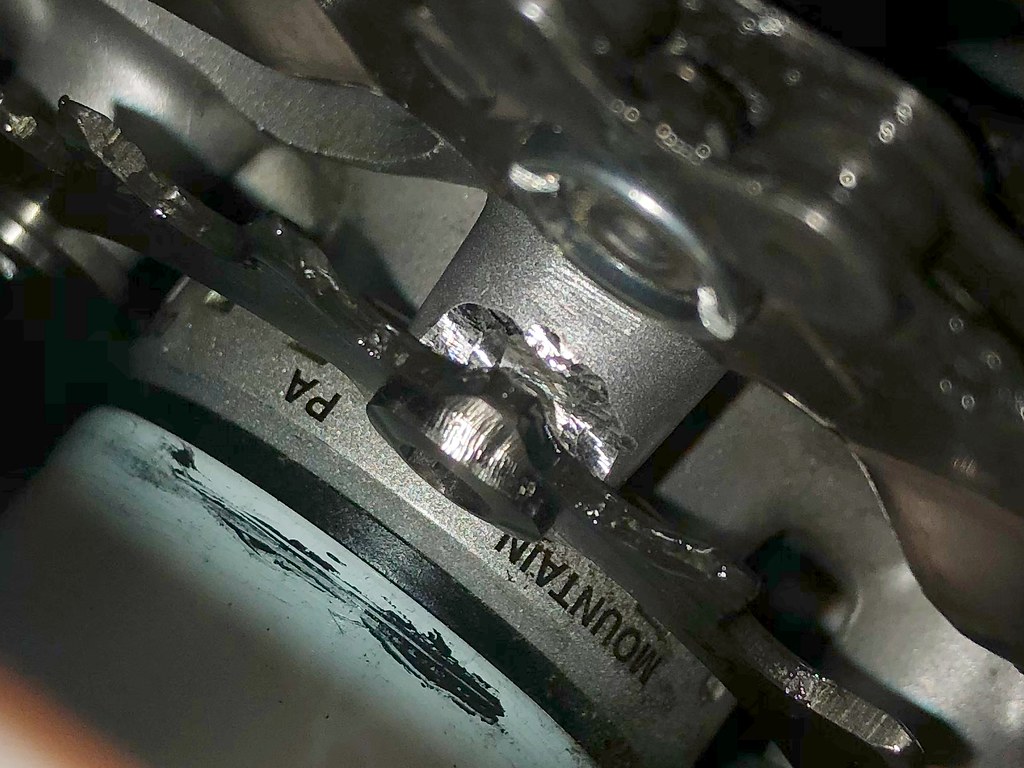
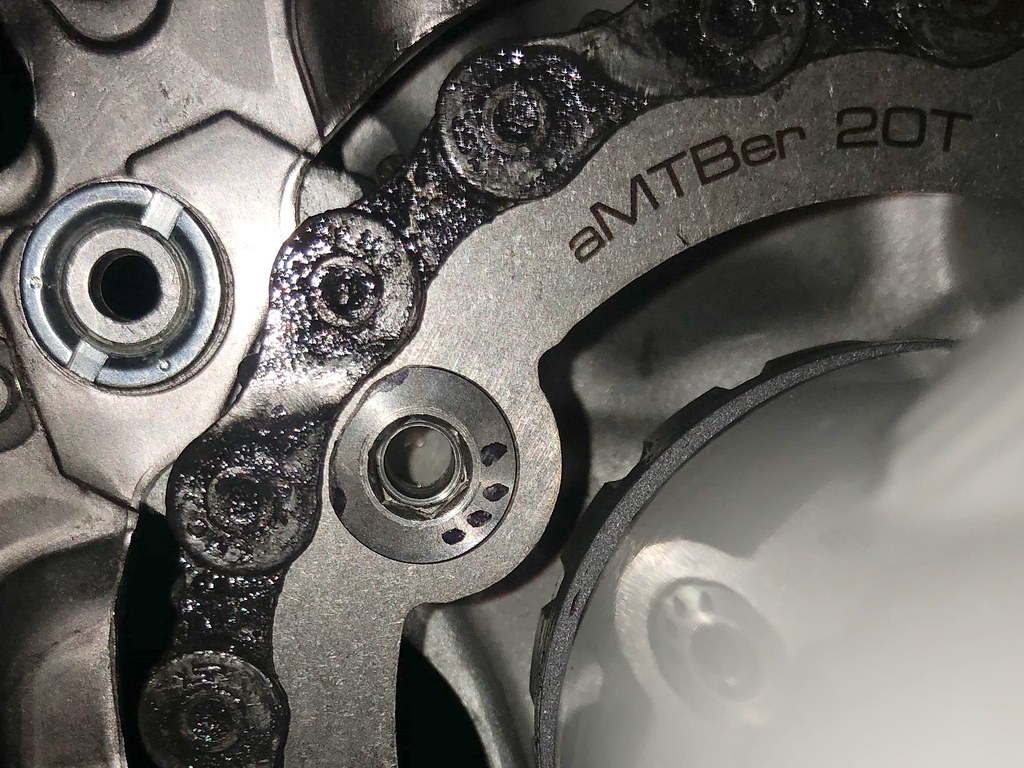
But this is a tricky operation, because the Shimano crankset isn’t designed to hold a ring that small. If I just bolted the new ring on without doing anything else, the chain would lay very awkwardly against the four posts holding the ring, and wouldn’t mesh with the teeth. The chain would slip along the ring unpredictably, or slip entirely off, causing me to lose control and crash the bike. And the chain itself would quickly become damaged as well.
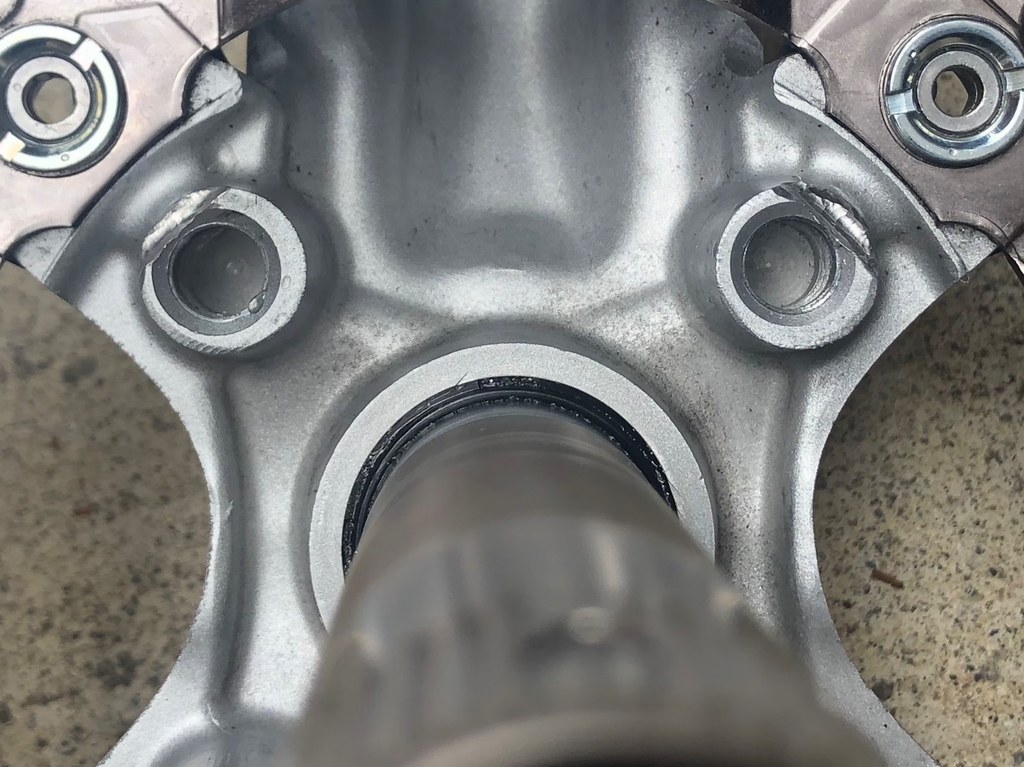
So what I’m gonna do is, take the cranks off the bike, remove the 22-tooth ring, shave down the four posts with a Dremel tool, and put everything back together with the 20-tooth ring instead.
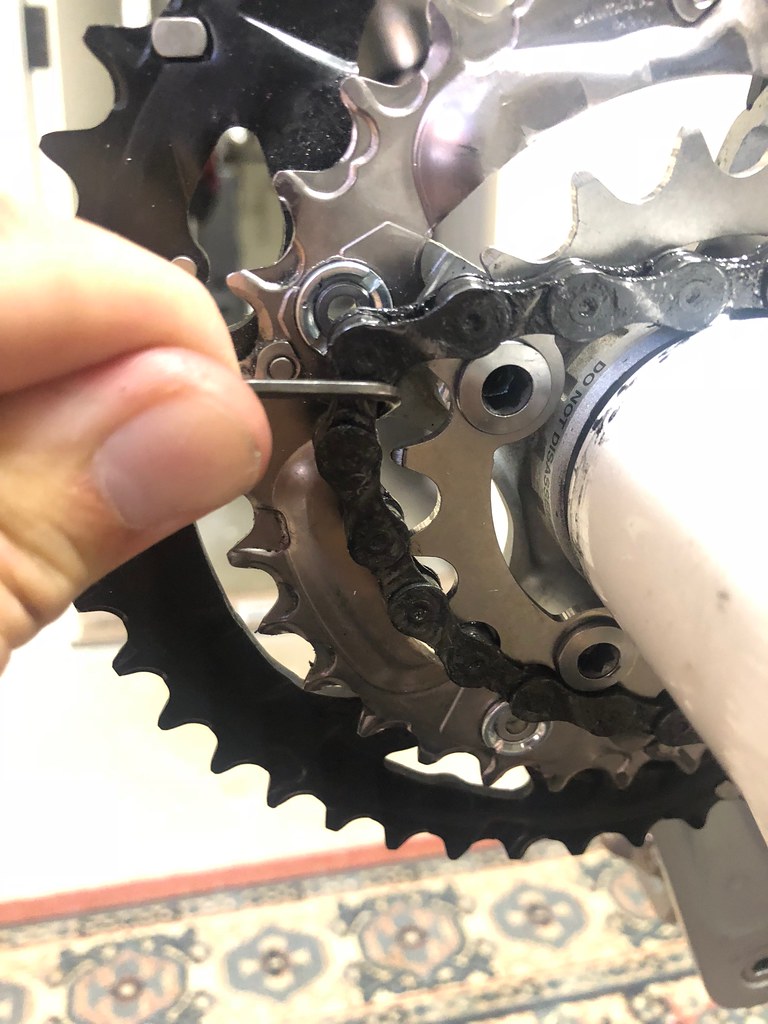
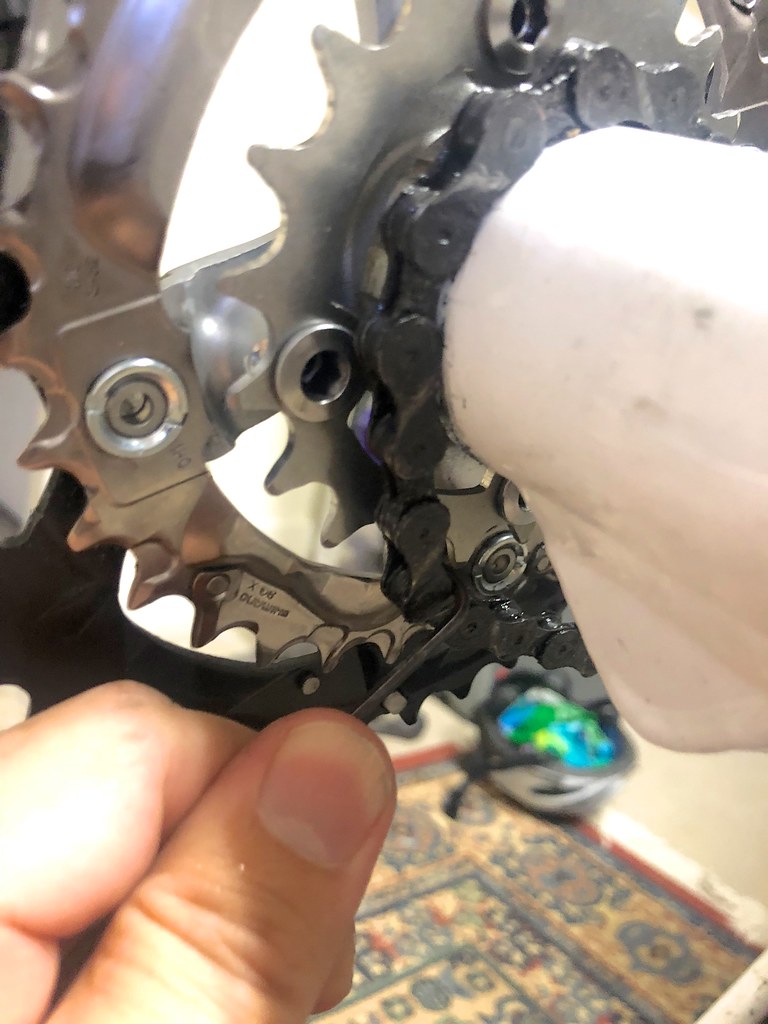
First things first. I’ve switched gears on the bike until I’m on the smallest front gear. Now I’m using my smallest L-shaped hex wrench to pull the chain off the gear as I turn the cranks, so the chain ends up resting on the boom of the recumbent. I want that greasy thing out of the way while I work.
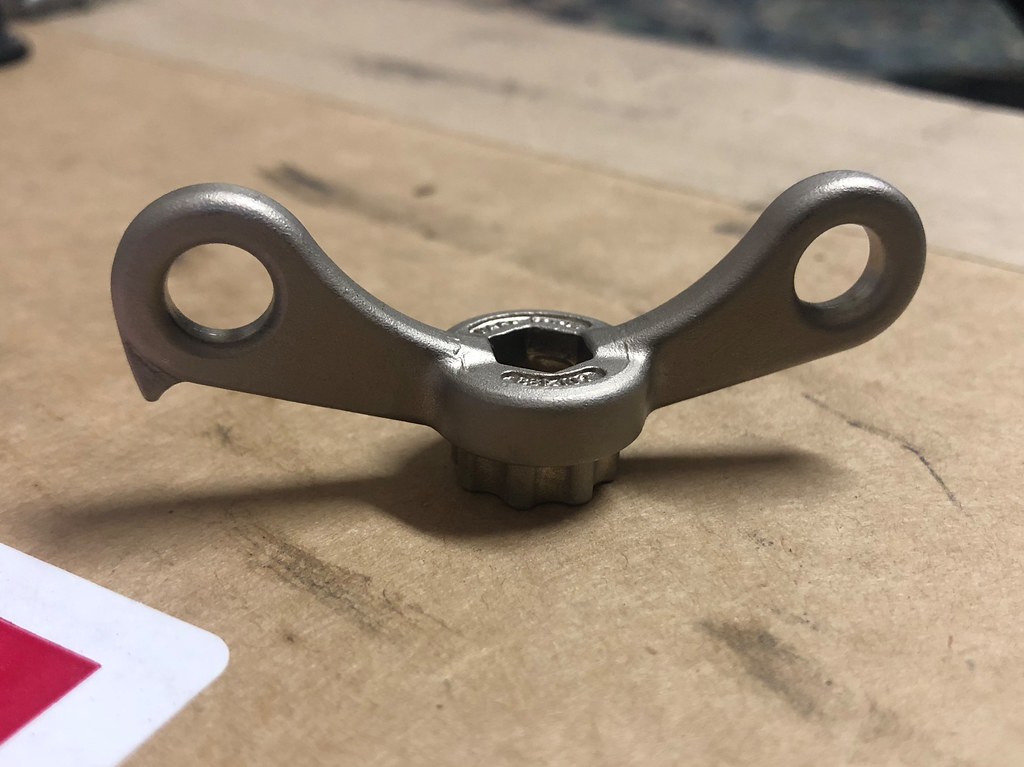
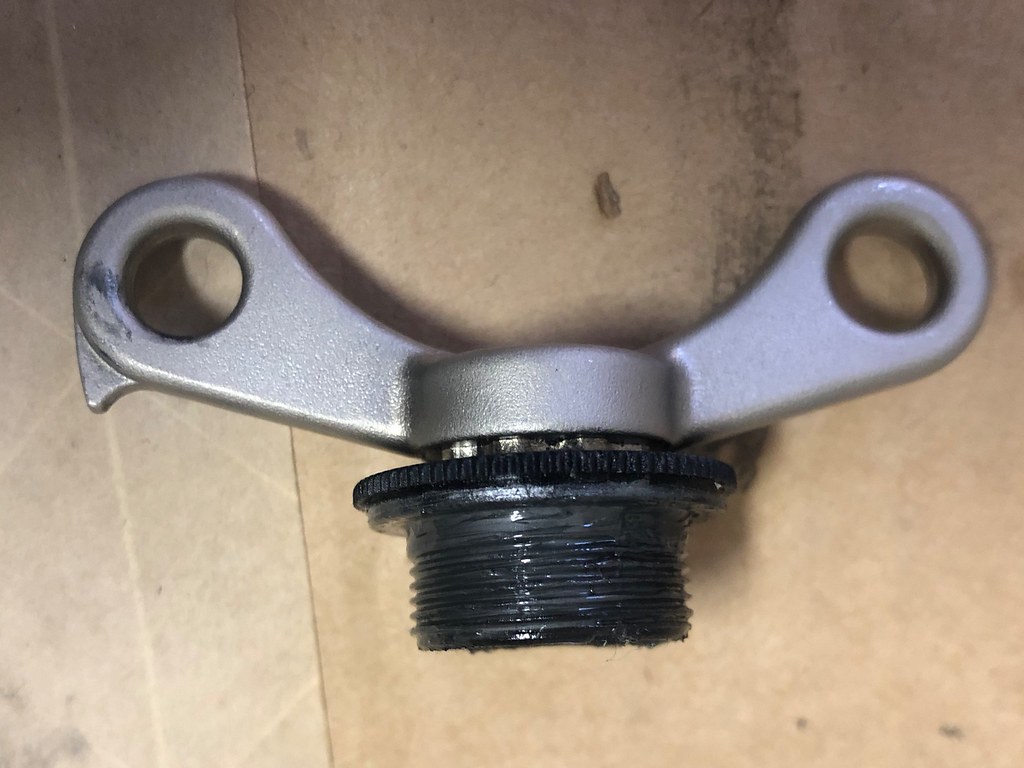
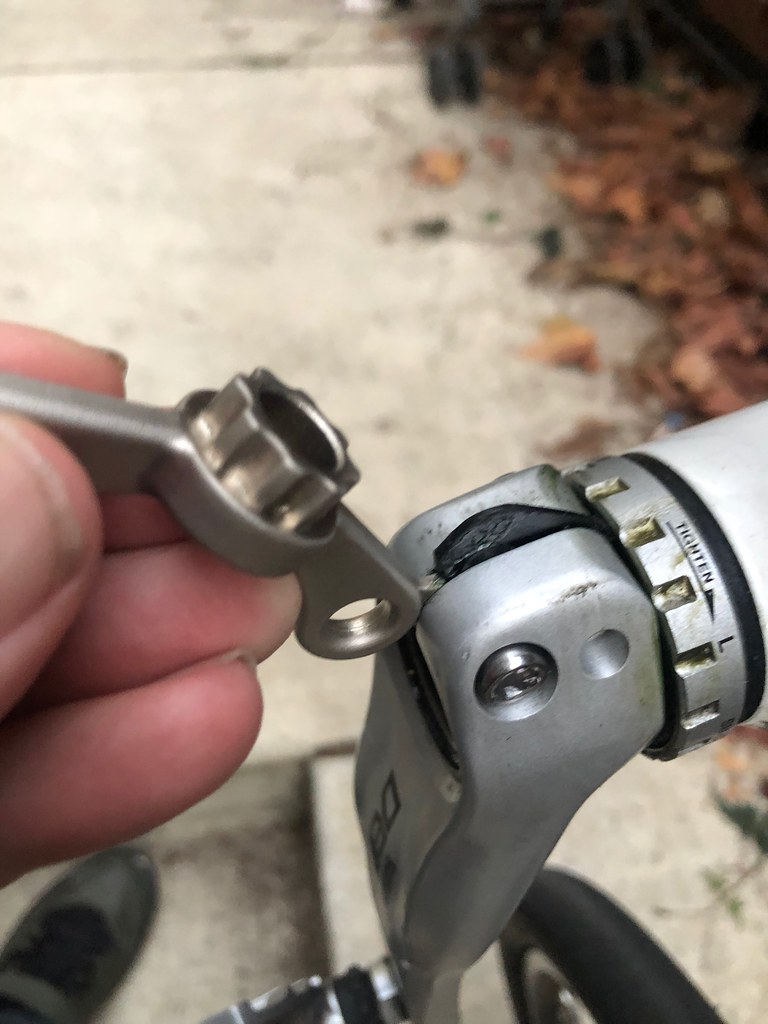
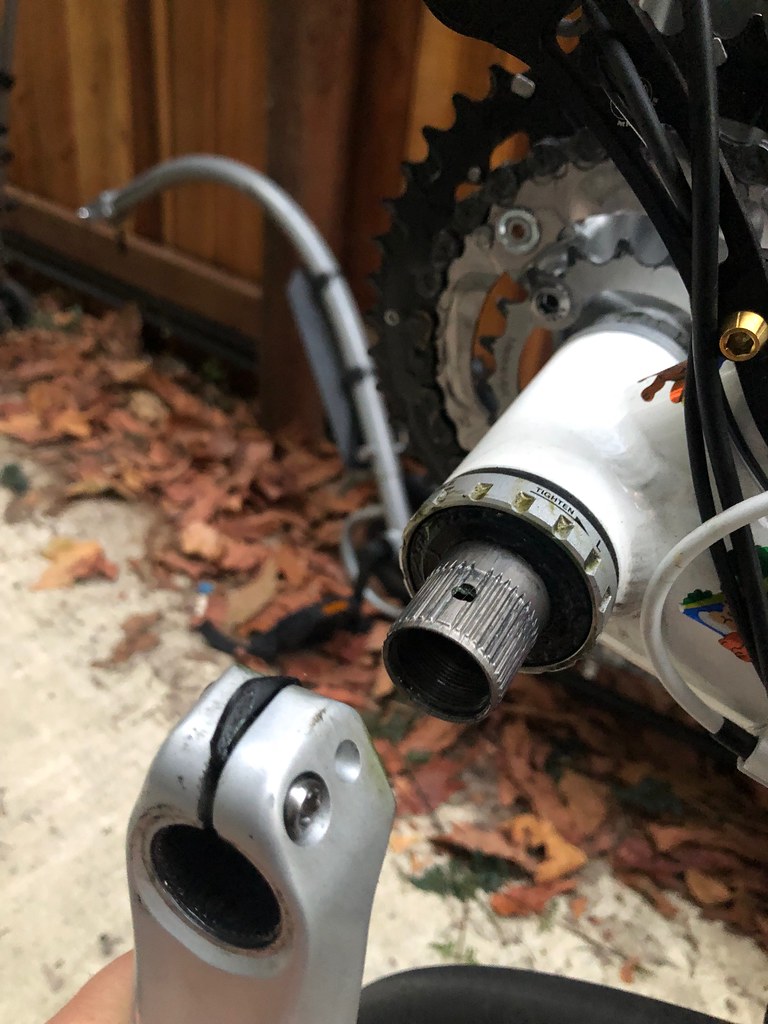
This little wingnut gadget is called an “Adjusting Cap Tool“. It’s for removing the plastic plug on the left end of the axle, where the left crank is attached. Not something I’m going to be doing all the time, but something that definitely goes easier if I have this fancy little tool. When I removed the plug, I observed that it’s actually screwed in very loosely. I need to remember not to tighten it very much at all when I’m putting it back on later.
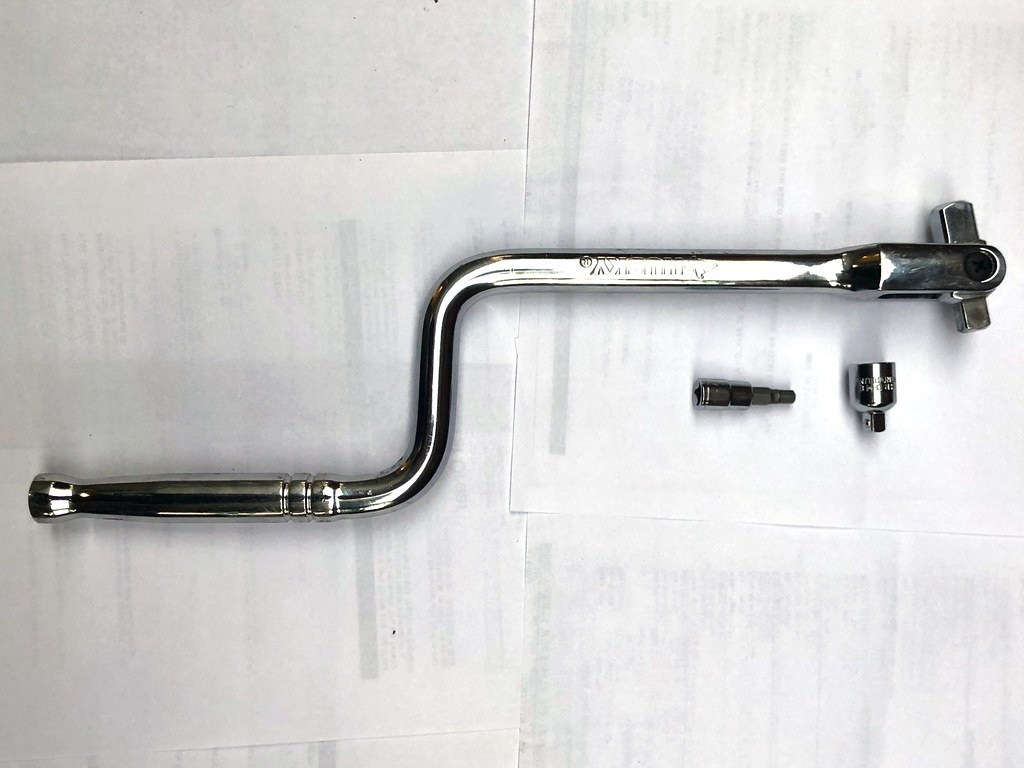
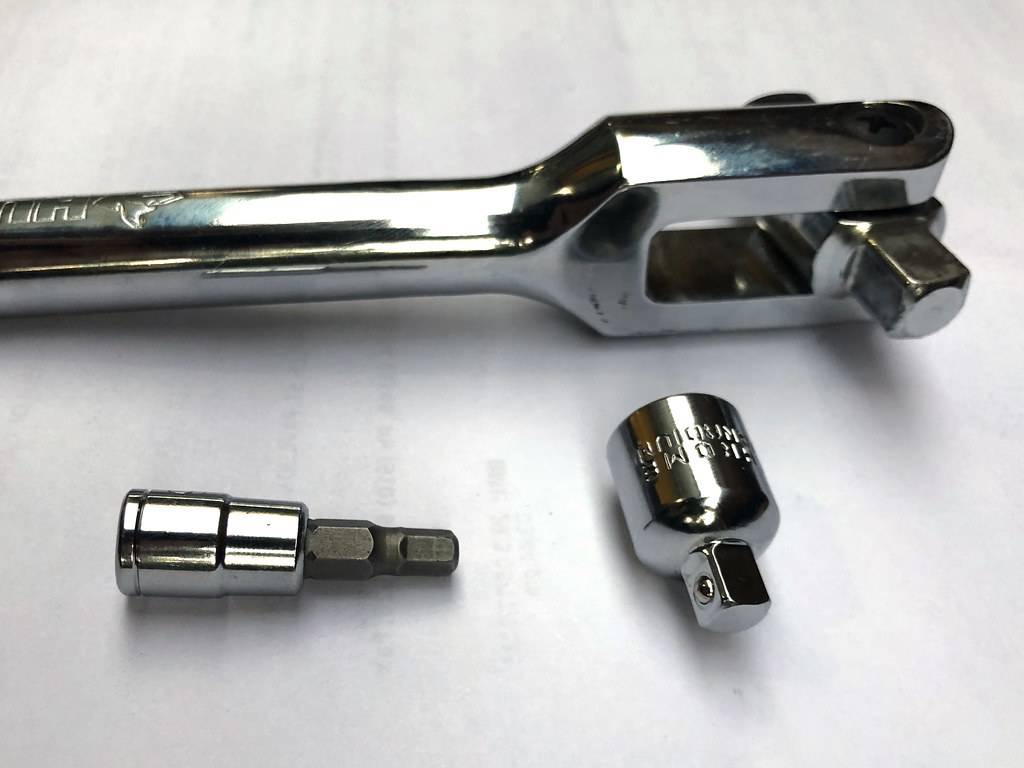
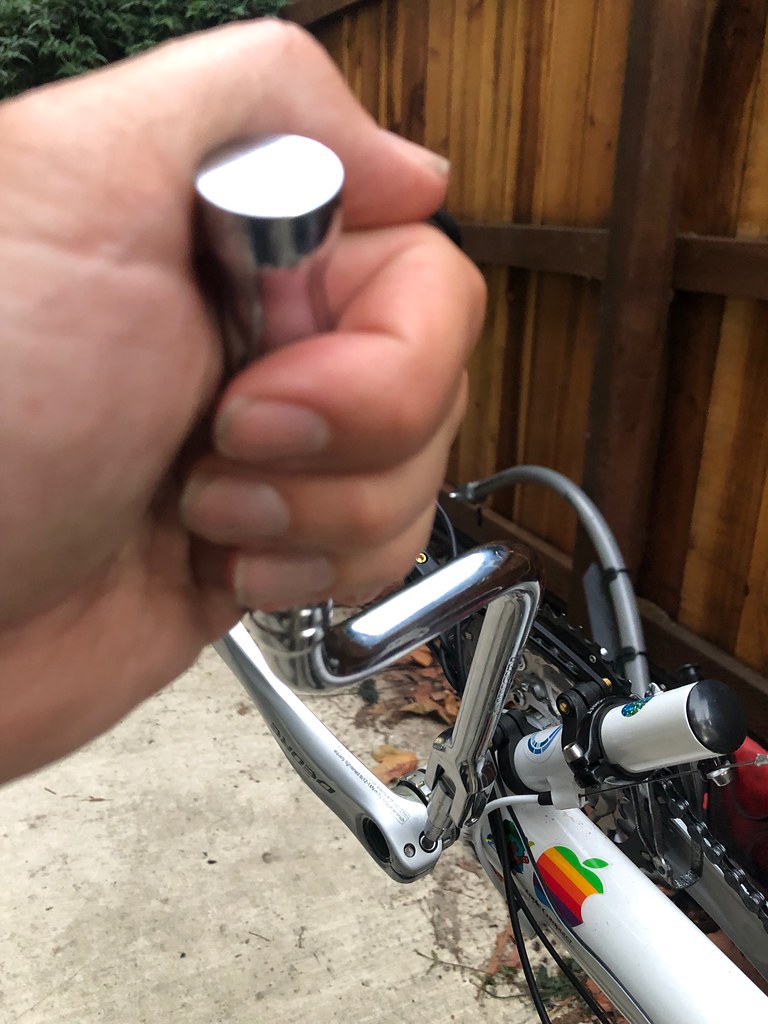
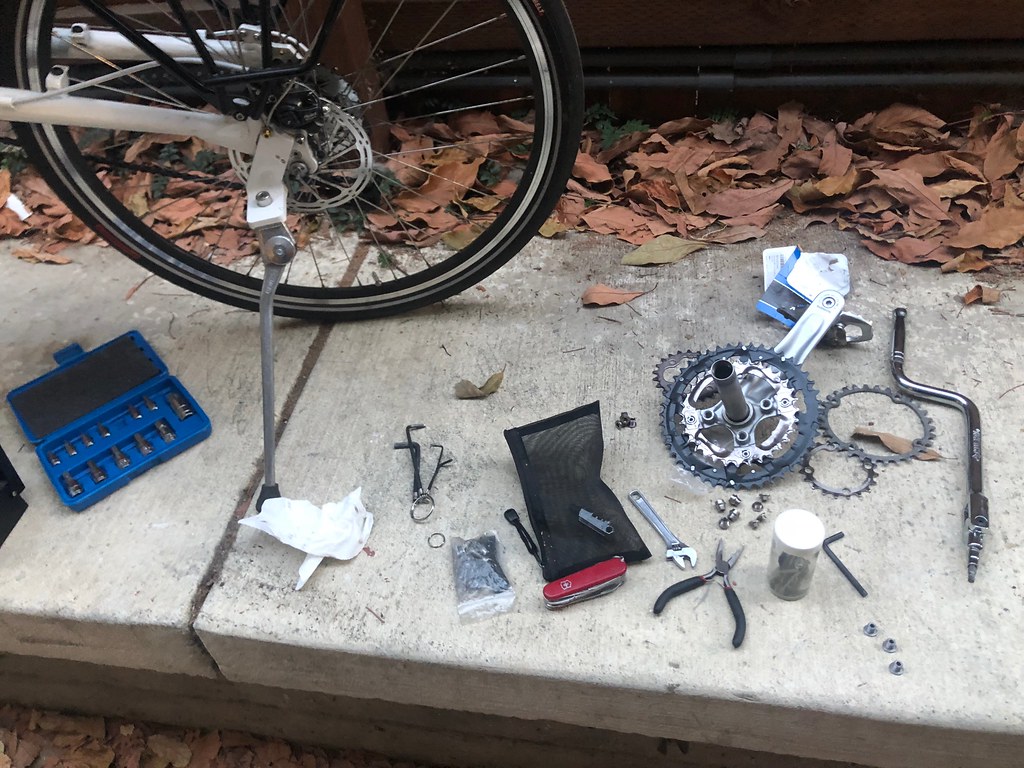
These items are strictly optional, but help the work go faster. The big thing is a combination speeder/breaker bar. Essentially a jointed handle that you can use to apply a lot of force and unstick bolts, or spin around like a crank to screw in bolts quickly. It’s the macho version of a wrench. The two smaller things are a 3/8" to 1/4" adapter and a 5mm hex bit socket. I used them like so:
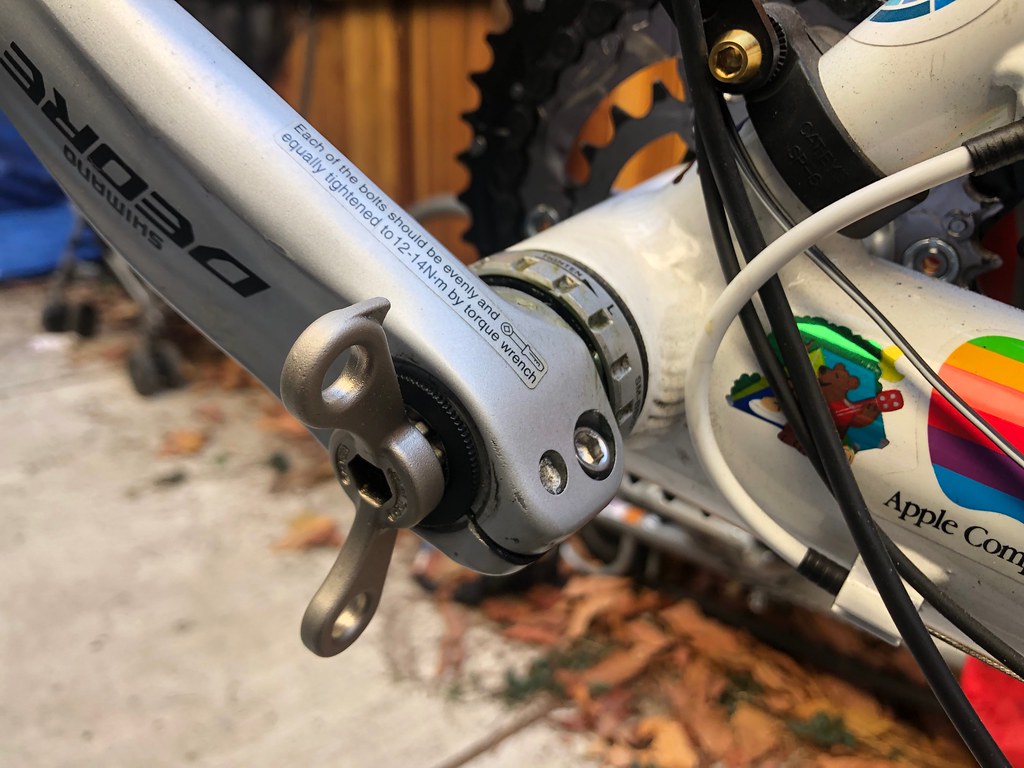
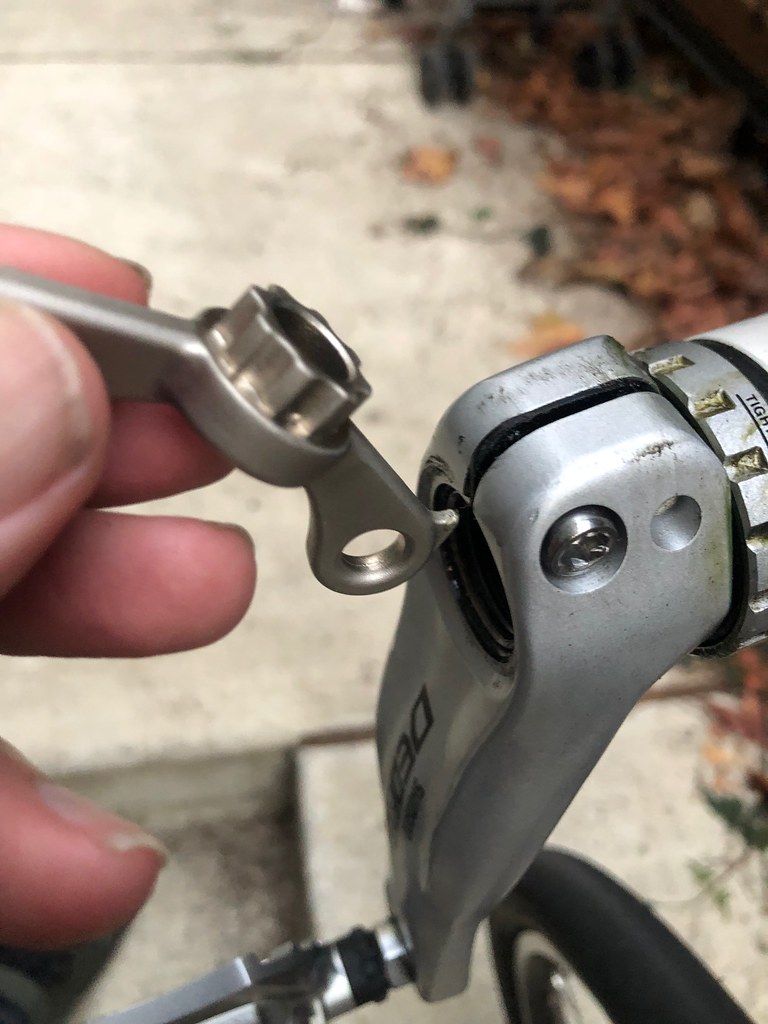
I did not need to remove the bolts holding the left-side crank, I only needed to loosen them two or three turns. Then I used the Adjusting Cap Tool again:
There’s a little metal safety catch on the left-side crank. It’s a last line of defense to keep your crank from sliding off if you forget to tighten the bolts or one of them somehow breaks. Using the little ridge on the side of the Adjusting Cap Tool, I lifted it up, so I could pull the crank off.
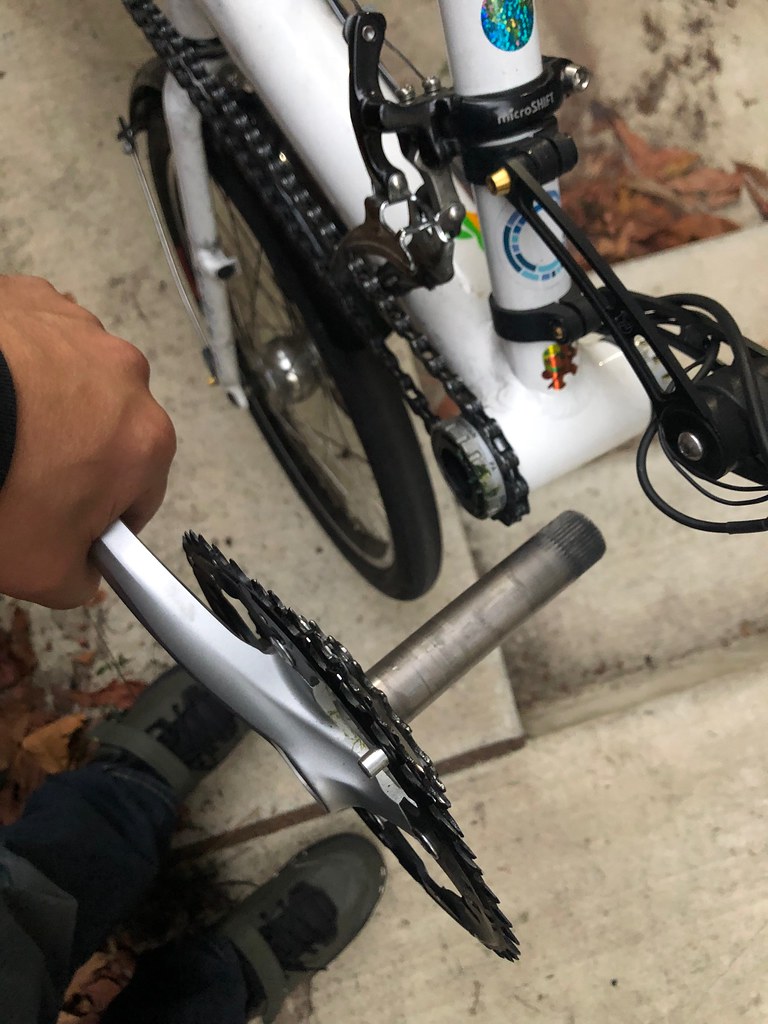
With the left crank removed, the rest of the crankset can be pulled out from the right side.
At this point I sat down with the crankset and started tinkering. I had a 30-tooth chainring that I tried swapping out with the 32-tooth ring, but that didn’t fit. I gave up on it and removed the 22-tooth ring, and bolted the 20-tooth ring into place.
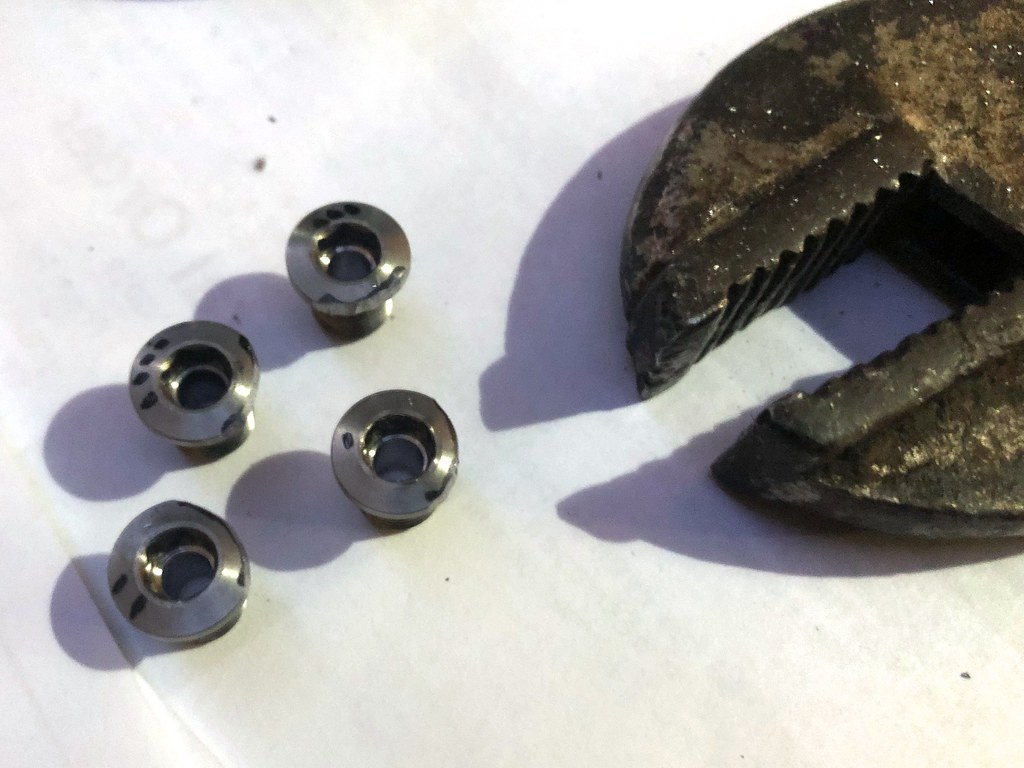
With the bolts tightened down, the next thing I did was use a permanent marker to label the bolt heads, so I could shave them down the same way I was going to shave down the posts. Once they were marked I removed them again, and took off the 20-tooth ring, and prepared for carving.
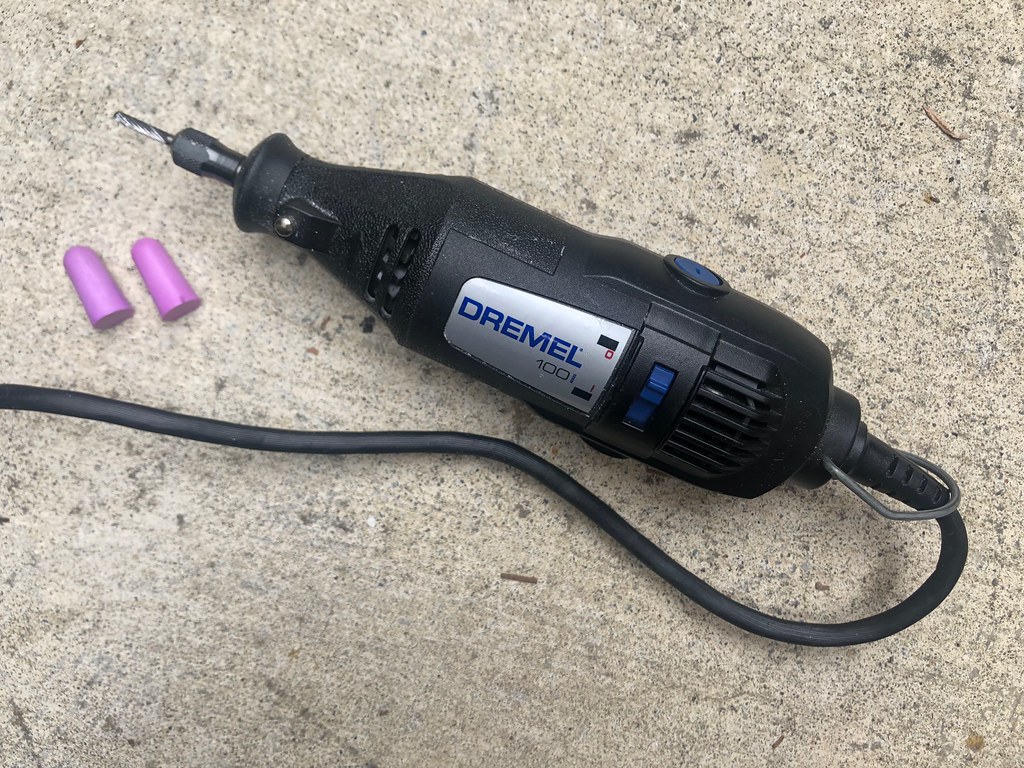
This is a Dremel tool with a tungsten-carbide tip, specially designed to carve metal. You can get both for under 40 bucks, and they are well worth it. Being able to easily carve metal, plastic, and wood is a weirdly liberating ability.
Note also the earplugs. Gotta have those. Carving metal can be loud as heck.
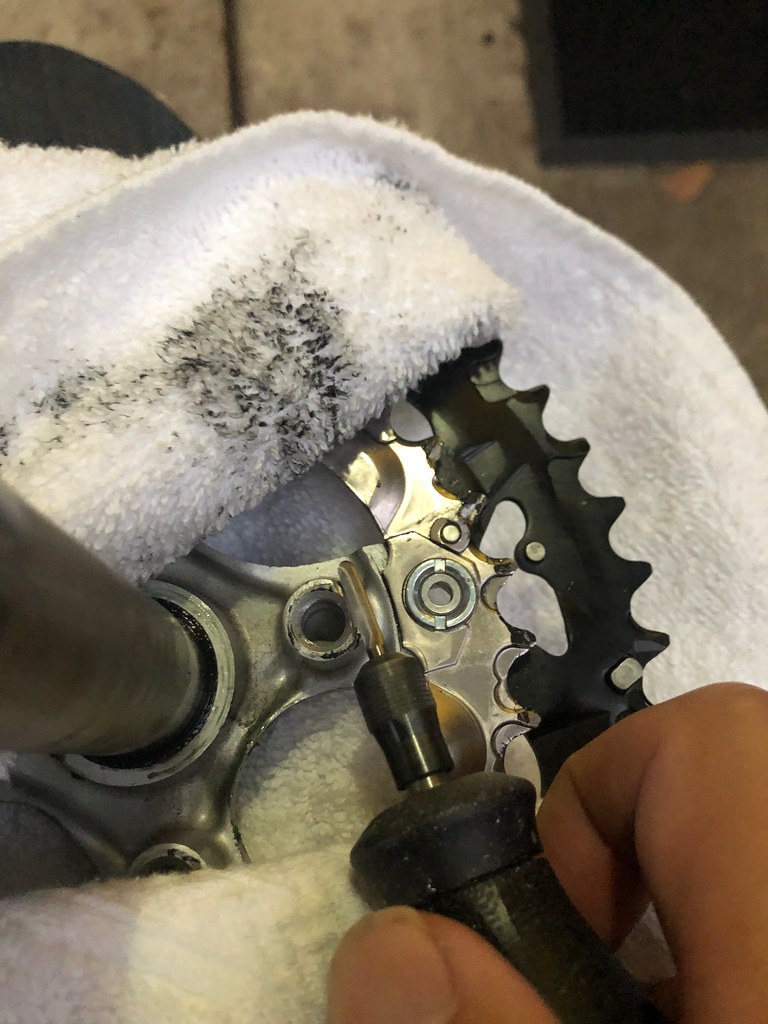
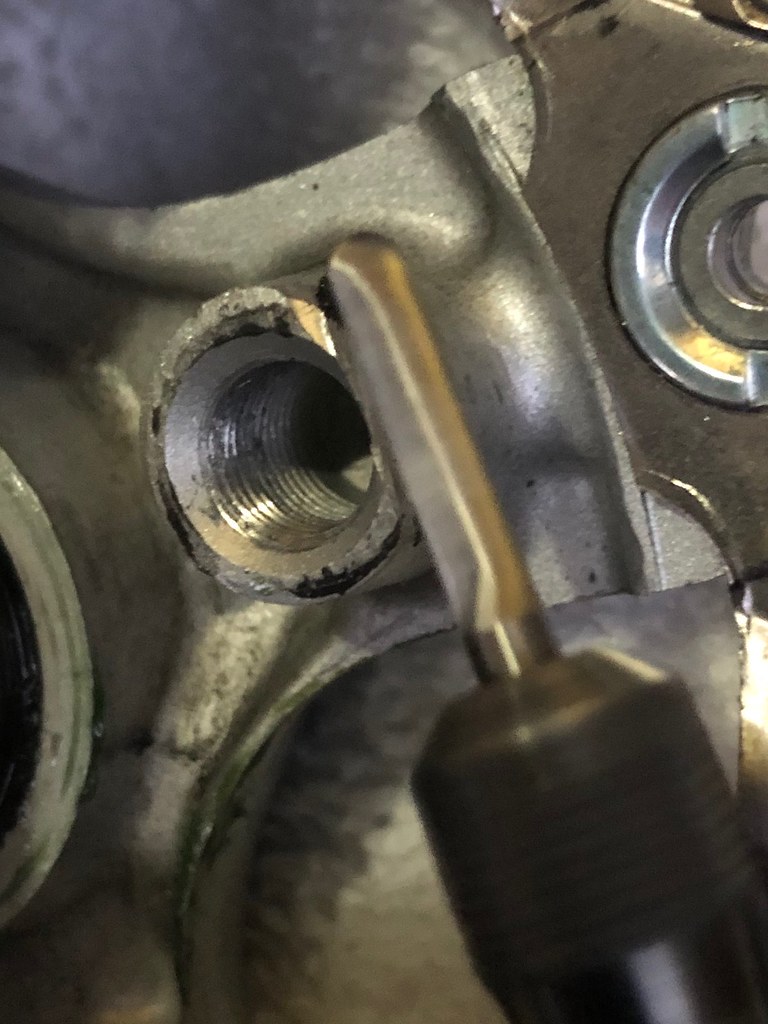
I put in the earplugs, wrapped the crankset in a rag, set it on my lap, and began carving the four inner posts down with the Dremel tool, cutting a good-sized notch away from the outer edge of each post.
I had a hunch that I’d need to cut the notches deeper, but this was a good start. I moved on to the bolts.
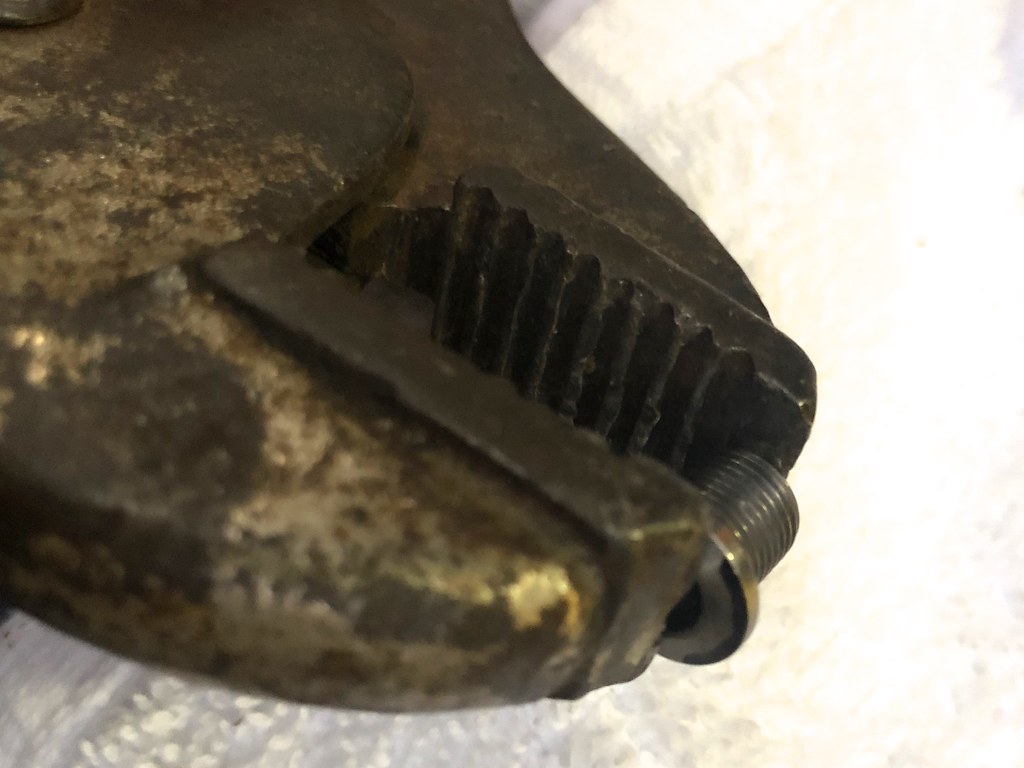
By sticking a bolt sideways in a pair of vise-grips with the marking line on the outside, I was able to run the Dremel tool along the edge and smooth it down very easily. It only took a few minutes to do all four bolts this way.
I did the carving outside over a section of driveway next to a drain, and then I poured water on the ground to wash the aluminum dust down the drain, and then I washed the aluminum dust off the crankset. Then I took a shower and changed my clothes. I don’t want aluminum alloy dust on my skin or in my lungs, or on my cat’s feet!
Then I reassembled the whole crankset, with the new 20-tooth ring and the bolts in place, placed the chain on the ring, and rode around for a few minutes.
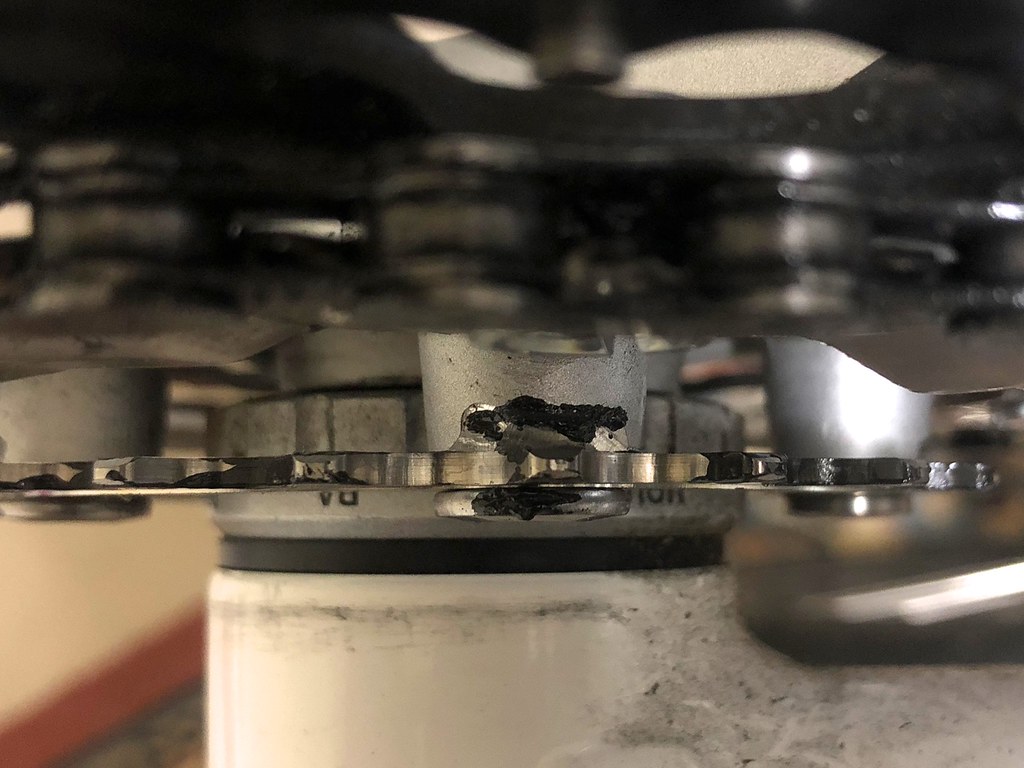
The result: Easily visible grease marks on all the spots where I needed to shave away more metal.
I took the crankset apart again and shaved away all the spots that had accumulated grease. Then I reassembled it for a second time, and did another test.
No grease marks this time. The shaved bolts and notches were perfect — and no bigger than they absolutely needed to be. I was definitely compromising the structural integrity of the lowest gear on my crankset, but at least I wasn’t compromising it more than I had to.
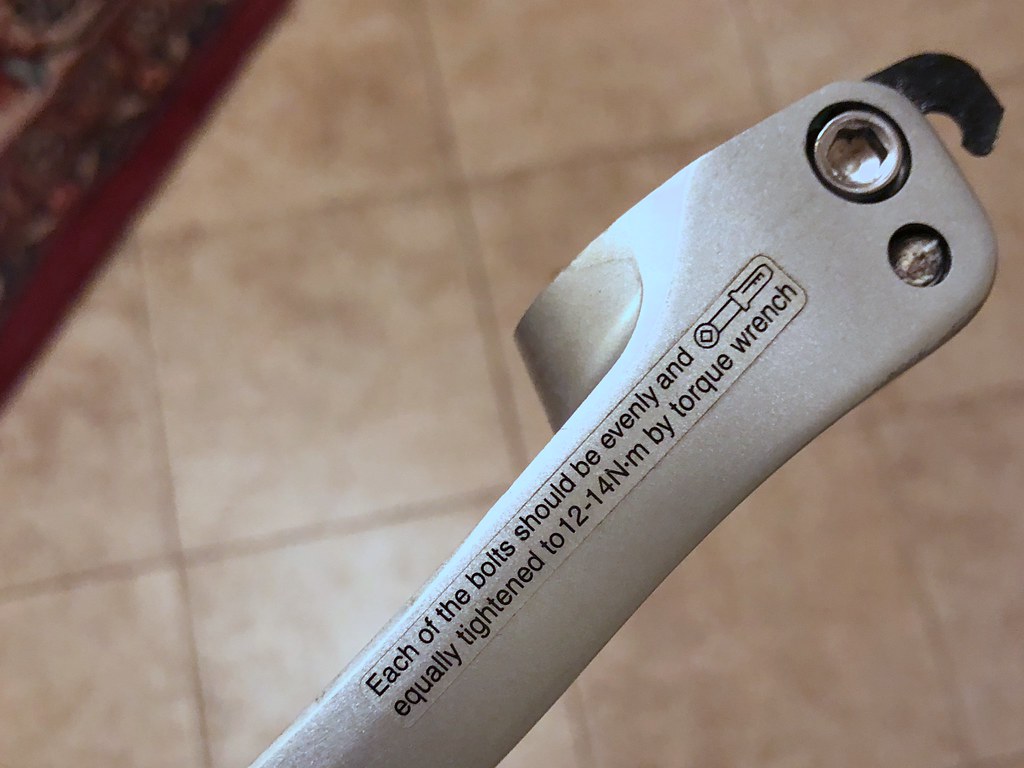
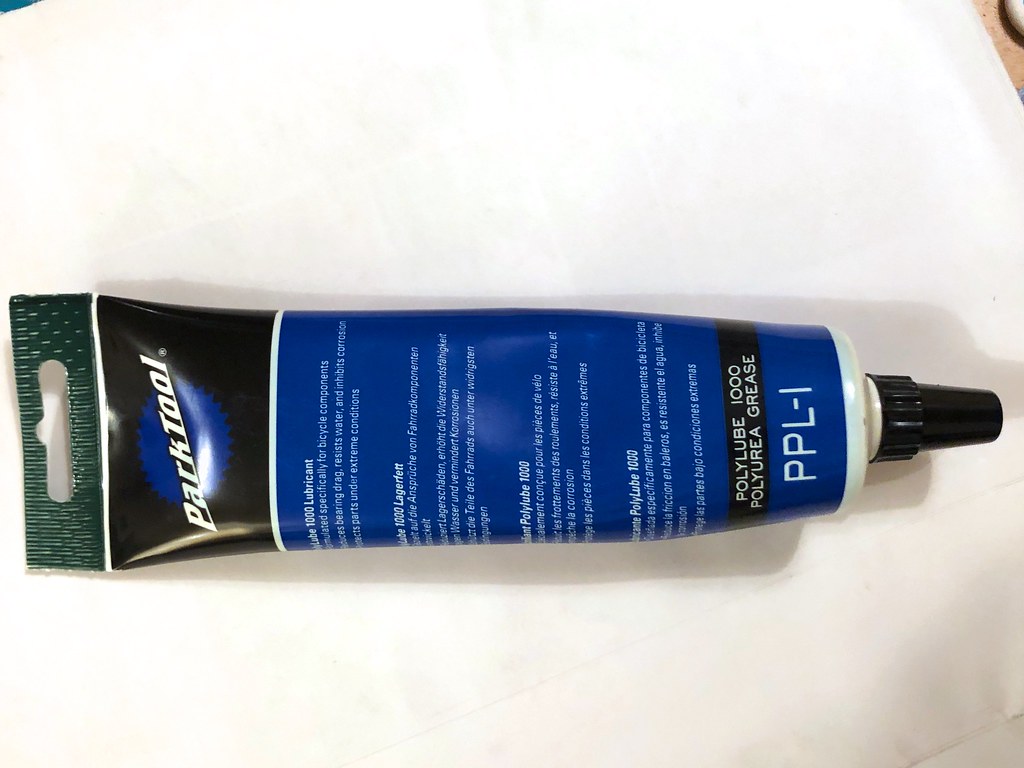
For the final assembly I made sure the bolts were tightened according to the instructions, and re-applied a bunch of lubricant.
Mission accomplished! So, what did I gain?
I loaded 65 pounds of gear onto the bike, using both racks and a backpack. Then I took a ride around Oakland, deliberately aiming for really steep hills. To my astonishment, I could pedal up all of them comfortably. My previous minimum speed had been about 2.5mph. Now I could drop all the way down to 1.9mph without losing stability. That is slower than a casual walking speed!
I know, I know. You’re saying, “what kind of brain-damaged lunatic actually wants to pedal a bike that slow, for hours at a time?” Well, before you judge cycle tourists, consider those people who run in place for hours every week on a treadmill inside “fitness centers”, looking at a television, or staring at a wall. At least we’re outside!
In traffic!
… Okay, yes. We are lunatics.

I use a 20-tooth granny on my triple crank(44-32-20). So far, so good. No need to use pie plates in back. Close to medium ratio gearing, okay. Huge gaps between cogs avoided.