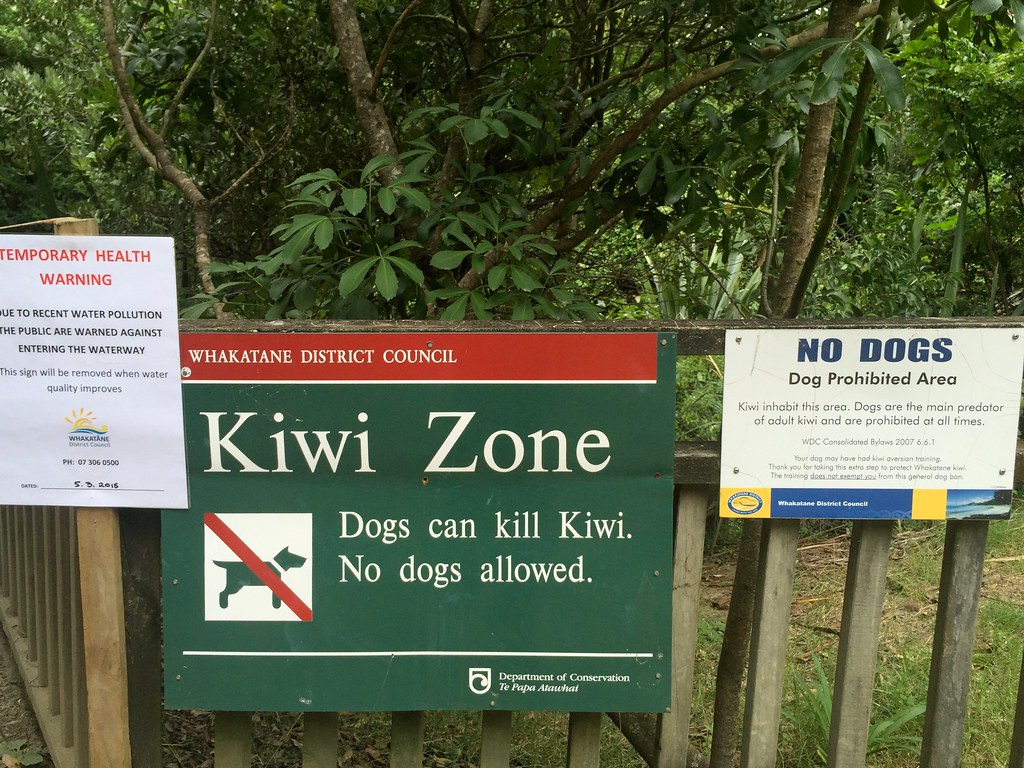
Valoria II: Custom colors
Over the following weeks, I barraged Zach with questions about customizing the Giro 20, forming a plan of action. The first thing I asked about was color:

This is what a Bacchetta frame kit arrives in.

Here are the parts I want to re-coat. That’s the main boom with all the decals removed, the fork, the kickstand attachment plate, two segments of handlebar riser, and the cap that screws onto the end of the riser to attach the handlebars.
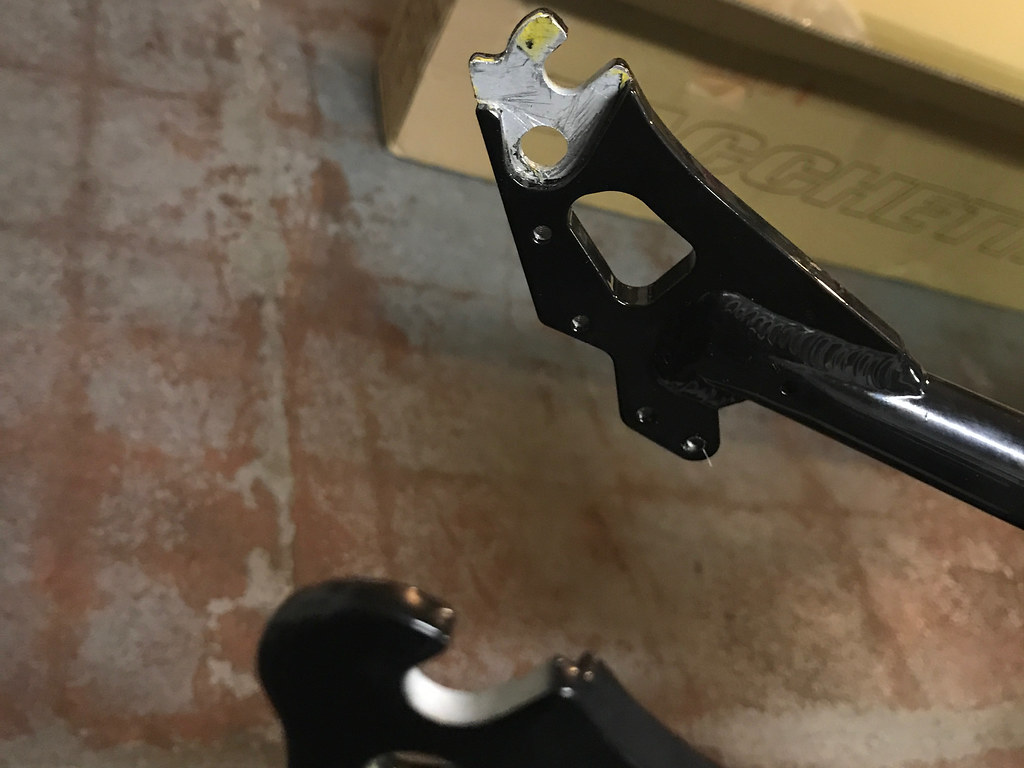

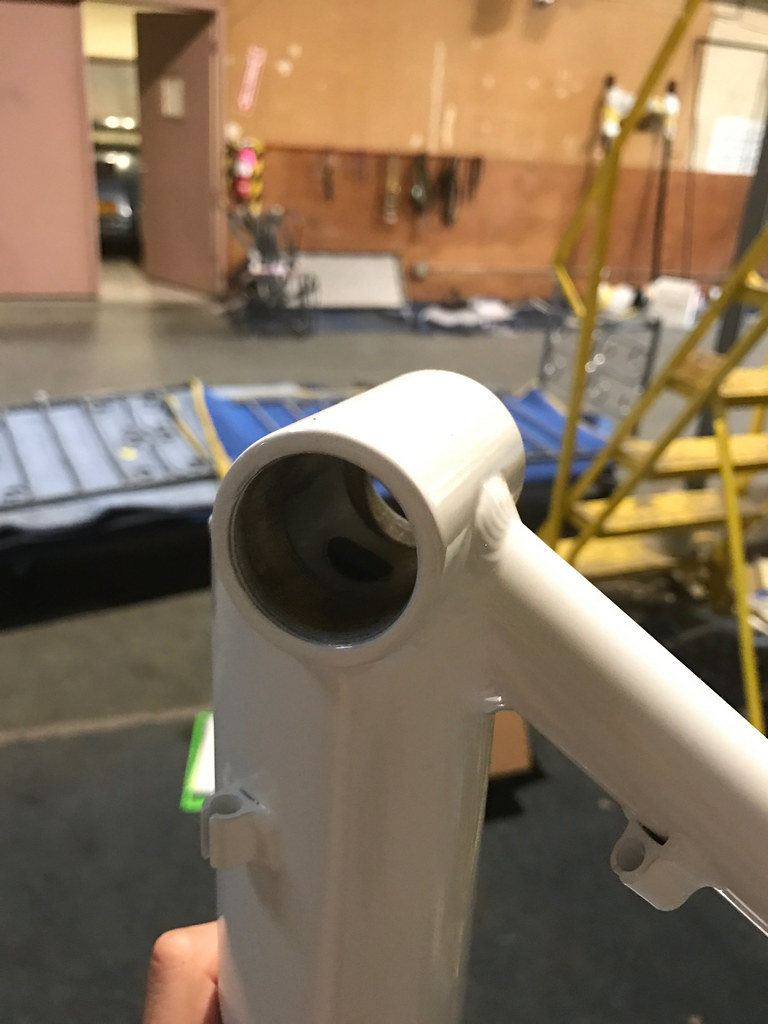
The boom of a Giro 20 is made of aluminum, but it comes with metal spacers that attach to the rear dropouts. You can get these in a couple of different sizes, to match different wheels. When re-coating this frame you need to make sure that you don’t coat the inside area where these spacers connect, because the fit has to be precise.
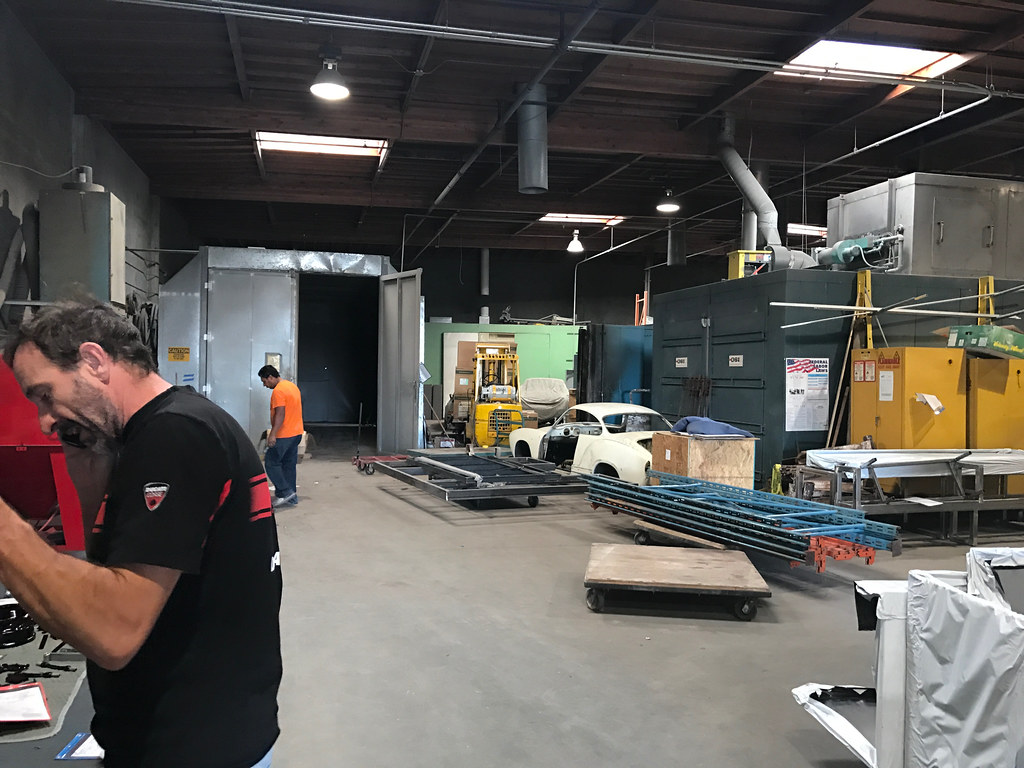

I called and emailed a bunch of different places in the Bay Area, and eventually paid a visit to West Coast Powder Coating in South San Francisco. Just a brief look around at their current projects convinced me that they knew how to properly coat a bike frame.

I dropped off the parts, and in about a week, I came back to find them coated. In general they did an excellent job. The new coat was actually more precise than the original factory one:

Before ...
... After
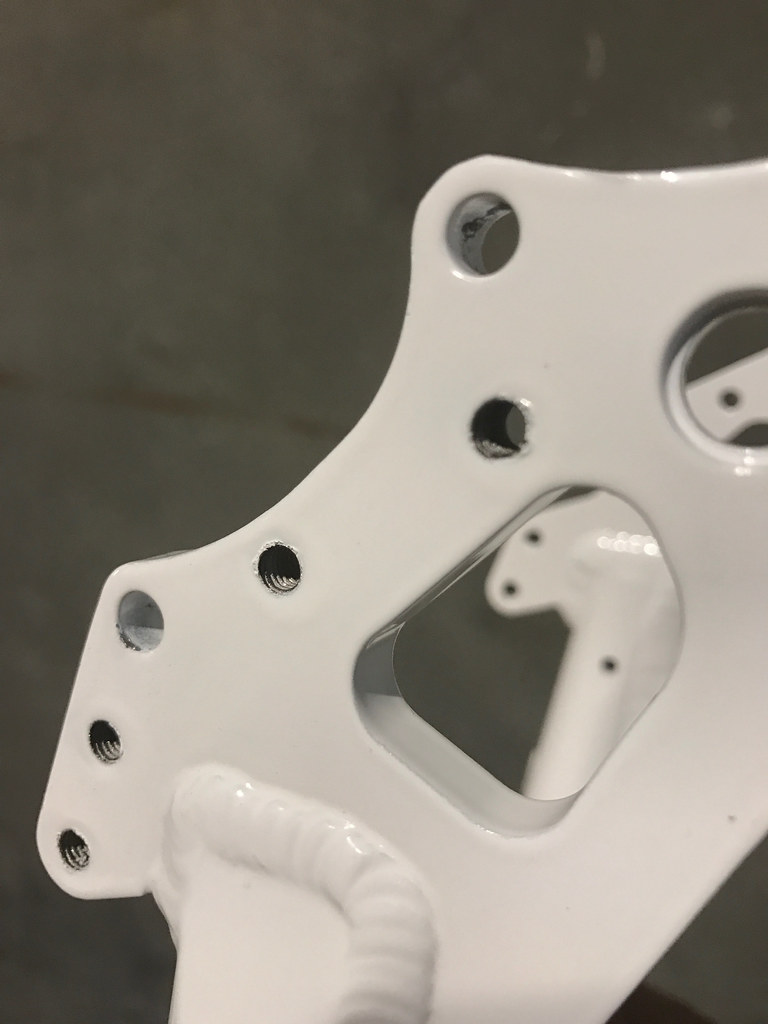
Everything that was threaded was left bare, as it should be. The one exception was the spot where the steering column passes through, a.k.a. the “head tube” on a regular bike frame. They’d coated it all the way through:

I wasn’t sure if this would be a problem later. But, I didn’t want to demand a re-do of a job that was already so close to perfect.
So I wandered over to their work area …


… and pilfered a couple of large rubber stoppers from their bin!


It’s possible to remove powder coating with paint thinner. You just have to be very careful to make sure that the thinner only contacts the area you want to remove. It’s also quite toxic. You don’t want to get any on your skin, even for a short while, and the fumes are intense.
I wrapped the stoppers in tinfoil, to keep the paint thinner from dissolving them, then plugged up both ends of the head tube and filled the area inside. The idea is, you let the paint thinner do all the work – softening up the coating – so you don’t have to work so hard scraping it away afterwards.
About an hour later, I pulled out the stoppers, thoroughly rinsed the head tube and everything else, and with only a little bit of poking from a wire brush, the tube was clean.

I also had to remove some of the coating from the curved handlebar stem, because it needed to fit inside the straight piece. I did that by brushing on a few narrow stripes of paint thinner, peeling off the strip that came loose, and cleaning it up with an X-acto knife.

And there we go! A Bacchetta Giro 20 frame in a custom color!