NZ Day 2: Kayaking Around Limestone Island

We flew in to Whangarei (actually pronounced more like “Phongaray” due to some interesting linguistic shenanigans) because there are a lot of different outdoorsy things to do in only a short distance. The closest among these is kayaking, and for that we made a reservation with Mark (pronounced more like “Mahk” due some cool kiwi accent shenanigans) of Pacific Coast Kayaks.

We were both pretty tired, but game for an adventure. Plus it would be a nice break from tinkering with bicycle parts.

He picked us up right from the hotel with all the gear we needed, and it was only a few minutes to the beach. Along the way we chatted about ourselves. “You’re a musician of some kind, aren’t you?” he asked. “I like to think I am,” I said. “Great! I thought so,” he said. “There’s something we’ll see during the tour that I think you’ll like a lot.” Intriguing!

Colorful beaches!

First find of the day!

The beach itself was quite colorful, and littered with many shells that would have been snatched up by curious kids in an instant if they’d been spotted back home in the Bay Area.

While we got ready, a few birds checked us out. They lingered next to a dead crab that washed ashore near the kayaks, until one bird in particular landed and scared the rest of them away, by ducking its head down, fluffing its wings up, and charging straight across the ground at the other birds, screaming “RAAAAAAAAAAAHHH!”

I could easily imagine a flightless dinosaur doing the same thing, millions of years ago. Coincidence?

Eventually, we were all ready to go. Look at those goofy excited grins!

Our first ride on the kayaks went directly across the bay towards the east side of Limestone Island to check out the ruins of the old lime refinery. The sea was a bit choppy, and we were too nervous to get our cameras out, but we made it to the shore without incident and went strolling around.

There were some handy signs around to tell us about the restoration efforts, and the geography of the island. They also warned us about the animal traps:

As a human you’d have to work pretty hard to injure yourself in that, but stoats can just walk right in…

The ruins were gorgeous, even on this overcast day. It was interesting to see the different styles of architecture and engineering used during the two phases of the refinery’s history, in the 1850’s and the 1880’s. Everything made of wood is of course long gone, but with some imagination you could almost see how the structures came together. Mark pointed out a barracks, and a cement foundation that was all that remained of a dance hall.

In fact, Mark knew a great deal about the island, from the Māori occupation all the way up to the present-day ecological efforts, and he told it to us while we hiked around taking pictures. In the above photo he’s explaining how that mound of dirt was deliberately shoved in front of the furnace opening to try and keep tourists from wandering inside and getting hit by loose masonry. Not a complete success, given how the plastic fence is bent out of shape. Hah!

One of the main attractions was the giant multi-chamber processing tank, built right next to a hillside with unrefined chunks of limestone practically spilling out of it. We looked at those for a while and then wandered inside, where we discovered the surprise that Mark told me about: Inside the high walls of the tank, you can play the exposed rebar like a xylophone!

So, of course, we jammed for a while.

The next attraction was even more amazing, I think. We left Limestone Island and set out on a hard route into the wind, east and then south, and eventually reached the entrance to a mangrove forest. The tide was rushing inward, and from there we mostly set our oars aside, and rode on the current all the way through the forest, from east to west. I took out my phone and made a time-lapse recording of part of the journey.

It was amazing. And as we went deeper into the forest, the weird mixing of ocean and sky intensified, until it was like drifting around inside an optical illusion.

You know that scene in Spirited Away where the main character travels across a water-drowned landscape while piano music plays? This was that, in real life.

You know that scene in Spirited Away where the main character travels across a water-drowned landscape while piano music plays? This was that, in real life.

I would have taken the kayak deeper, but the scrape and crunch of branches turned me away.

Eventually we emerged into an area about the size of a football field where the water was about 10 inches deep, clear, and dotted with tiny emerging mangrove shrubs. It was there I encountered my first piece of rare New Zealand litter (and compared to the Bay Area, it really is rare) – a large glass bottle, about the size of a wine bottle, filled with sand and plant debris. I reached down and pried it out, rinsed it a few times, and stowed it inside the kayak for recycling.

Just keeping things tidy for the next guy…

Our next stop was back on Limestone Island, for lunch. Mark made us some very tasty sandwiches. We also met the resident groundskeeper, and I spotted one of the ten zillion cicadas hiding in the foliage.

What the sheep won't eat, the tractor shaves down!

From there we went on, circling the rest of the island.

We checked out some cool rock formations …

We made it to Limestone island!

The island beach was a massive heap of colorful mussel shells.

… and landed at another beach so we could check out the remains of the foreman’s residence.

When all the walls were plastered and the windows were intact, it must have been quite lovely. Now instead it looks mysterious and gloomy. It makes me imagine that there’s some unsolved murder haunting the place, or a buried treasure somewhere on the island with half-destroyed clues still visible on the crumbling mantelpieces or sneakily encoded in the geometry of the rooms!

The inspiration for the halls or Erebor, no doubt.

The basement was especially spooky. And, the inspiration for the halls or Erebor, no doubt.

This car is a "Carry 4WD". Here's Kerry next to it!

Kerry also found a “Carry” car. Cute!

Kayaking victory!

After that, we headed for the mainland, and the spot where we launched. Then we spent the rest of the day lounging around in the pool, napping, and eating more food, trying to shake off the rest of the jet lag and prepare for our first bicycle ride.

Onward!

NZ Day 1: Flying In

The theme for today was Oversize Baggage!

Look at the size of those containers. That’s two recumbent bicycles and all associated gear – a little over 200 pounds total. The airline hauled all that, plus the two of us with our backpacks, over 6500 miles across the Pacific Ocean in less than a day. The modern world is amazing.

Still, there were a few snags. The shuttle that arrived to take us to the airport could not fit the longest box, because a plastic divider was installed in the back, separating the seats from the luggage area. We’d called ahead multiple times and given the dispatcher the exact measurements, but the dispatcher apparently ignored all that and sent the standard van anyway. There wasn’t enough time to call another van, so I ran inside my house and fetched an electric screwdriver, and removed the plastic divider myself, handing the loose parts to the driver as I went. The driver didn’t mind; he was just happy that we had a solution to the problem. Extra points to him! Zero points to the dispatcher. Boo! Hiss!

Once we actually got the boxes to the Air New Zealand check-in counter, the attendants there could not believe we were allowed to bring such huge items as luggage. It wasn’t that they had any specific policy in mind that disallowed it, it’s just that the sight of those boxes made them want to say no. In fact, they assumed it was against the rules, until I called up NZ Air’s own baggage policy website on my phone and showed it to them, and read the relevant parts out loud.

The policy is this: A recumbent bike is an oversize sporting item. If it’s disassembled and packed into a container within 1.8 meters on the longest side and under 70 pounds, it is permissible. A bike divided into multiple boxes to fit within the per-container size and weight restrictions is still counted as a single item of luggage.

So, according to their rules, this is two items of luggage, each one oversize and overweight. We had no other checked items, so all we needed to pay was the oversize and overweight fee for each bicycle.

If you’re patient enough and make your case with confidence, and don’t mind waiting around for the inevitable discussion with the managers, and perhaps the managers’ managers, you’ll make it through at that price. If you’re paranoid, you can do what I did, and overpay the luggage fees in advance, but be warned: Even though the website says the ‘oversize’ and ‘overweight’ fees are interchangeable with the ‘extra bag’ fee, the person at the counter might claim otherwise, and ask you to pay them all over again, minutes before your flight, without letting you apply the extra value of one to the other. Then, your flight will leave too soon for you to get a refund for the ‘extra bag’ units you purchased, screwing you out of many hundreds of dollars.

I say, if it looks like that’s about to happen, pitch a genuine fit. That’s just plain wrong!!

Anyhoo, we got our gear checked, and spent the next 15 hours in a series of highly uncomfortable chairs, barely getting any sleep. You know the drill. Long-haul international flights!

Here’s the view passing over Auckland. Pretend the window glare is a hallucination due to lack of sleep!

This is us in SFO, then us in Auckland a zillion hours later. As uncouth Americans, we made sure that our first meal in New Zealand was a terrible one. We’re both utter zombies at this point. I’m running on about half an hour of sleep.

To catch our connecting flight we had to walk about half a mile outdoors between terminals. Not a fun thing to do while hugely sleep-deprived. I was muttering the whole time: “Honestly, New Zealand, what brought about this failure of urban planning? Is this some sort of hazing ritual for foreigners? HUrrrr. BRAAAAAAIIIIIINS.”

Anyway, we caught our connection – a charming little prop plane that flew nice and low, giving us an enticing view of the terrain we would soon explore – and then we had one more oversize luggage wrestling match, this time with the shuttle from the airport to our hotel. The only strategy that worked was to commandeer an empty shuttle and stuff the box down the passenger aisle, blocking the whole thing, then shove the smaller boxes into the luggage area, filling it up.

Luckily it was a slow day, and we only had two other people riding the shuttle. They were very gallant about the situation – even hopping out help us unload! We left a nice tip.

We checked in and I pulled the ripcord on my luggage. KABOOM! The view out the windows was lush and inviting. It rained three separate times while we cleaned up and organized ourselves; a warm tropical rain with sunbeams visible on the bay.

We napped for about half an hour, then spent almost all of the rest of the day doing this, in a sleepy haze. The time-lapse video stops after the first 75 minutes or so because the phone battery died, but we kept going for another five hours.

We made it! ADVENTURE TIME.

New Zealand North Island Itinerary, Part 3

Day 15 (Mar 9)

Waiotapu Tavern, 2476 State Highway 5, Waiotapu R D 3 3073

to

Waimangu Volcanic Valley, 587 Waimangu Rd, Rotorua 3043

(5 miles)

Some absolutely amazing geothermal formations here.

[ http://www.waimangu.co.nz ]

Waimangu Volcanic Valley, 587 Waimangu Rd, Rotorua 3043

to

Wai-O-Tapu, 201 Waiotapu Loop Rd, Rotorua 3073

(7.3 miles)

One of the larger, busier geothermal parks. The November-March hours are 8:30am-6:00pm, last admission 4:45pm.

[ http://www.waiotapu.co.nz ]

Day 16 (Mar 10)

Waiotapu Tavern, 2476 State Highway 5, Waiotapu R D 3 3073

to

Barcelona Motel, 21 Taniwha St, Taupo 3330

(34 miles)

A relatively flat, straight ride on a relatively calm road, all the way to the Barcelona Motel in Taupo. Watch for the overpass as you approach town – traffic might compel you to route around it.

[ http://www.barcelonamotel.co.nz ]

Day 17 (Mar 11)

Barcelona Motel, 21 Taniwha St, Taupo 3330

to

Canoe & Kayak Taupo, 54 Spa Rd, Taupo 3330

An easy walk to the kayak depot, for a river-run down the Waikato River, followed by a multi-hour kayaking session along the shores of Lake Taupo.

[ http://www.canoeandkayak.co.nz/ … ]

Day 18 (Mar 12)

An unscheduled day! Holy crap, dude! I’m sure we’ll figure something out.

Day 19 (Mar 13)

Barcelona Motel, 21 Taniwha St, Taupo 3330

to

Oasis Motel Tokaanu, 426 Sh 41, Tokaanu 3381

(36.2 miles)

A fairly easy clockwise ride around the lake, except for one steep hill section near the beginning. Might want to bypass the highway there via Rotongaio Road. The shoulder is narrow in a couple sections, then widens out.

[ http://oasismotel.co.nz ]

Day 20 (Mar 14)

Oasis Motel Tokaanu, 426 Sh 41, Tokaanu 3381

to

Mangatepopo Rd trailhead

Shuttle service from Tokaanu/Turangi provided by Turangi Alpine Crossing. Departure times are 6:00am and 7:30am. Cost: $30 one way per person.

[ http://turangirentals.co.nz/ … ]

Mangatepopo Rd trailhead

to

Ketetahi Rd trailhead

(12 miles)

The famous Tongariro Alpine Crossing. 12 miles, with a gentle downhill slope for a good portion of it.

[ http://www.tongarirocrossing.org.nz/ … ]

If we’re feeling particularly ambitious, we can ascend the optional trail up Mt Ngauruhoe. It’s an additional 2000 feet – almost doubling the ascent of the hike. No easy task.

[ http://en.wikipedia.org/wiki/Mount_Ngauruhoe ]

Ketetahi Rd trailhead

to

Oasis Motel Tokaanu, 426 Sh 41, Tokaanu 3381

The latest return shuttle departs at 5:00pm. Cost: $30 per person one way. An additional $50 charge will apply for a later pickup.

Day 21 (Mar 15)

Oasis Motel Tokaanu, 426 Sh 41, Tokaanu 3381

to

The Park Hotel Ruapehu, 2/6 Millar Street, National Park 3989

(38 miles)

This will be a rough riding day, primarily because of the steady ascent. We’ll be going up 2500 feet.

[ http://www.the-park.co.nz ]

New Zealand North Island Itinerary, Part 2

Day 10 (Mar 4)

Okoroire Hot Springs Hotel, 18 Somerville Road, Okoroire 3485

to

Tirau Motor Inn, 54 Main Road, State Highway One, Tirau 3442

(4 miles)

After lounging around in the hot springs for most of the day, an easy ride to the town of Tirau.

[ http://tiraumotorinn.bravesites.com ]

Day 11 (Mar 5)

Tirau, New Zealand

to

White Island Tours, 15 The Strand, Whakatane 3020

(86 miles)

InterCity bus IC6211, Auckland/Central/Gisborne line boards in Tirau at 12:45pm exits in Whakatane after approximately 3 hours. Cost: $40.

[ https://www.intercity.co.nz/ … ]

Day 12 (Mar 6)

Diveworks Charters Fishing and Diving, 96 The Strand, Whakatane 3120

to

Moutohora Island

Snorkeling tour, approximately 4 hours. Cost: $160 per person.

[ http://www.diveworks-charters.com/ … ]

Day 13 (Mar 7)

White Island Tours, 15 The Strand, Whakatane 3020

to

White Island

Boat to the island, followed by a walking tour, with some swimming if the weather is good. $200 per person.

[ http://www.whiteisland.co.nz/ … ]

Day 14 (Mar 8)

Whakatane, New Zealand

to

Rotorua Museum, Government Gardens, Queens Drive, Rotorua 3046

(55 miles)

InterCity bus IC6222, Auckland/Central/Gisborne line boards in Whakatane at 11:15am exits in Rotorua after approximately 105 minutes. Cost: $30.

[ https://www.intercity.co.nz/ … ]

The museum is $20 per person, and open until 5:00pm March-November, but we should leave earlier than that.

[ http://www.rotoruamuseum.co.nz ]

Rotorua Museum, Government Gardens, Queens Drive, Rotorua 3046

to

Waiotapu Tavern, 2476 State Highway 5, Waiotapu R D 3 3073

(19 miles)

1400 feet of climb over 20 miles, should make for a late arrival.

[ http://waiotaputavern.co.nz ]

The roadway has a separated cement bicycle lane for a long stretch, which is part of a new country-wide network.

[ http://www.nzcycletrail.com/te-ara-ahi ]

FAQs compiled while planning a bicycling trip to New Zealand, from California

Should I cycle the North island or the South island?

If you’re on a bike, you’ll probably have to decide between one or the other just for the sake of time. It’s possible to ride onto a ferryboat between Wellington and Havelock, but there is honestly so much to see on either island that you’ll feel rushed trying to see both, unless you have a month of travel time at least.

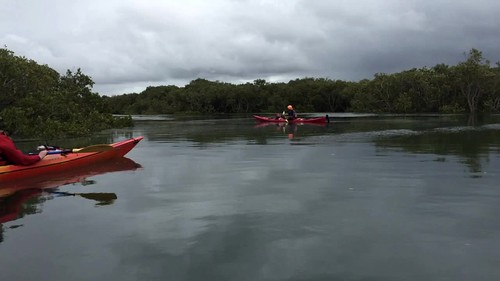
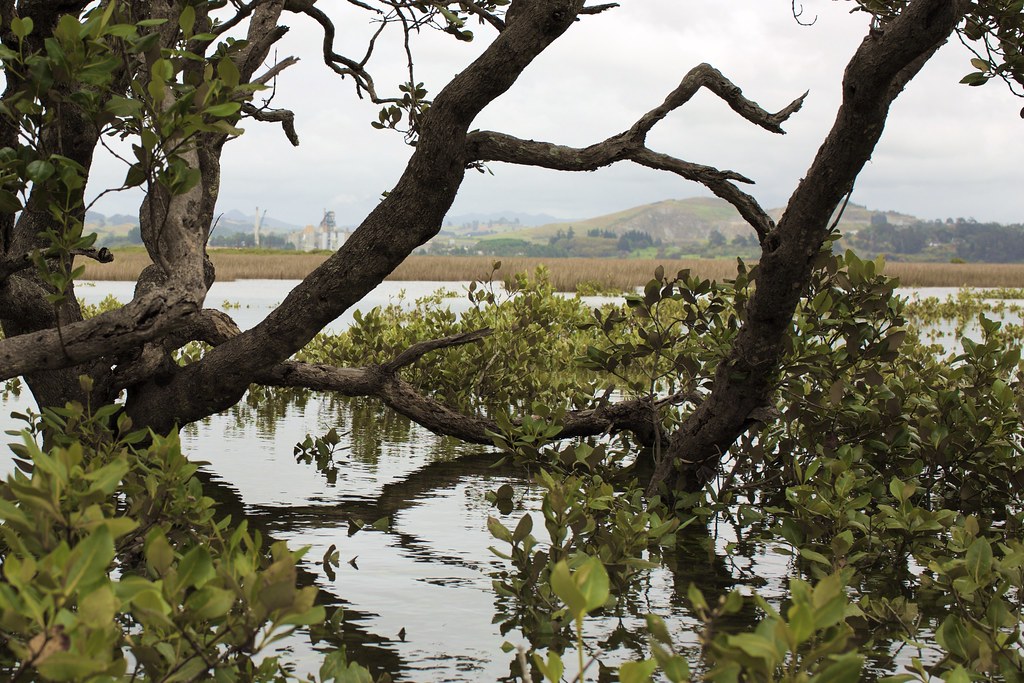
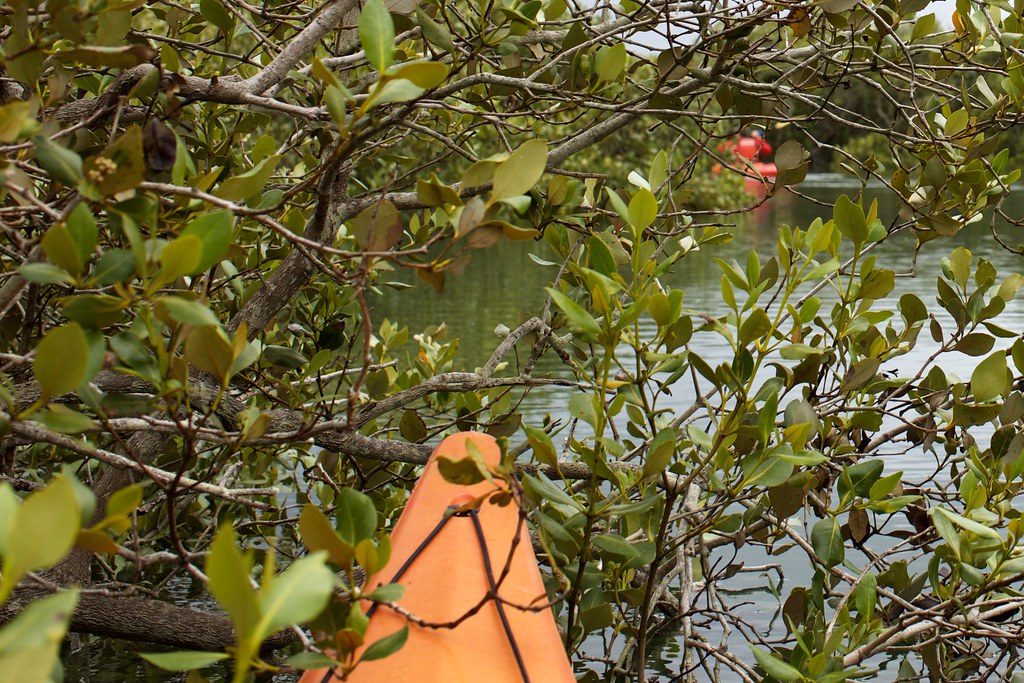
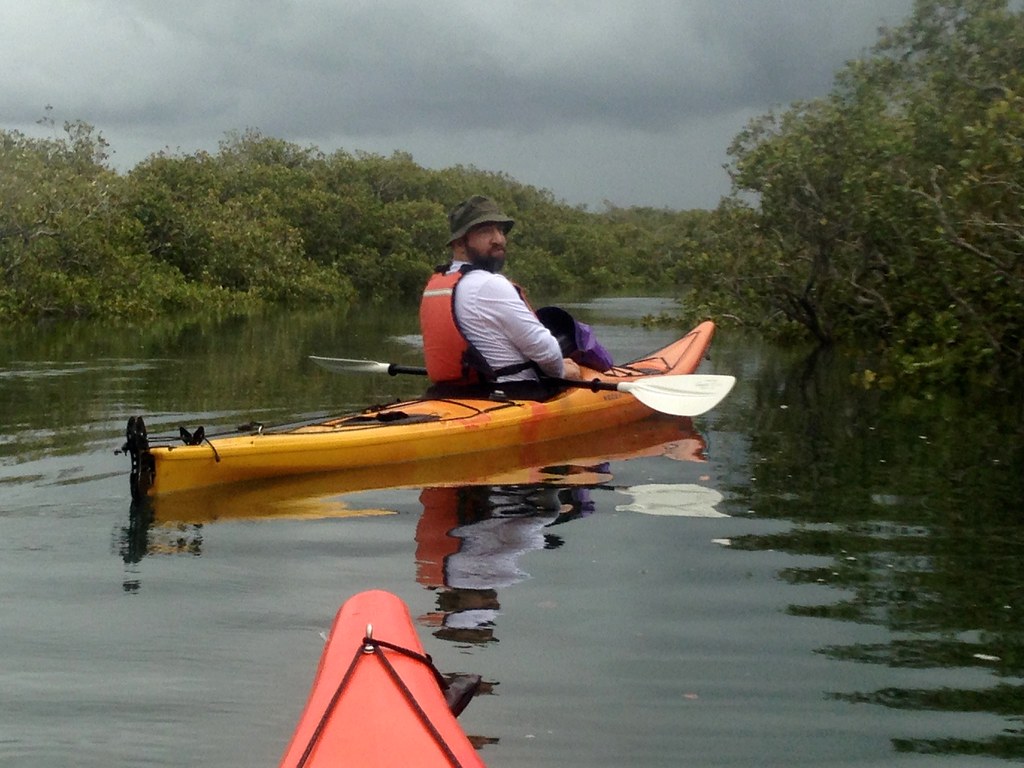
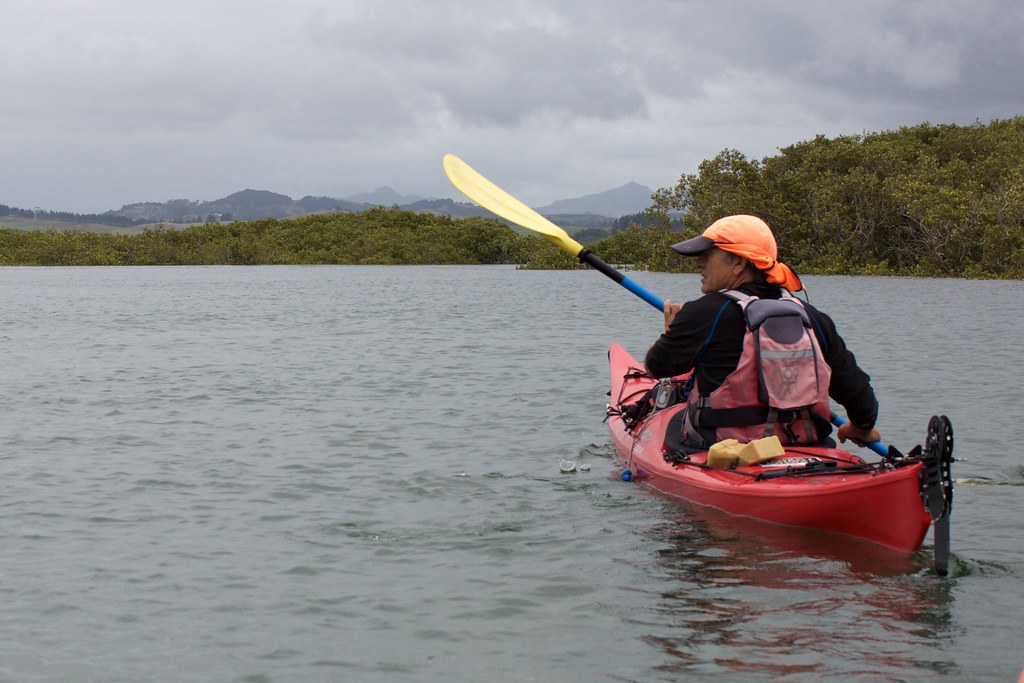
Here’s the short summary: If you prefer grand snow-capped mountain vistas, icy fjords, and camping, you’ll like the South island more. If you prefer snorkeling and diving, rolling farmland, and geothermal attractions, you’ll like the North island more. Both have plenty of hiking, kayaking, river-rafting, swimming, camping, boating, mountain-biking, museums, farm-stays, nature preserves, etc. An excellent resource is the NZ Frenzy Guidebook.

You may plan a trip of a couple hundred miles and end up ditching it in favor of the nine different things you can do right around your starting point!

What are the best times of year to cycle in NZ?

Summer and fall, between November and March (since NZ is in the southern hemisphere) are best, as you might expect. The tourist rush is heaviest in January and February, so you’ll want to book the most popular attractions and hotels a month or two in advance.

What sort of weather should I anticipate?

The North island is comparable to coastal California, including occasional rain. You’ll want to pack some clothing that can be layered, and include some rain gear. Chances are it will rain at least once every week of your trip.

The Southern island is a bit colder and windier – increasingly so as you travel South on it. This might become a danger on busy roads. If you’re camping you’ll need tent stakes.

What sort of terrain should I anticipate?

New Zealand is mostly hills. Not huge bust-your-neck-vein hills, but gently rolling hills, one after the other. You won’t escape these hills unless you’re traveling right on the coast, and even then there will be hills much of the time. Make sure your bike has a “granny gear”, and plan each day’s distance as though you were traveling it at about 4mph.

On the other hand, you’ll be out in sunshine and very fresh air, traveling almost entirely through rural countryside.

The “mountain bike” is king in NZ, and you’ll find tracks and trails that are suitable for mountain biking all over the place. If you can find a place to stow your long-range gear, you might want to try stripping your bike down for a day and zipping around on a few trails.

What sort of roads and traffic should I anticipate?

The most important thing to know: People drive on the left in NZ, and therefore you cycle on the left. If you’re from California it may take you a few days to reverse all your instincts.

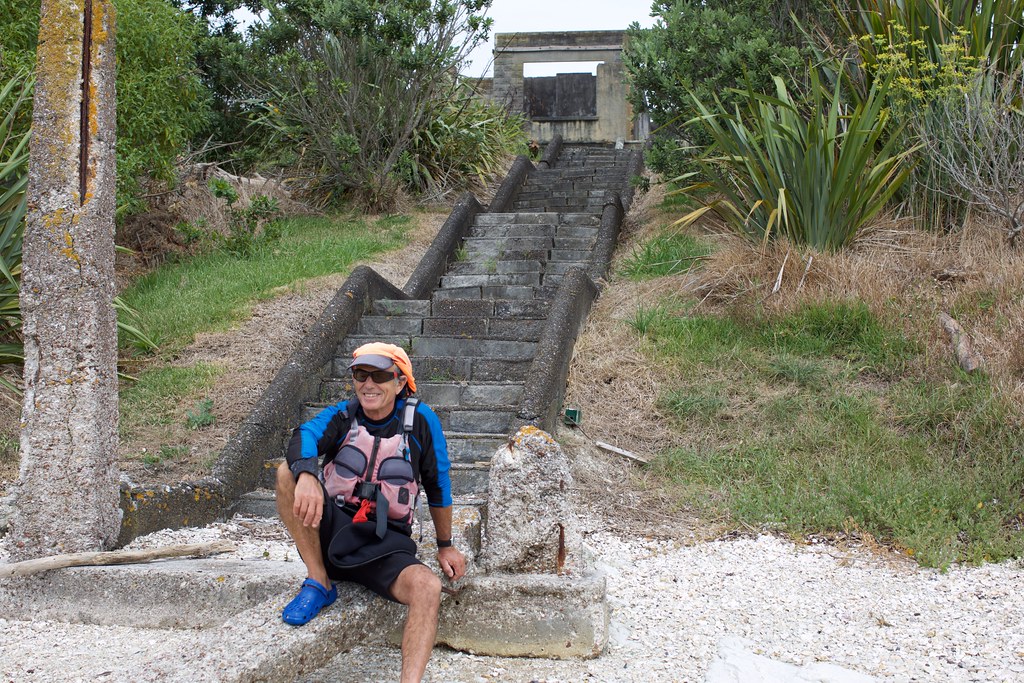
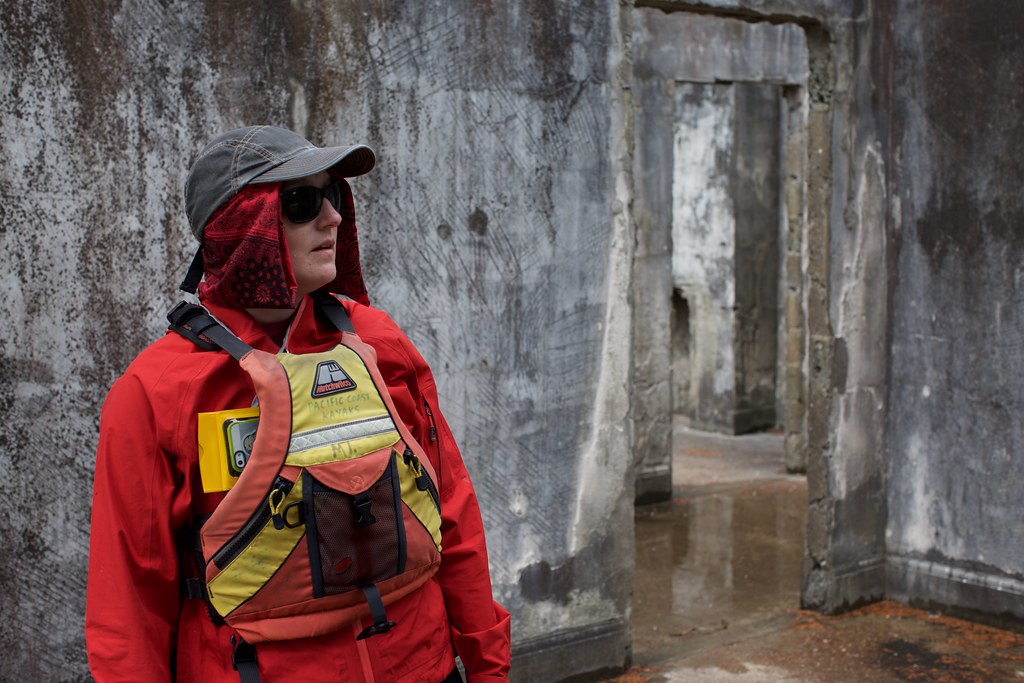
The second-most important thing: Native New Zealanders drive fast – much faster than they should – even on winding roads full of blind curves and rapid (for drivers) elevation change. When you’re out in the countryside, keep an ear open so you can move well to the side when you hear a driver coming. If you’re on a highway, stay as far left as you possibly can. Get some bright clothing, or a safety vest or a flag. That all-black “pro” outdoor gear is great against weather, but not great for visibility!

Also, get yourself a rearview mirror. If you look into it and see an upcoming car, and there’s also an oncoming car such that they’ll be passing each other right as they pass you, you should probably get off the road entirely until they pass, even if it means going into the bushes.

This rule especially applies for trucks. The drivers are sometimes unaware of their size, and unaware that their tailwind can knock a cyclist down – or possibly right into other traffic!

Avoid Highway 1 in the far north as much as you possibly can.

The pressure to avoid fast NZ drivers will hopefully encourage you to seek out less-traveled country roads – where the true glory of cycling in NZ can manifest. You’ll need some good-sized tires (not the narrow urban ones) because many of these roads are hard-packed dirt and gravel, or only roughly paved.

If you have a laptop, a tablet, or even a phone, it’s a good idea to look over your next day’s route at the highest resolution in Google Earth – or even better – with “street view” on Google Maps. You can often figure out what kind of roads you’ll be covering before you even go near them.

Can I bring my bicycle over on the plane?

Yes. If you’re going to NZ, it’s most likely that you’re flying via Air New Zealand, and their policy is pretty good for bicyclists. They have an oversize baggage exception for sporting equipment, which includes bicycles that have been properly packed for transport. When you buy your ticket you can save money by buying “extra bag” units up front. You’ll need at least one for your bicycle.

Note that their regulations have a strict 70-pound limit for any one box, sporting equipment or otherwise, and that includes the weight of the box itself. The good news is, if you pack up your bike and end up splitting it into multiple containers to pass the per-container size or weight requirement, Air NZ will actually count the containers as one item!

If you fly by some other airline – even partially – then you need to respect their rules for luggage, which may be different, and are probably more expensive. Factor that in when you’re looking at ticket prices. Check the Air New Zealand website directly, instead of just using Priceline or Kayak, because they sometimes have special ticket sales that can save you quite a lot of money.

What about a recumbent bicycle on the plane?

If you’re bringing a recumbent, you’ll probably need to use a box that goes into the oversize category, to contain the boom – the spine of your recumbent – for shipping. For example, the Crateworks Tandem box is 70 x 11 x 32 inches, which puts it in the oversize category. You’ll need two “extra bag” units for that box – one because it’s an extra bag, and one because it’s in the oversize category even for sporting equipment. Contact your departing airport in advance, and tell them what you’re bringing and when, if you’re especially paranoid.

On the way out of New Plymouth airport I had a disagreement with an Air NZ employee who claimed that it was not actually possible to pay for the “oversize” status in advance, even though the charge was the same as for an “extra bag”. She said that even though I’d purchased eight extra bag units to more-than-cover my three oversize boxes (two recumbents), I needed to pay three “oversize” charges on top of that anyway before they would load my gear.

I calmly pointed out that the company website says, quite clearly, that the oversize charge is “same as first excess bag charge”, and that there is no sign of a separate “oversize” charge, nor any place to specify one when purchasing tickets. She claimed that it didn’t matter, and I still needed to pay.

When I asked her if we could just redeem the cost of the unused “extra bag” units – five in total – and use that money to pay the three “oversize” units, she said no, because it would take more time processing the refund than we had before the flight. I said “okay” and asked if we could redeem our unused “extra bag” units after the flight instead. She said no – after the flight, it would be too late.

“Okay, how do I redeem them now?” I said. She told us to leave the line and go to a courtesy phone and call up a service department. I asked, “what are the chances we’ll get that done before we have to board the plane?” She said, “not very good, actually.”

So we started over again – quoting from Air NZ’s own website, patiently explaining how SFO had handled it, and generally making our case in a civil manner. Somewhere along the way she realized that, on the face of it, she was deliberately screwing two customers out of 500 dollars for no good reason. She left the desk and talked to the department manager, who took one look at the line behind us, and said, “just send them through.”

The moral of the story is: Sometimes the sheer size of a packed bicycle will cause airport staff to doubt the policies of their own airline. They are used to telling people “no”, and used to people bending the rules. Don’t get upset – remember that in this sort of encounter, the first party to get upset usually loses.

Make your case, and back up your claims with their own documentation. Show them their own website on your phone so they can read it themselves. Yes, one bicycle packed up into multiple oversize boxes really is equivalent to one oversize item, which really is is the equivalent of two “extra bag” purchases on the website. Show it to them, then show it to their manager, then show it to their manager’s manager.

How do I get my bicycle to/from the airport?

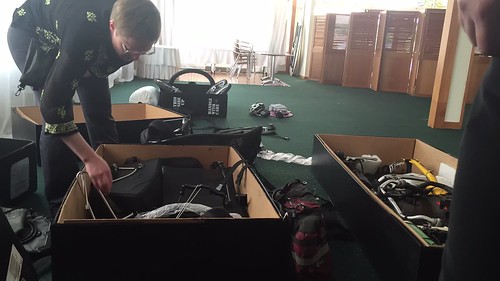
You’ll want to box up your bicycle well before the departure date, to make sure you pass the weight requirements. You’re very unlikely to find a box at the airport, let alone have time to pack it properly. That puts a few other things on your to-do list:

You’ll need to arrange transport to and from the airport, for yourself and a large box. You’ll also need to arrange for a safe place to store your box while you’re in NZ, so you can use it for the return flight, or if you’re leaving from a different city, you’ll need to ship the box between your starting and ending city. This sounds harder than it really is – you can set it up just by sending a few emails.

Air New Zealand can fly you in or out from a good number of cities, connecting with Auckland, where all international flights arrive and depart. All these airports have hotels nearby, and many of those hotels will offer to store your folded-up box somewhere while you go on your trip.

If your trip ends in some other city, it’s very likely you can find a hotel that will hold a shipped package for you. So, when you arrive in NZ, you can fold up your box, tape it thoroughly closed, and ship it across the country. It will be too big for the regular NZ post office to handle it, but the official alternative – Mainfreight – will do the job. For an extra fee they offer a package pickup service, but there’s a good chance you can use a taxi service or a shuttle from the airport or hotel to deliver your box to the nearest depot, just before you set out. Shipping times are usually only a couple of days, so your box will arrive way ahead of you!

Are there alternate modes of transportation that will carry me and my bike?

NZ has a very good shuttle system between all the major cities and most of the minor ones. You can purchase tickets in advance, and all the routes will carry your bicycle, with a few exceptions.

After booking your route, it’s a good idea to inform the driver that you’ll be traveling with a bicycle by calling or emailing a day or two in advance.

The ferry between the North and South islands will accept bicycles – just roll them over to the luggage area they designate. Then move all your most valuable items to your backpack, and carry that with you for the ride.

There is a train line on the North island based in Auckland that is faster than the shuttles along the same route, but their bicycle carrying policies are more restrictive.

If you really want independence you could rent a minivan and toss your bike in the back, but this will cost you a lot of money in NZ relative to California, especially if you plan to return the vehicle somewhere other than the pick-up point.

I like cycle-touring with a smartphone. Can I get coverage in NZ?

Almost all of the North island has good cell coverage, and about half of the South island. It’s almost entirely 3G, with sections of LTE. The iPhone 5 will run at 3G speeds, and the iPhone 6 will run at LTE speeds when available. Either speed is more than fast enough to use Google Maps, make reservations, check weather, et cetera.

If you want to upload lots of photos you’ll want to wait until you get to a hotel. Almost all of them offer wifi internet access with some amount of free data, but be aware that for a person from the United States, the free data cap can seem absurdly small. Only a few hotels have unlimited free wifi, a few more have a nice 2GB limit, and the rest place their limit at around 200MB which is not enough to do much of anything except read email.

How much will smartphone coverage cost, and how can I arrange it?

T-Mobile actually has international data for NZ built in to their standard plan. You can just leave the country and the coverage will follow you. In practice, I’ve found that you get much lower data speeds than if you were traveling via AT&T or Verizon, probably because the host carrier puts your device in a lower service tier or something. But hey, it’s still a great deal.

You can also buy temporary roaming coverage for the duration of your trip, if you’re an AT&T or Verizon user.

For example, AT&T offers a multi-tiered package called “AT&T Passport” that covers New Zealand, via partnerships with Vodaphone and Spark. You pay up front for a given date range, and a certain amount of usage, and it starts automatically.

Be aware that if you have wifi at home or at work, your cellular data usage will spike sharply when you travel, because your phone won’t be switching to wifi nearly as often. A single software update or app download can easily blow through half your data if you’re not careful, and push you into the overage charges, which stack up quickly. (If you’re concerned about this, and don’t mind losing your usual phone number for a while, you can buy a SIM card when you arrive in NZ with a 2GB data cap. It will probably cost you about 1/2 of what AT&T charges for the same amount of data.)