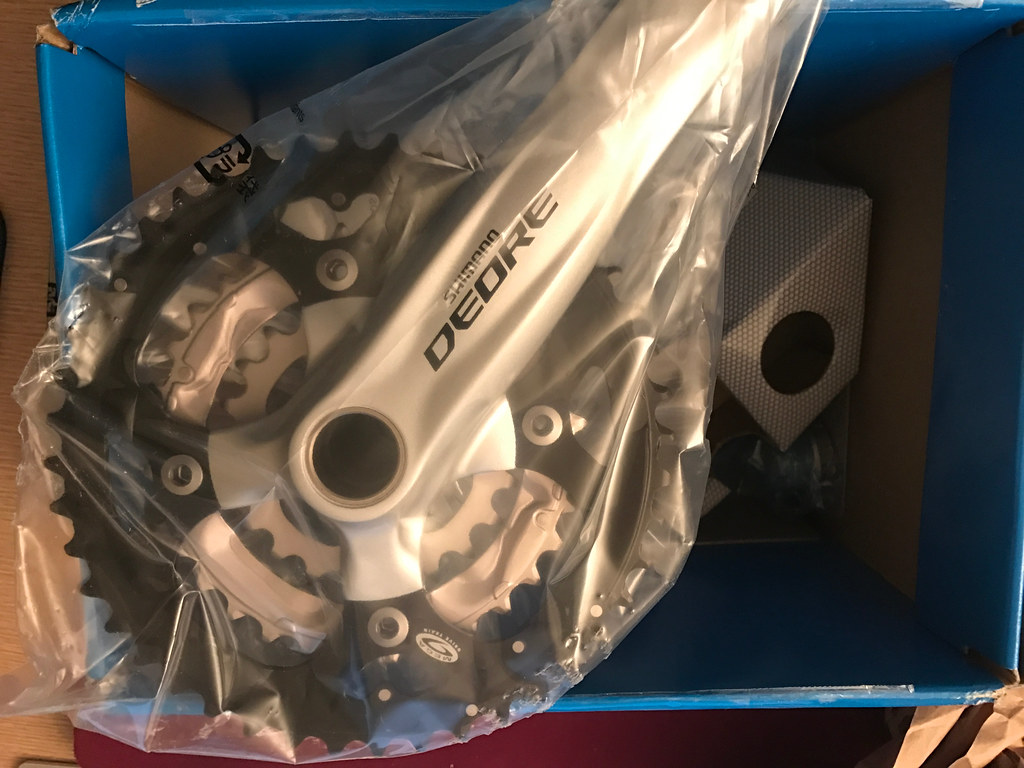
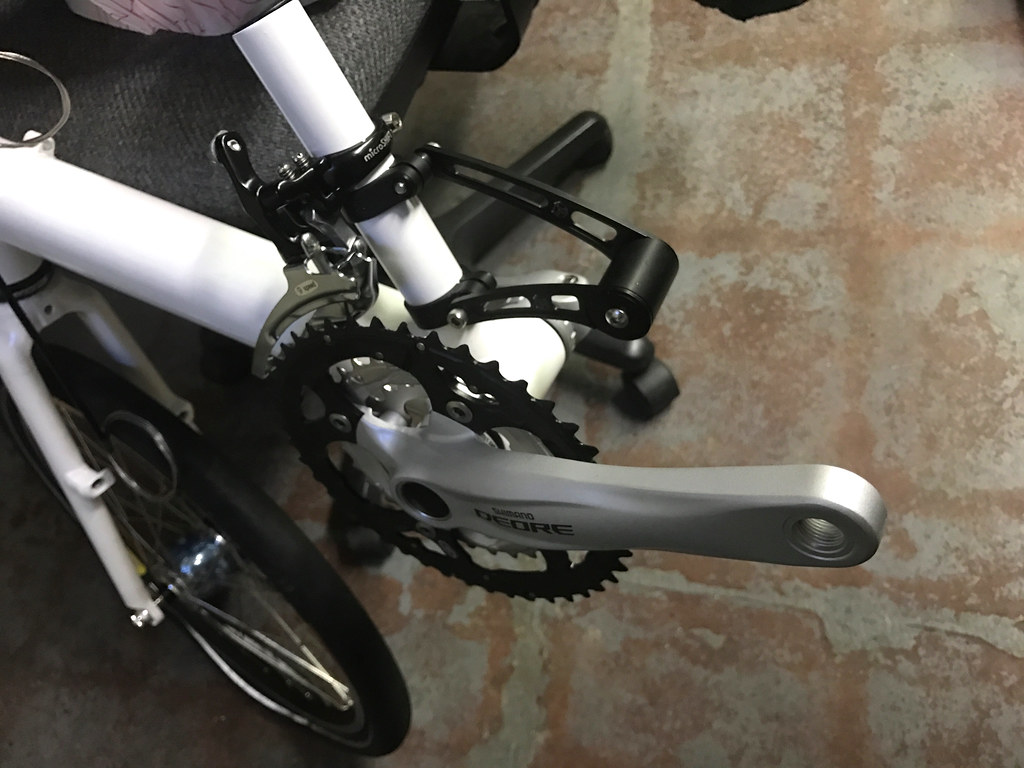
Valoria II: Frames and durability

Me:
I noticed that they offer an option for a different, heavier front fork. Why do they offer that? Does it alter the maximum weight rating?
Zach:
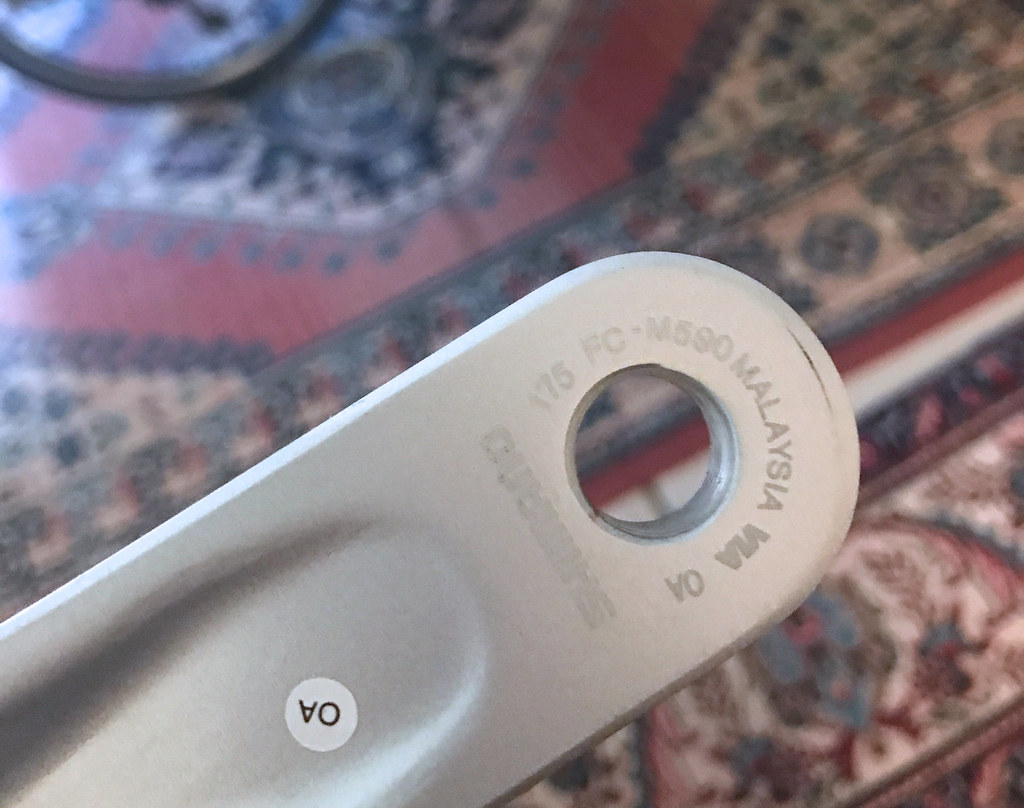
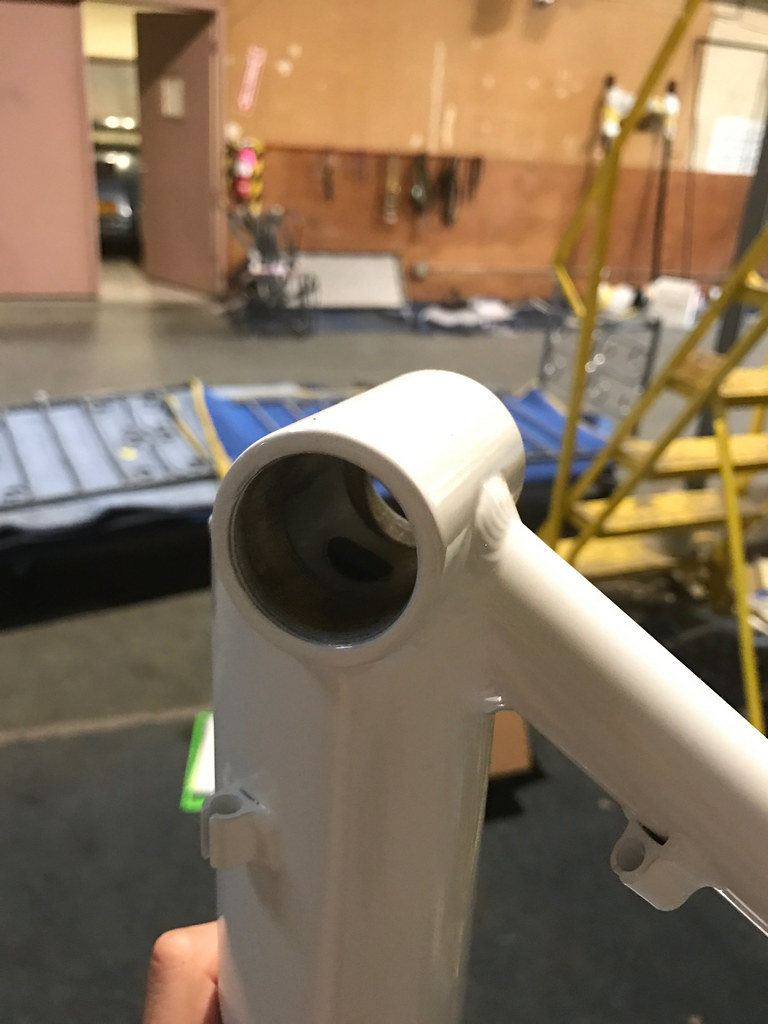
Normally the heavier steel fork comes standard on the steel Giro 20 and the aluminum fork comes standard on the Giro A20. The steel fork is offered as a $60 cost saving option on the Giro A20 but doesn’t change the weight rating of the bike. The ultimate durability probably is better for a steel fork than an aluminum fork; likewise with frames. It’s a trade-off between weight savings and durability.
Me:
Is that a tradeoff I should worry about? A few years down the road, if I hit a pothole at 17mph with a loaded bike, am I going to snap the fork or the boom and go tumbling into the hospital?
Zach:
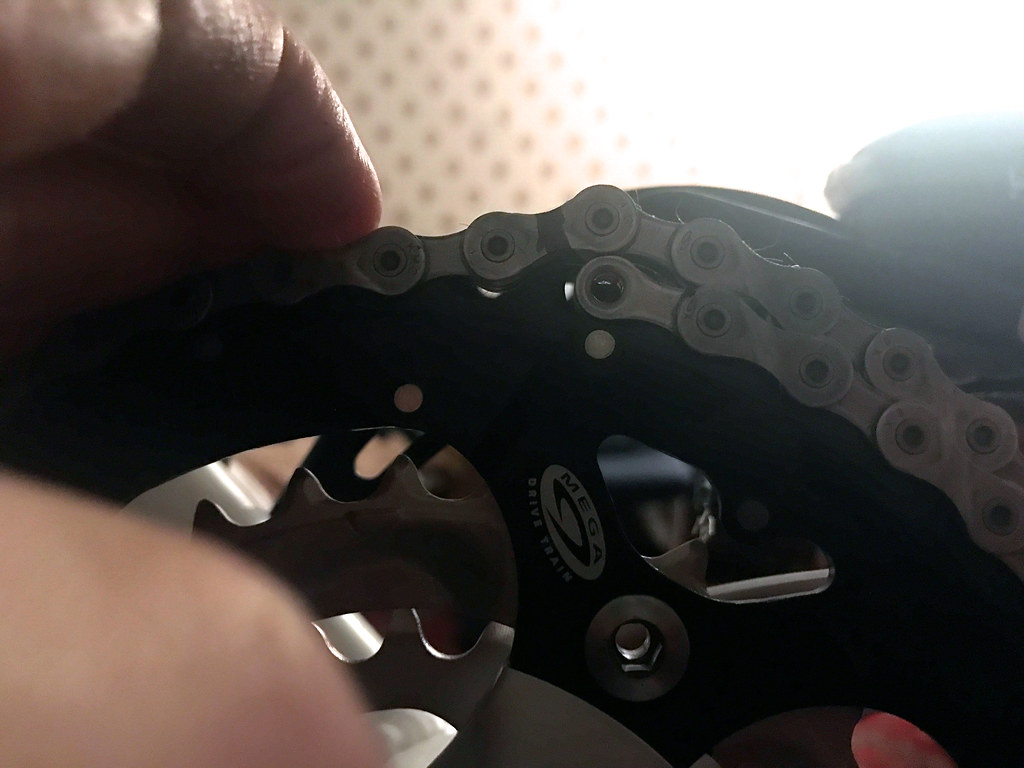
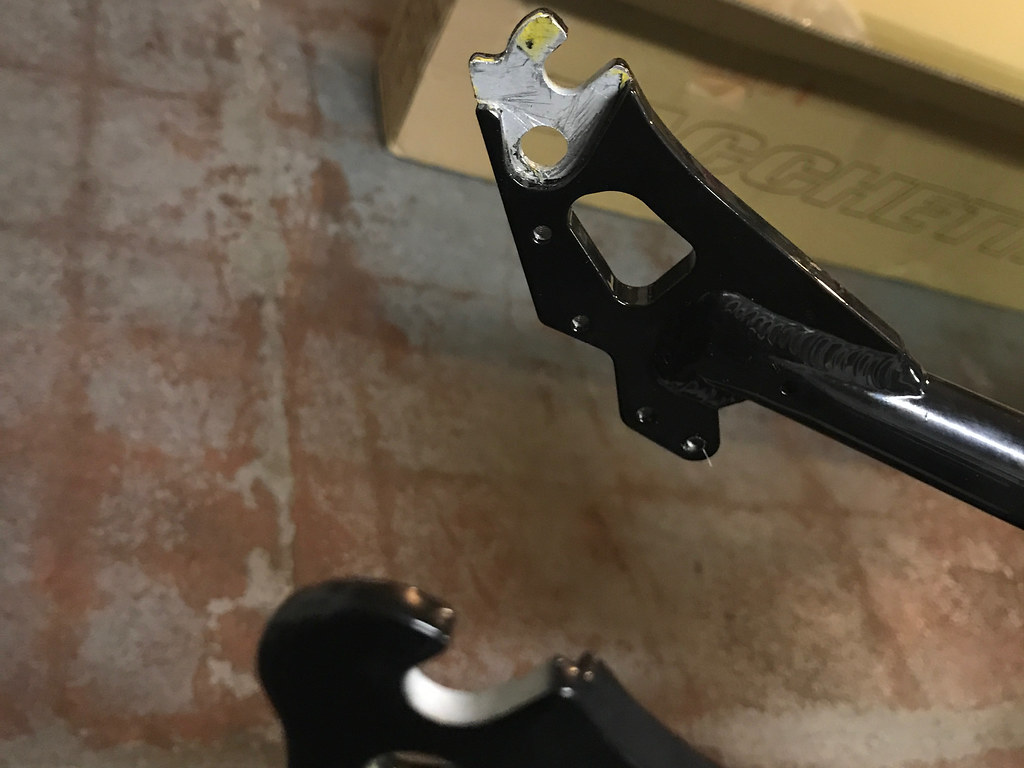
I would think given equal loading and road surfaces, the steel version of both the frame and fork would be less likely to fail, and if they cracked the crack would be more gradual rather than a sudden snapping. I haven’t heard of any aluminium Bacchetta frames failing, but have heard of a couple first generation steel Giro frames failing near where the chainstays are welded to the main tube. I have heard of one aluminium Giro fork cracking near the top of the legs. Long term I’d say the aluminium versions will fail first, but Bacchetta has done a lot of testing on their frames and forks and none of them are likely to fail.
Me:
Just out of curiosity, how does the durability of a Bacchetta compare to the Lightning P-38?
Zach:
In theory a triangulated steel frame like the Lightning P-38 would be the most durable as the loads are spread out over multiple tubes and welds. However the P-38 frame has a reputation for being lightly built, and developing cracks with high mileage riders.
Me:
Hmmm. It sounds like there’s no perfect design.
Zach:
Well, one thing I am certain of, is a suspension greatly reduces the impact loading – to the fork crown, frame, and rider – so in the long run a full suspension bike is likely to hold up better, at least for people who regularly ride rough roads such as those all too common in the Bay Area. Also with suspension you are less likely to lose control when hitting an unseen pothole at speed.

I debated for quite a while over whether to get a bike with suspension. The fact that Giro does not offer a suspension on any of their bikes was a big factor — I liked their relatively simple frame design.

In the end I ruled a suspension out, because I was too worried that it would slightly reduce the energy I was able to propel into the bike while climbing hills. (I knew I was going to spend large amounts of time slowly climbing hills when the recumbent was loaded for touring.)

Valoria II: Custom gearing

Me:
Does Bacchetta offer a choice of rear cassettes or gears? I’m wondering if there’s a way to get a few more teeth on that largest rear gear, if it will still fit in their shifting mechanism. If I go at my slowest hill-climbing speed (while still remaining stable) on my current bike, the cranks still turn just a little bit too slowly and tire me out faster. It would be great to try and address that.
Zach:
Bacchetta doesn’t offer any substitutions on gearing and the SRAM 9-speed derailer it comes with is rated for a 34 tooth largest cog which is what it has. There are 10-speed cassettes offered in 11-36 and 11-40 but those would require a narrower 10-speed chain plus a 10-speed rear derailer and right shifter. Likewise with the 11-speed cassettes, which are available with even larger than 40T rear cogs, though the 11-speed cassette also requires a different rear hub that has an 11-speed compatible cassette body.
Me:
That sounds like a lot of deviation from Bacchetta’s design, with the narrower chain. I’ve taken this old Giro thousands of miles with no chain troubles, so I won’t jinx that. Let’s stick with the standard set and I’ll just have to learn to pack lighter.
Zach:
Yes, in theory the narrower chains of 10 and 11-speed systems are less durable. Another uncertainty is how much more clearance there is between the top chain and underside of the chainstay, if a larger than 34T cog were used in the back. I know 36T will work, as I’ve set a Giro up with an 11-36 10-speed, but I don’t know if the chain would clear with the larger sizes.
Me:
So my best option for the back is a 12-36 9-speed cassette, like this one?
Zach:
Yes, like that one. A couple other issues with retrofitting one of these is the SRAM 9-speed rear derailers are only rated for a 34T largest cog, so they may have issues shifting onto the 36T cog due to the derailleur pulley being too close to the cog. Also, the chain is sized for a 48T chainring and 34T rear cog, so it may need to be extended by a few links, to allow it to shift onto the 36T cog while on the 48T chainring. Even if that isn’t a combination you don’t normally use, it needs to be allowed for because otherwise it could lock up the drivetrain and/or break off the rear derailleur hanger if shifted into that combination with an insufficiently long chain!
Me:
Hah! So that’s why my old Bridgestone started acting fiddly when I put the 36T on it a couple years ago!
Zach:
Probably, yes.
Me:
Well, it sounds like I’m already at the lowest possible gearing then…
Zach:
Not necessarily. There are still more options. You might instead look into replacing the stock FSA Comet 48-36-26 crankset with a 4-arm “mountain bike” crankset — one that comes with 44-32-22 rings. A 22/34 gives a lower first gear than a 26/36, and would also be lighter weight with less chainring material, less rear cog material, and less chain.
Me:
How much more would that cost?
Zach:
Actually it might not cost anything more. It would be less labour, in that the stock crankset and bottom bracket need to be removed anyway for powder coating (while the cassette wouldn’t normally need to be replaced). And, it would save buying the 24T inner ring and the labour of swapping that out. So it might cost you the same in money/time just to buy a good new crankset.
Me:
Sounds good. Would we use the crank arms that come with the Giro? (Is there anything unique about them, like a non-standard length or design?)
Zach:
A 4-arm mountain bike crankset means whole a new crankset, since the spider is integrated with the right arm. Most mountain bike cranksets these days use large diameter splined bottom bracket spindles, so they come with their own bottom backet. The Giro has a standard 68mm English-threaded bottom bracket shell, so it’s compatible with the majority of these. The crankset that comes with the large Giro has 175mm arms, but when getting a new crankset you can choose shorter arms if desired.
Me:
Oh – no, let’s keep the 175mm arms. I’m happy with the length of the stock set on my old Giro. That’s really why I inquired. This is good – it’s an even better granny-gear than before, cuts down the top gear a bit (which has always been too big for my purposes) and saves some weight. So we’re looking for a 4-arm 44-32-22 mountain bike crankset with 175mm arms, that fits a 68mm English-threaded bottom bracket. If I know you, you have a pretty good idea where to get one?
Zach:
The majority of 4-arm 44-32-22 MTB cranksets on the market come standard in 175mm. Lots of brands and price ranges available. I don’t have any specific recommendations; it’s pretty much personal preference on that.

An afternoon poking around online led me to this Shimano Deore 2-piece 9-Speed Mountain Bicycle Crank Set, model FC-M590, with 175mm arms and 22/32/44 gearing.

You know a product is often sold to do-it-yourself types, when it comes with a warning like this printed on it!

I know how to do a fair amount of stuff to a bike, but installing a crankset properly is still beyond me. When it arrived, I handed it over to Zach, and he did all the work:

In retrospect, his advice was excellent. Now the smallest gear is even smaller, and the largest front gear actually serves a purpose. (On my old Giro with the stock cranks, I almost never used it.)

The only thing left for me to do was install the chain. To make sure a chain is the right length you need to place one end on the largest gear at the front, then thread it around like it usually goes, running it over the largest gear on the back, so it comes back to the underside of the front gear. Then you take up the slack on the bottom (pulling the chain tensioner forward almost as far as it will go) and then place the other end of the chain on the front gear.

Where the chain starts overlapping itself on the gear is where you need to shorten and join it.

There are chain tools you can get that are small enough to bring with you on the road, and you can use them along with your hex wrenches to remove a chain, replace a broken link, and rejoin the ends, in only a few minutes.

It’s amazing how easy this stuff is, if you’re willing to read a few directions!

Valoria II: Custom colors

Over the following weeks, I barraged Zach with questions about customizing the Giro 20, forming a plan of action. The first thing I asked about was color:

Me:
Does Bacchetta offer a color customization option?
Zach:
Bacchetta only offers one colour per model. The Giro A20 is only available in yellow with the area near the head tube white and the chainstays black. The only way to change the color is to take the frame to a powder coater, have the stock powder coat stripped and have it re-coated.
Me:
Would this mean ordering the frame from Bacchetta separately and then building up the bike “from scratch” so-to-speak, instead of ordering the whole bike from them at once?
Zach:
If you like the stock components, it would be least expensive to order a complete bike and remove the only components that are pre-installed at the factory (chain idler, headset, crankset, bottom bracket and front derailer) and then send the bare frame and fork to a powder coater. This is because Bacchetta orders relatively large numbers of components so can get them for a much lower price than I can.
Me:
I get the feeling I’m going to be swapping out almost all the stock components.
Zach:
Then a frame kit is the way to go. When the frame arrives but before we assemble the bike, we can take it to a powder coater. If you wanted decals on it, new decals would need to be ordered from Bacchetta.

This is what a Bacchetta frame kit arrives in.

Here are the parts I want to re-coat. That’s the main boom with all the decals removed, the fork, the kickstand attachment plate, two segments of handlebar riser, and the cap that screws onto the end of the riser to attach the handlebars.

The boom of a Giro 20 is made of aluminum, but it comes with metal spacers that attach to the rear dropouts. You can get these in a couple of different sizes, to match different wheels. When re-coating this frame you need to make sure that you don’t coat the inside area where these spacers connect, because the fit has to be precise.

I called and emailed a bunch of different places in the Bay Area, and eventually paid a visit to West Coast Powder Coating in South San Francisco. Just a brief look around at their current projects convinced me that they knew how to properly coat a bike frame.

I dropped off the parts, and in about a week, I came back to find them coated. In general they did an excellent job. The new coat was actually more precise than the original factory one:

Before ...

... After

Everything that was threaded was left bare, as it should be. The one exception was the spot where the steering column passes through, a.k.a. the “head tube” on a regular bike frame. They’d coated it all the way through:

I wasn’t sure if this would be a problem later. But, I didn’t want to demand a re-do of a job that was already so close to perfect.

So I wandered over to their work area …

… and pilfered a couple of large rubber stoppers from their bin!

It’s possible to remove powder coating with paint thinner. You just have to be very careful to make sure that the thinner only contacts the area you want to remove. It’s also quite toxic. You don’t want to get any on your skin, even for a short while, and the fumes are intense.

I wrapped the stoppers in tinfoil, to keep the paint thinner from dissolving them, then plugged up both ends of the head tube and filled the area inside. The idea is, you let the paint thinner do all the work – softening up the coating – so you don’t have to work so hard scraping it away afterwards.

About an hour later, I pulled out the stoppers, thoroughly rinsed the head tube and everything else, and with only a little bit of poking from a wire brush, the tube was clean.

I also had to remove some of the coating from the curved handlebar stem, because it needed to fit inside the straight piece. I did that by brushing on a few narrow stripes of paint thinner, peeling off the strip that came loose, and cleaning it up with an X-acto knife.

And there we go! A Bacchetta Giro 20 frame in a custom color!