LED Mohawk Bike Helmet mk II
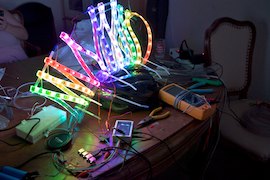
A while ago I got ahold of an LED light strip. It’s flexible, multicolored, and animated, and has 160 lights on it. I wanted to integrate it with my bicycle, but I couldn’t come up with the right idea. Finally a week ago, inspiration struck.
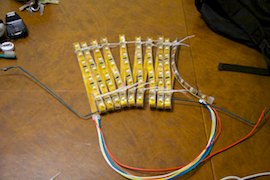
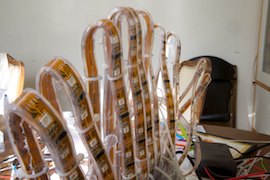
I folded the strip into segments of 8 lights each, making a zig-zag shape. I used small zipties to hold the shape in place, and hung it from a wire hangar. Then, I stared at it for a while. Then I left to do other things. Next morning, inspiration struck again.
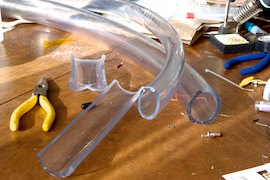
This is food-grade industrial tubing. You can purchase it at Orchard Supply in a variety of sizes. With some effort, you can carve it with a boxcutter. Gardening shears will work as well
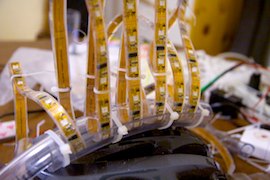
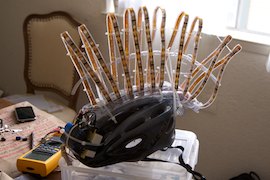
I cut a large section of tubing in half lengthwise, then placed a smaller section of tubing inside it. In the C-shaped area between, I threaded one side of the zig-zag light strip. Then I anchored the whole thing vertically to my bike helmet.
It took a long time to thread everything into place, and the result was an unstable, bendy mohawk shape that easily fell over.
It looked damn cool when I lit it up though.
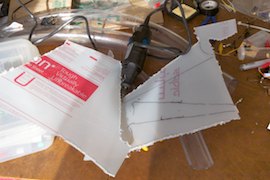
This is Lexan, also known as Plexiglass. It’s transparent, and in a thickness greater than 1/2 inch it’s bulletproof. You could try and cut it with a table saw but it would take you forever. If you had some time on your hands you could go to a place like Tech Shop in Menlo Park, and use a computer-guided laser to cut it. But I don’t have a lot of time on my hands. So instead I bought a tungsten-carbide bit for my Dremel Tool, and a small table-mounted vise. Cutting is accomplished half with mechanical abrasion and half with the extreme temperature simply melting through the Lexan. It’s sloppy but it works, and with a steady hand you can cut whatever shapes you need.
I cut eight triangles of Lexan, concave on the shortest side, rounded at all the points, with five small holes for zipties and one large hole in the center. I placed them slightly askew inside each spike of the mohawk, and tied them in place. Now most of the points were stable.
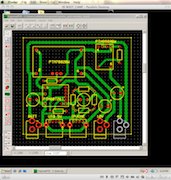
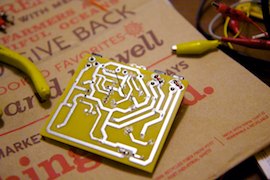
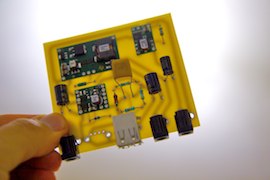
I also had to worry about power. The light strip needs 5 volts to run properly, and the control box needs 12 volts. Through experimentation I discovered that the lights are also plenty bright if you only supply 4 volts. Using a program called ExpressPCB in a Windows emulator, I laid out a circuit board with three high-quality voltage regulators on it (actually DC-to-DC converters), and the additional components required to drive USB devices and charge an iPhone, so the board could be “general purpose”. I used the program to place an order for the board to be manufactured and mailed to my front door. I also placed orders in the “free sample” section of the Texas Instruments website to have the DC-to-DC converters delivered.
I made a stop at HSC Electronics to pick up the necessary resistors, sockets, and capacitors. When the board arrived, I soldered everything into place.
Presto, an efficient multi-output power supply for my lights.
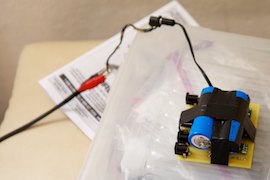
After some more experimentation, I found that the control box could be driven with as little as 6 volts. So I made a two-cell battery pack with a pair of Lithium-Iron Phosphate batteries, and taped it all up.
The point on the back of a bike helmet is much sharper than the rest of the contour. To make the curve of the mohawk smoother, I left a gap in the large enclosing tube, and cut a chunk out of the smaller inside tube, and ran the light strip through the opening. I had to make some repairs to the strip with silicone glue, since it developed a tear form all that time spent bent up in the original zig-zag shape.
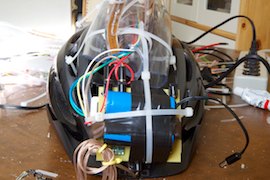
The board, the control box, and the battery made an almost perfect counterweight for the tail of the mohawk, when anchored to the front of the helmet. I ran the power and signal wires to the back of the mohawk through the central tube, concealing them.
With most of the spikes held up by Lexan triangles, the mohawk kept a decent shape. The individual points would still lean. … But that’s why I cut those large holes.
I threaded a smaller, stiffer piece of tubing through the large hole in each triangle. Since all the triangles were turned slightly to follow the looping of the wire, they all placed torque on the piece of tubing in one direction, making the whole mohawk twist from left to right across the top of the helmet. So, by placing two stabilizing loops, one at the front on the right side and one at the back on the left side, and pulling them taught, I straightened the mohawk out again, pinning all the spikes upright and in place with rotational tension. Now I could swivel my head every-which-way without breaking anything.
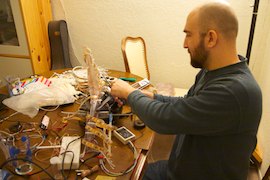
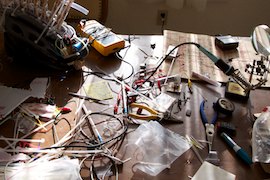
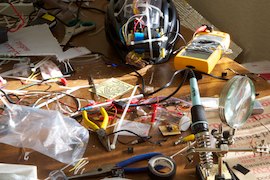
The dining room table was taken completely over by this project, for several days.
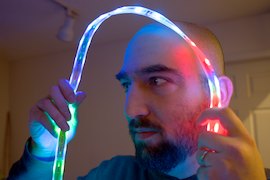
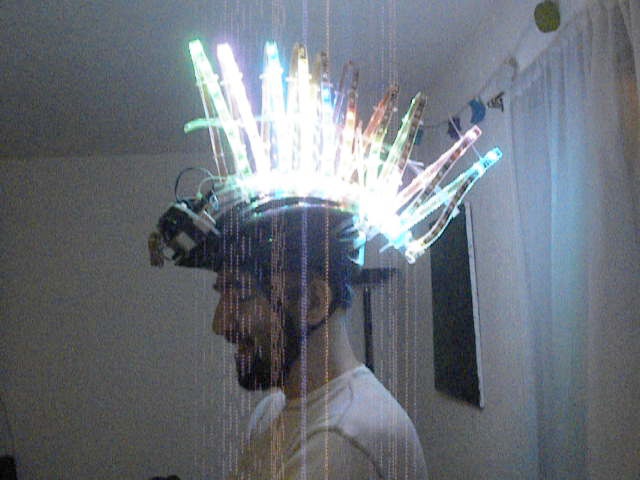
It was a lot of work, but it was worth it. I got to use all kinds of tools and materials, and afterwards I had a piece of wearable art, totally unlike anything else at Bike Party. When I wore it, people gasped audibly, and shouted praise, and took photographs and digital movies. Still pictures don’t do it justice … the whole thing doesn’t just throw out incredible light, it animates. Click on the photo below for a short movie demonstrating the helmet in action.
Several times I’ve been asked whether it was for sale, and how much.
I’m not feeling particularly inclined to sell it, but if I was, the cost of the parts alone would be in the $800 range. (The large battery I switched to is $200, the led strip and remote is $200, and a two-unit run of a custom PCB is about $200. Then there’s the DC converters, the lexan, the tubing, and of course the helmet itself.)


