Bicycle iPhone and USB Charging – Building An Enclosure
I was quite eager to test out my new contraption, so I wrapped it up in the most half-assed, ugliest manner possible. I connected everything up with alligator clips and swaddled everything in layers of bubble wrap and masking tape, then crammed the whole mess into a plastic bag. Ready for action!!
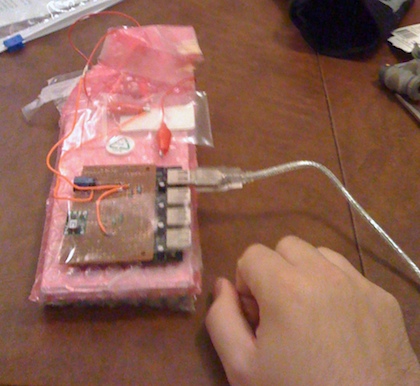
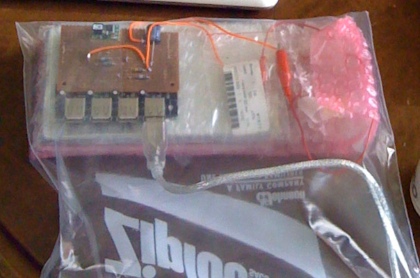
Freed from the constraints of battery capacity, I went roving all over the Bay Area, in pursuit of adventure. Most of my trips kept me out well after dark, when the safety-net of the phone and its internet connection felt most comforting.

Here’s a collection of the trips I took.
- Lost in Nisene Marks, Nov 2008
- Too-Short San Francisco Ride, Nov 2008
- Roseburg, Oregon, Nov 2008
- The Lick Observatory, Dec 2008
- Pinnacles National Monument, Jan 2009
- Return to San Francisco, Mar 2009
- Bathroom Camping, May 2009
They’re amusing in their own right, but here I’ll just summarize what I learned about the battery pack.
The Road-Test Verdict
I overestimated my power consumption majorly!
I spend most of my bicycling time listening to music with the iPhone screen turned off. I consult the map every fifteen minutes on average, for less than a minute each time. Phone conversations are harder to average out, but on most of my trips I’ve talked for less than an hour, and on many of them it’s been less than ten minutes.
I have successfully made many day-long rides without completely draining the phone. Now that I’m taking the battery pack along, I’m carrying the equivalent of five full recharges, and that capacity is unaffected by the headlights because the dynamo is handling all the demand for headlight power. On one trip, my Garmin GPS unit crapped out and I charged it for a while on a second USB port, and the battery pack did not seem to notice. Assuming I connect the TuneCharger and top off the battery during the day, there is absolutely no need for me to carry this much capacity!
Perhaps I should find a pair of smaller batteries before I make an “official” enclosure…

These LiFePO4 “26650” cells ought to do the trick. 3300mAh is about a third of the capacity of my other batteries. It’s nice that they can be ordered with tabs already attached, so I don’t have to solder them on myself and risk damaging the battery.
Materials and Methods
After months of obsessing over parts and procedures, and months of riding with the battery, I became involved with a local organization called Tech Shop. For a membership fee you can get access to all kinds of fancy industrial tools and software. I got their one-month trial, and began to scout around for ways to build an enclosure.
I knew the solution would involve more of the barrel connectors that I’d used already, as well as some switches. Browsing the Digi-Key website led me to purchase two of these, since they were single-pull-double-throw (one lever changes two connections), and could be screwed into the wall of an enclosure after drilling the appropriate hole.
Here’s everything I needed to place inside the box:
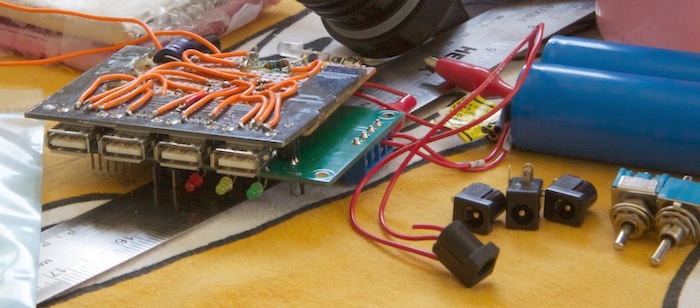
I needed three small holes for the status lights on the TuneCharger, four big holes for the USB ports, two holes for the switches, and three holes for the barrel connectors – one to go to the dynamo (or a charging brick), one to go to the headlights, and one to provide 5 volts that isn’t in the shape of a USB port.
And, you know what would be super-cool? Rain resistance. Maybe I couldn’t charge all my gadgets in a rainstorm, but I could at least keep the box attached to the bicycle instead of tearing it off in a panic and burying it at the bottom of a waterproof pannier. I’d have to use water-sealed connectors, or at the very least, make sure all the connectors and status lamps were oriented downwards so water didn’t collect on them.
Also, I recently became the proud owner of a recumbent:
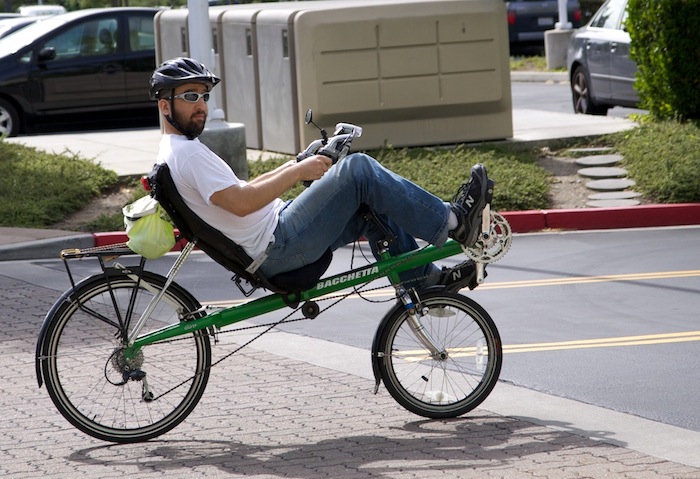
… And it would be nice to design an enclosure that could be attached to the recumbent just as easily as the upright bike, especially since I plan to use the recumbent for my first major multi-state excursion.
A Fancy Box
Well, if the enclosure is going to have all those ports and lights on the bottom, then the bottom needs a pretty big surface area. And if it’s going to attach to a recumbent as well as a regular bike, then it probably needs some kind of strap mechanism, because the main body of a recumbent is a single very thick bar, much thicker than any of the bars that make up a regular bicycle frame.
While exploring Tech Shop, I discovered their plastic printing machine, and became obsessed with it. It could create arbitrary three-dimensional shapes, at a cost of 20 bucks per cubic inch of plastic. Here’s a nifty piece of art someone “printed” with it as a demonstration:

With this amazing contraption at my disposal, how could I not use it? So, I resolved to learn how to use SolidWorks to create a 3D model of an enclosure to my exact requirements, and then print it with the 3D printer.
Not exactly. This is meant to be a collection place for all the stuff I’ve learned while attempting to create a battery system for my iPhone and other gadgets. Since I decided to take a difficult route, that’s what I’ve got to write about.
Of course, if I didn’t have Tech Shop and their 3D printer on hand, I would not have done this. Instead I would have probably cut six sides of a box from a sheet of plastic, drilled nine holes into one of the sheets, and assembled a box by gluing the sides together. Then I would have stapled or bolted velcro straps onto the box, and ended up with an enclosure very similar to the final result I obtained from the 3D printer.
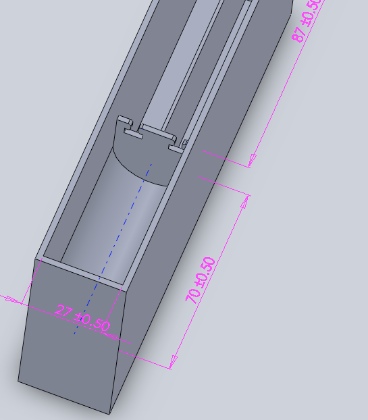
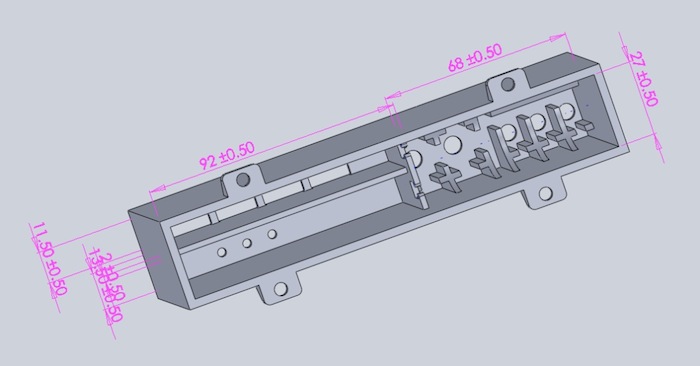
The computers at Tech Shop have 3D modeling software preinstalled. After blundering my way through most of the tutorial projects, I began drafting my Very Own Fancy Project Enclosure™. First I made a rectangular box, open on the top, and divided it into two sections. I made the first section curved at the bottom to match the curve of the batteries I’d be placing there, and I divided the second section with a thin partition to keep the two circuit boards – the USB board and the TuneCharger – from touching. Then I cut four carefully measured holes for the USB ports.
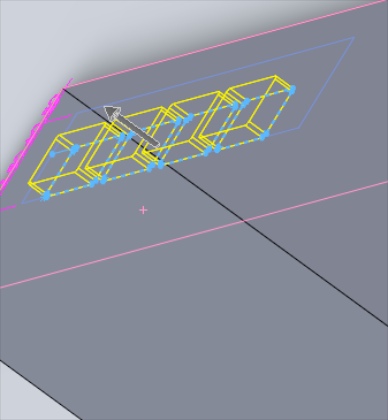
Then I added three more carefully measured holes for the TuneCharger lights, and hollowed out the region under the battery compartment so the switches and sockets would fit inside.
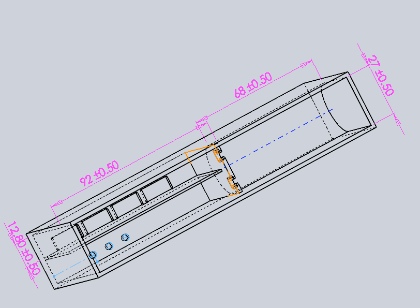

then I added four tabs with screw-holes, so I could close the box by screwing on a lid after I installed the parts.
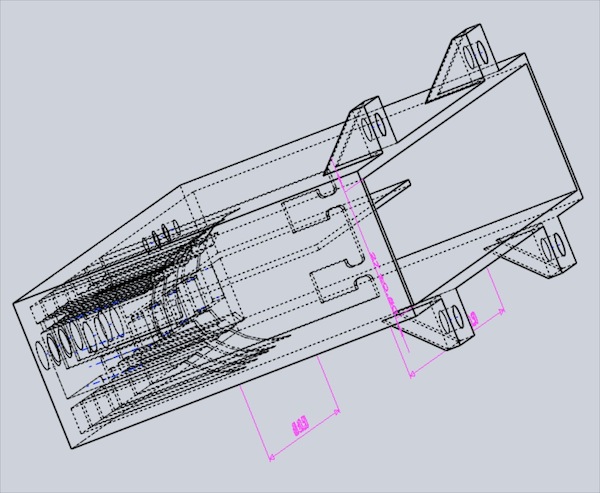
Here’s the final design as a solid object, just before I sent it to the printer:
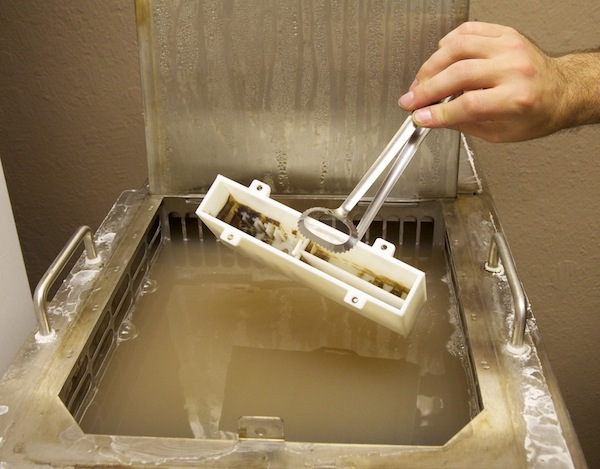
The part took the entire night to print, and the next day I had to dump it into an acid bath to dissolve the structural support material that was laid down during printing. After the bath there was a little residue left over, so I chipped it away with dental tools.
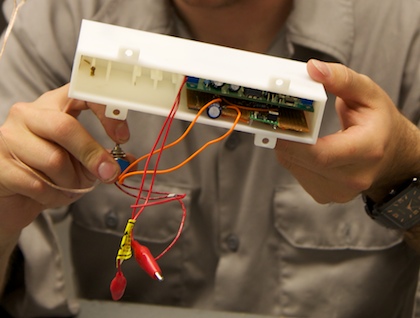
Here’s a shot of the enclosure with the TuneCharger and USB boards installed, as my buddy Matt inspects it, and a shot of me acting like a dumb ape as I install the switches and “seal” them with wood glue.

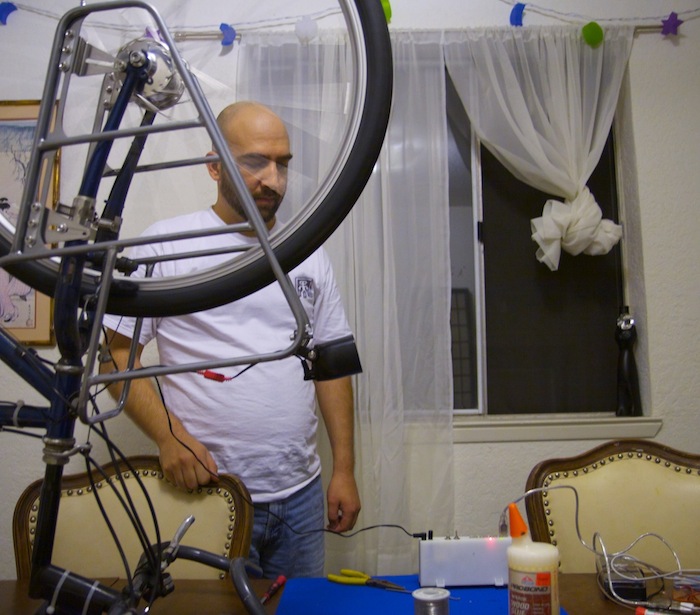
I plugged it in and tested it on the mountain bike, and it worked like a charm. The wheel charged the batteries, and the USB ports charged the phone.
Then, I screwed on a lid that I’d made from a chunk of plastic, and strapped it to the underside of the recumbent, just in time to begin my big bike adventure from Crater Lake, Oregon to Stanley, Idaho!

The device functioned perfectly, and I was very proud of it. My phone never ran out of juice, all day long. Then somewhere in week 2, I made a very long descent into a steep valley, and got up to about 40 miles per hour. I forgot to turn off the “charge” switch on the box. At the end of the day I discovered that the TuneCharger was burned out, and with the charger dead, the batteries failed a few days later.
Well crap, that was a bit of a design flaw! Clearly I needed some better protection circuitry.
To the Conclusion …
