NZ Day 1: Flying In

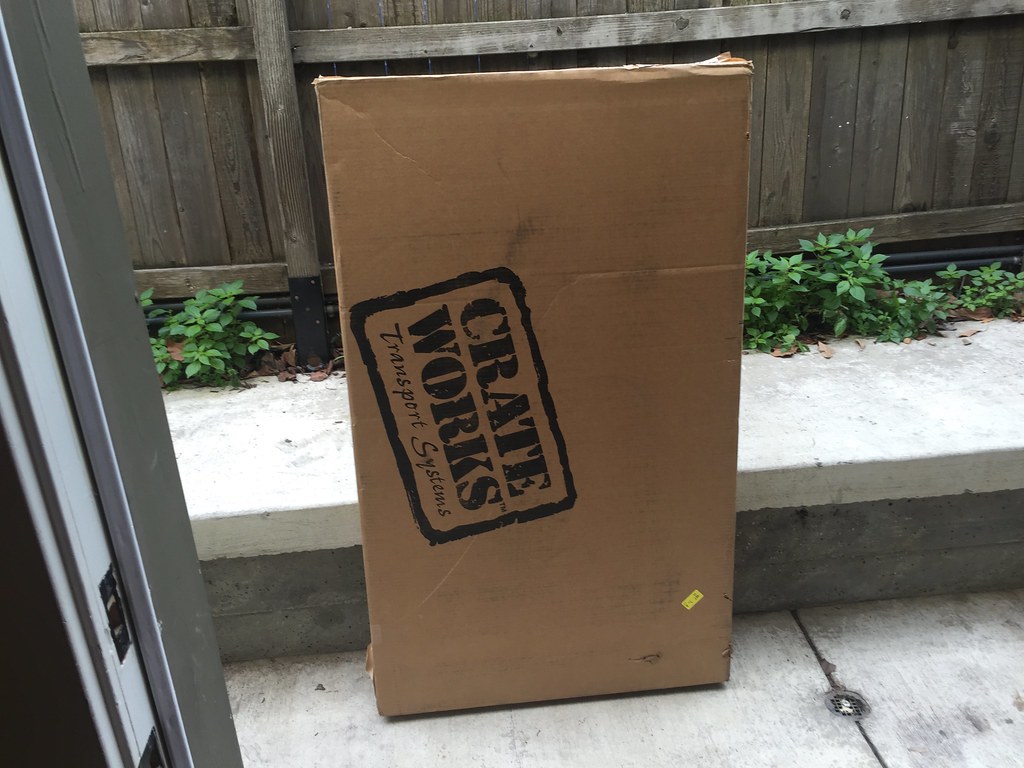
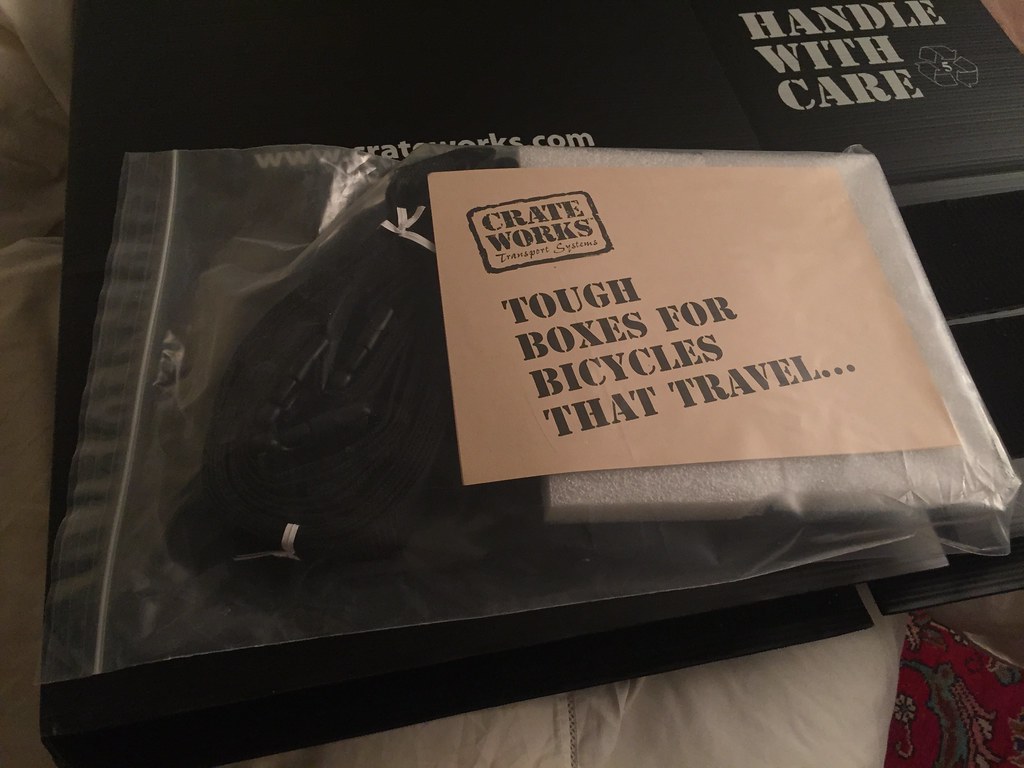
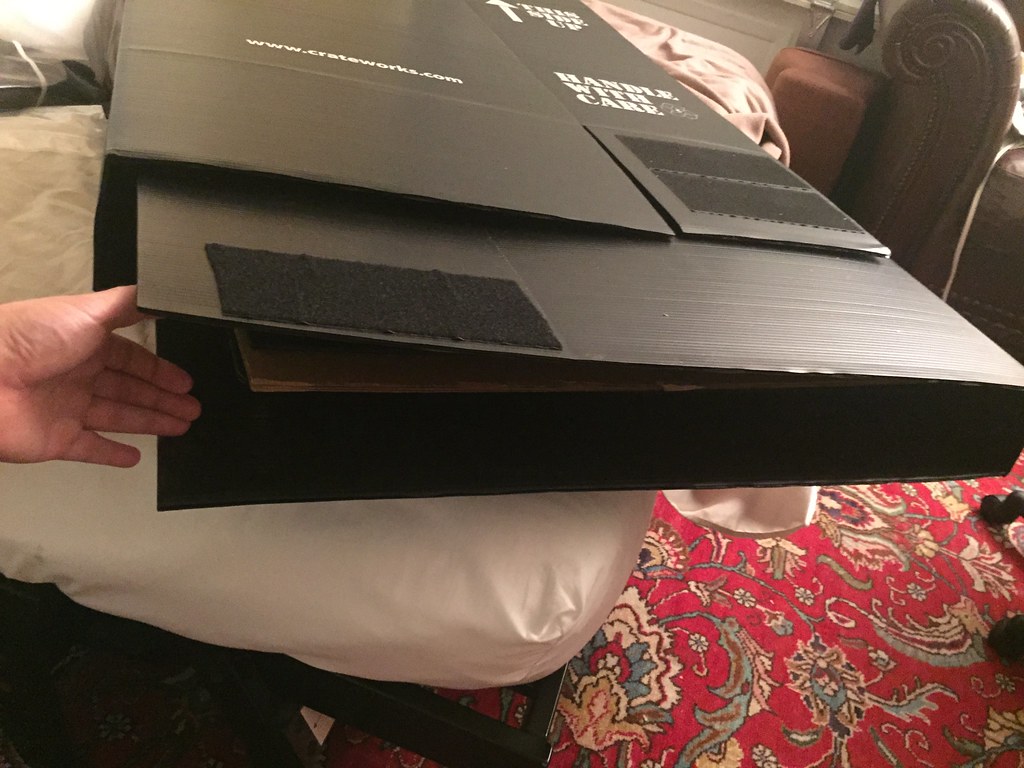
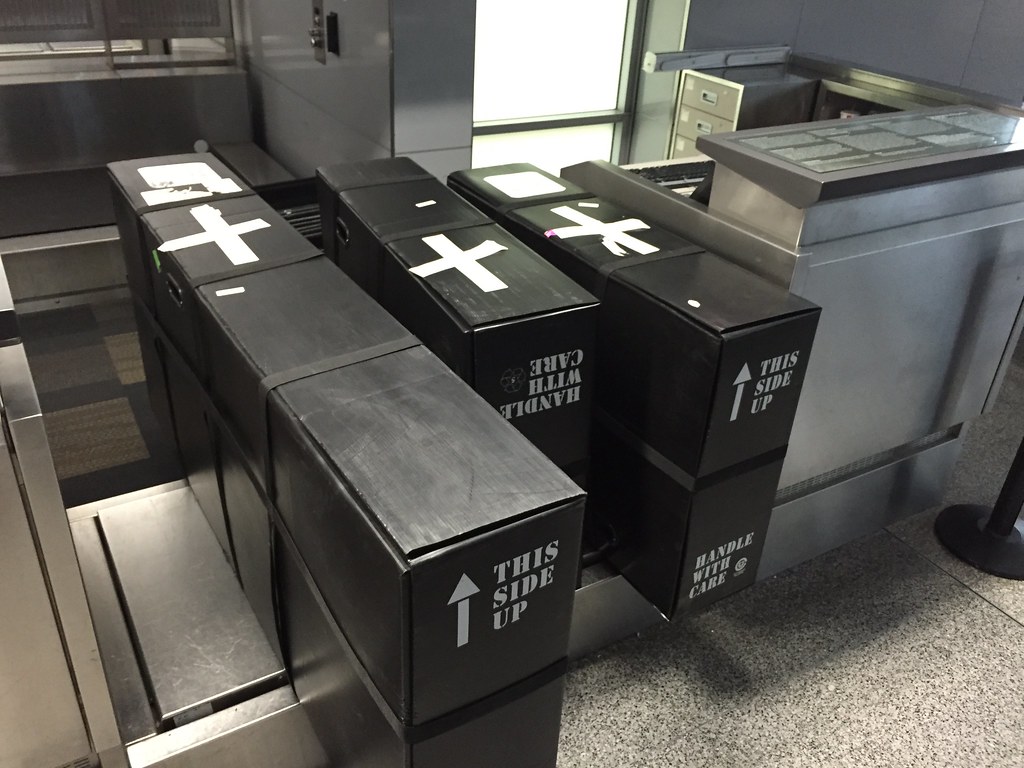
The theme for today was Oversize Baggage!

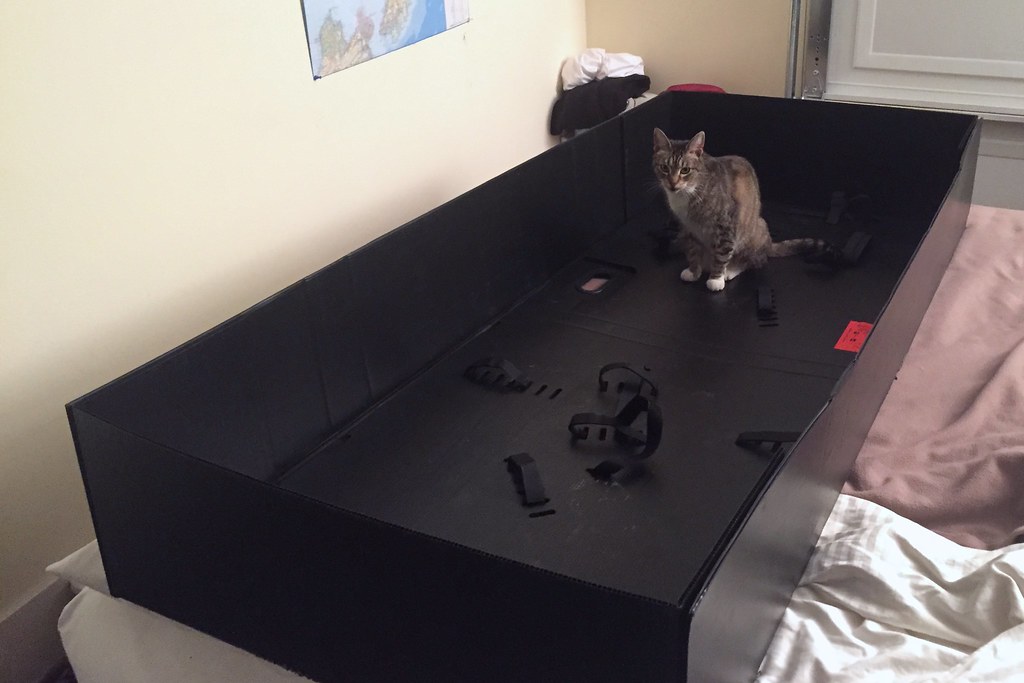
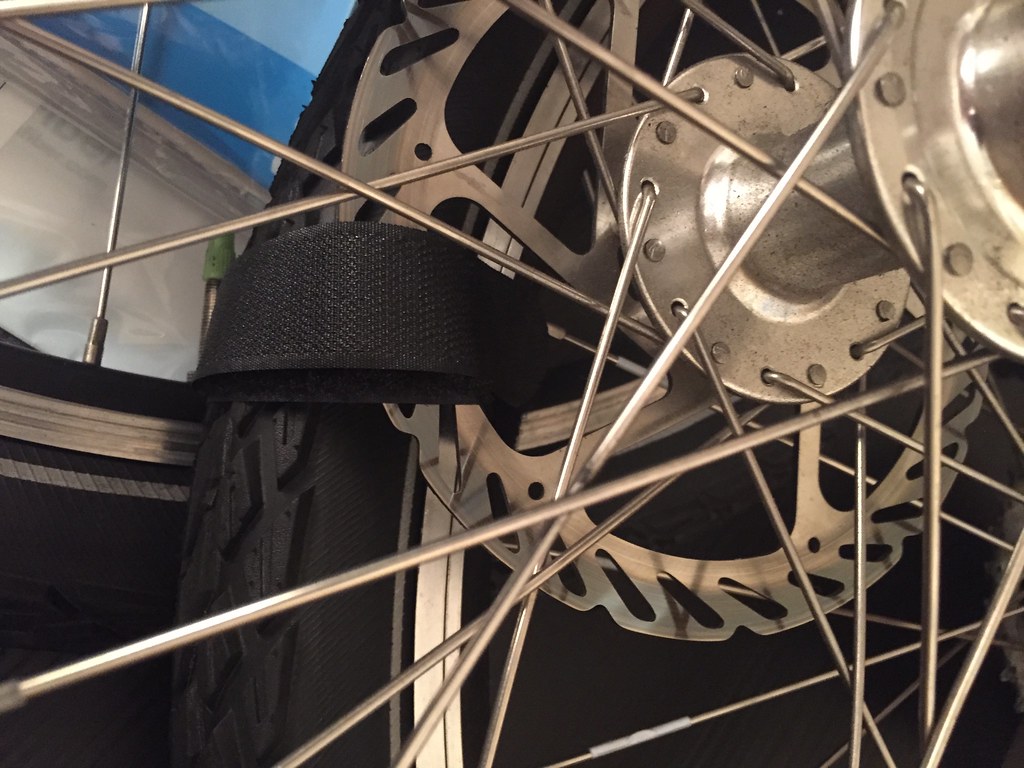
Look at the size of those containers. That’s two recumbent bicycles and all associated gear – a little over 200 pounds total. The airline hauled all that, plus the two of us with our backpacks, over 6500 miles across the Pacific Ocean in less than a day. The modern world is amazing.

Still, there were a few snags. The shuttle that arrived to take us to the airport could not fit the longest box, because a plastic divider was installed in the back, separating the seats from the luggage area. We’d called ahead multiple times and given the dispatcher the exact measurements, but the dispatcher apparently ignored all that and sent the standard van anyway. There wasn’t enough time to call another van, so I ran inside my house and fetched an electric screwdriver, and removed the plastic divider myself, handing the loose parts to the driver as I went. The driver didn’t mind; he was just happy that we had a solution to the problem. Extra points to him! Zero points to the dispatcher. Boo! Hiss!

Once we actually got the boxes to the Air New Zealand check-in counter, the attendants there could not believe we were allowed to bring such huge items as luggage. It wasn’t that they had any specific policy in mind that disallowed it, it’s just that the sight of those boxes made them want to say no. In fact, they assumed it was against the rules, until I called up NZ Air’s own baggage policy website on my phone and showed it to them, and read the relevant parts out loud.

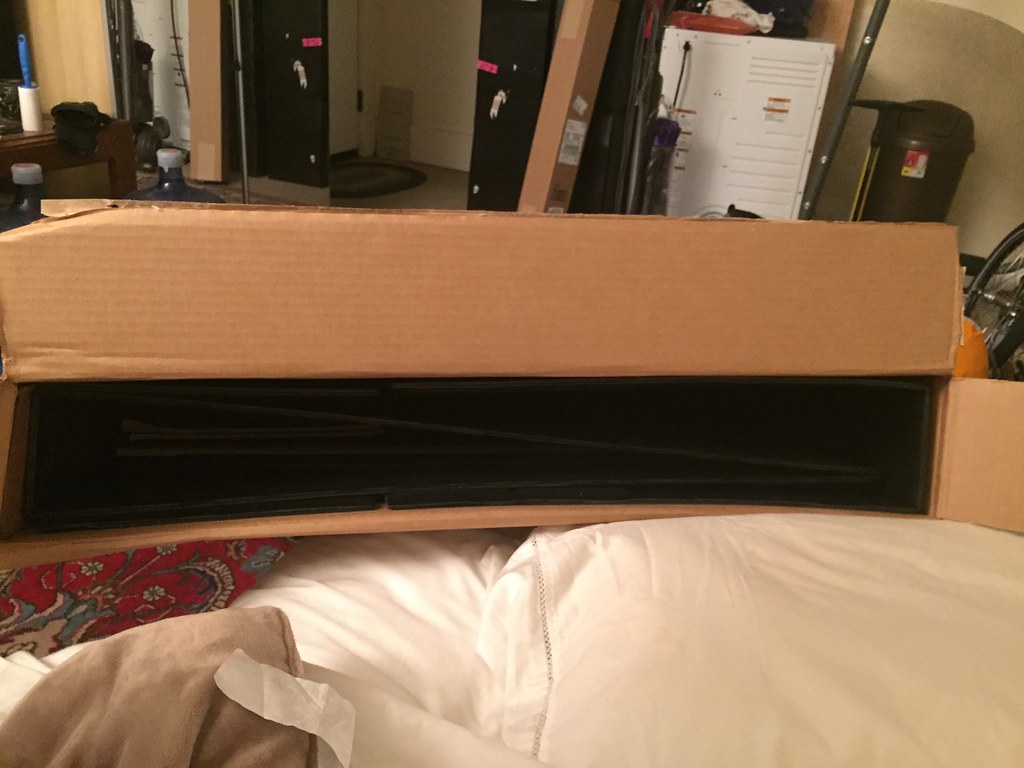
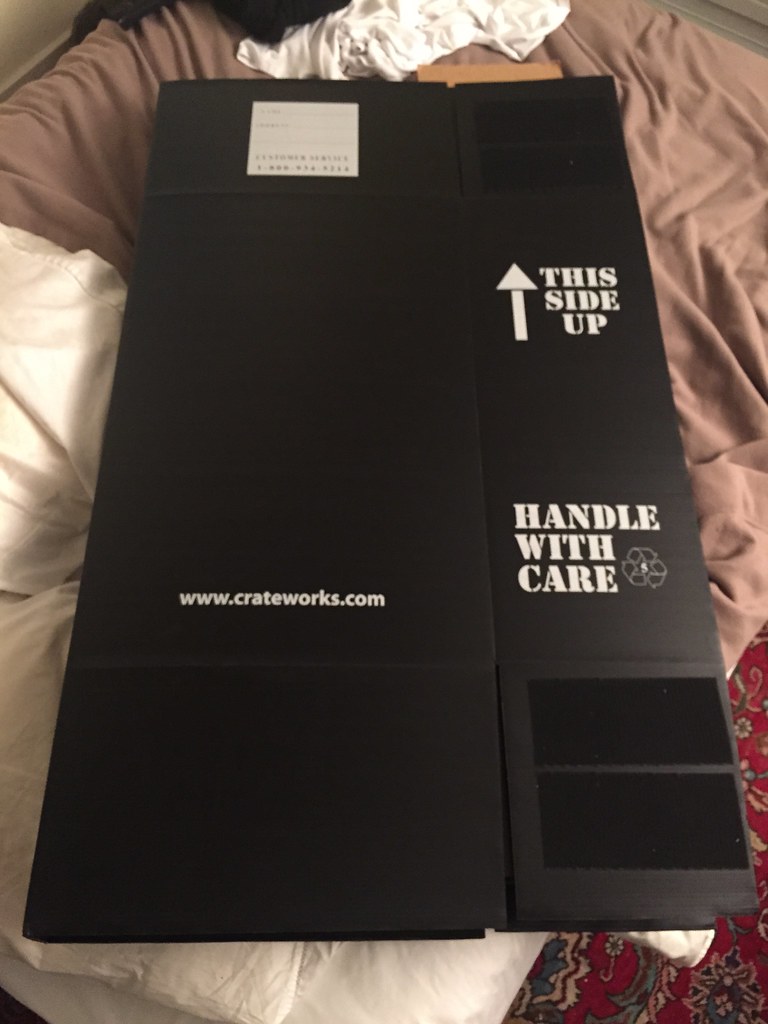
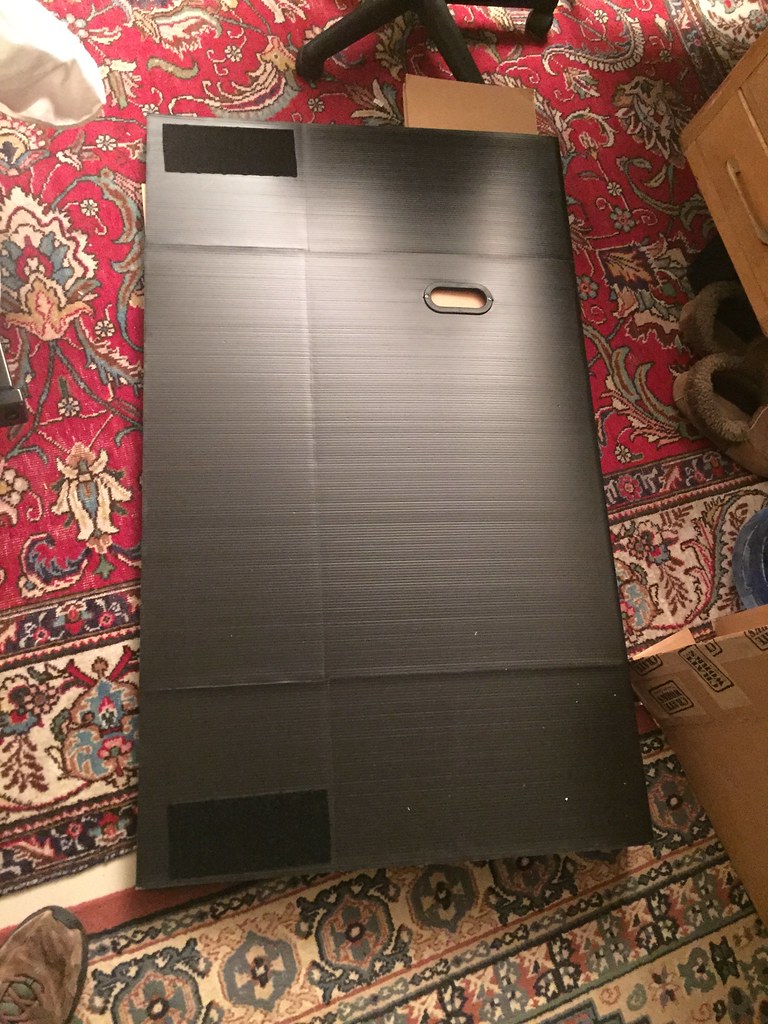
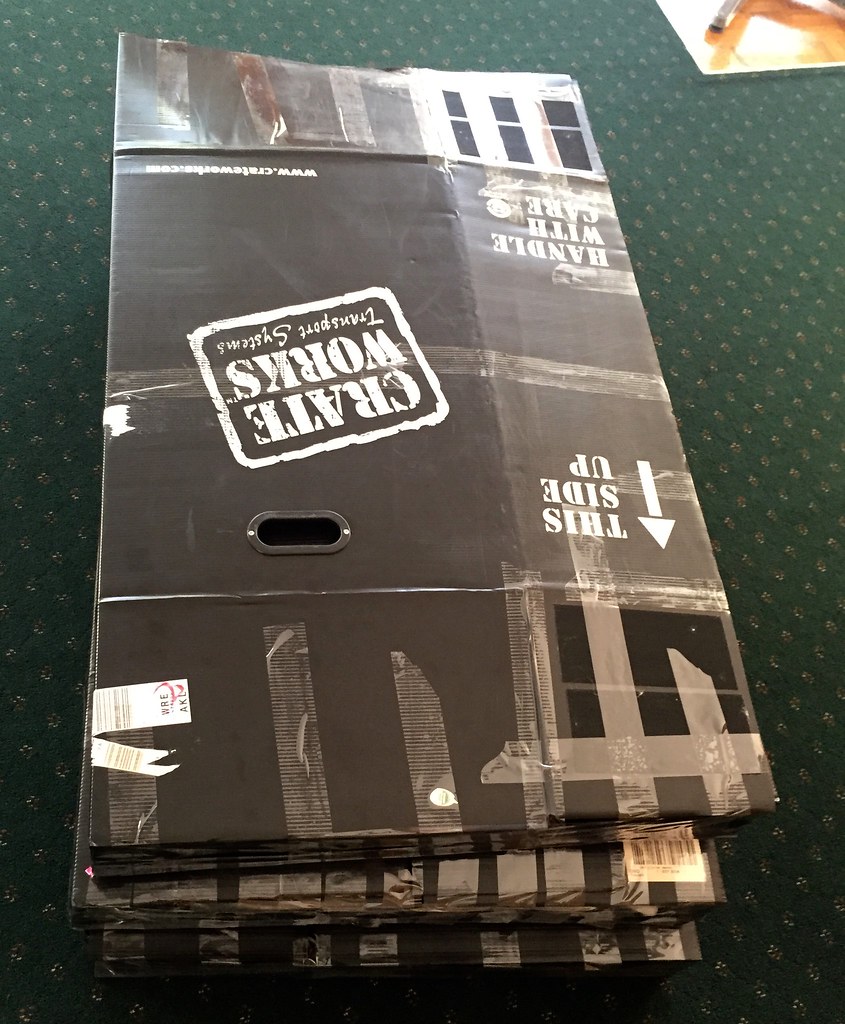
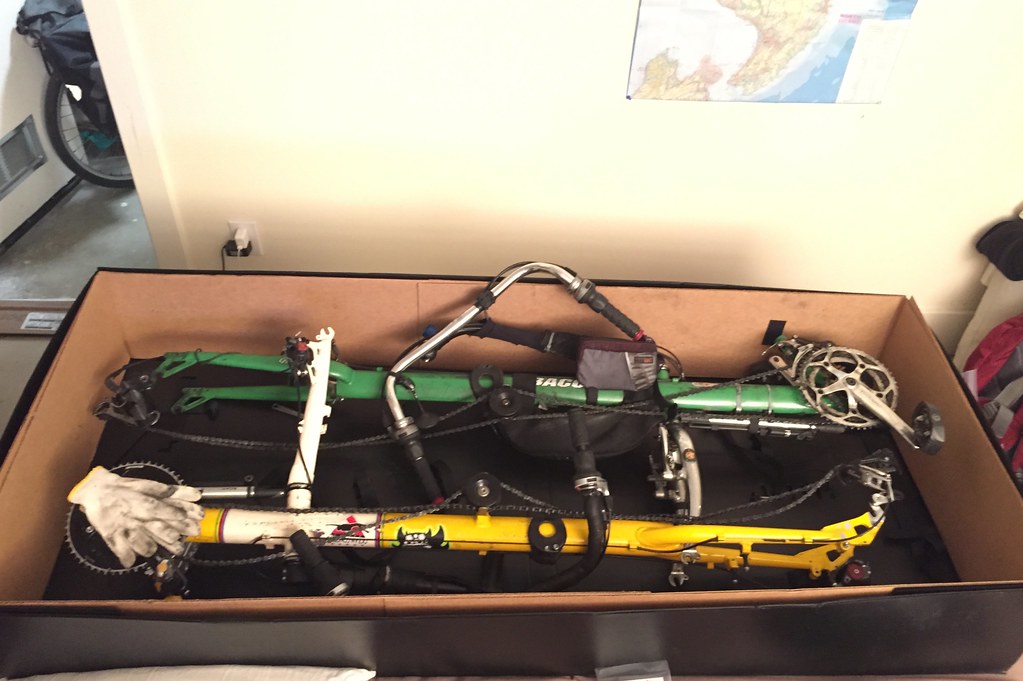
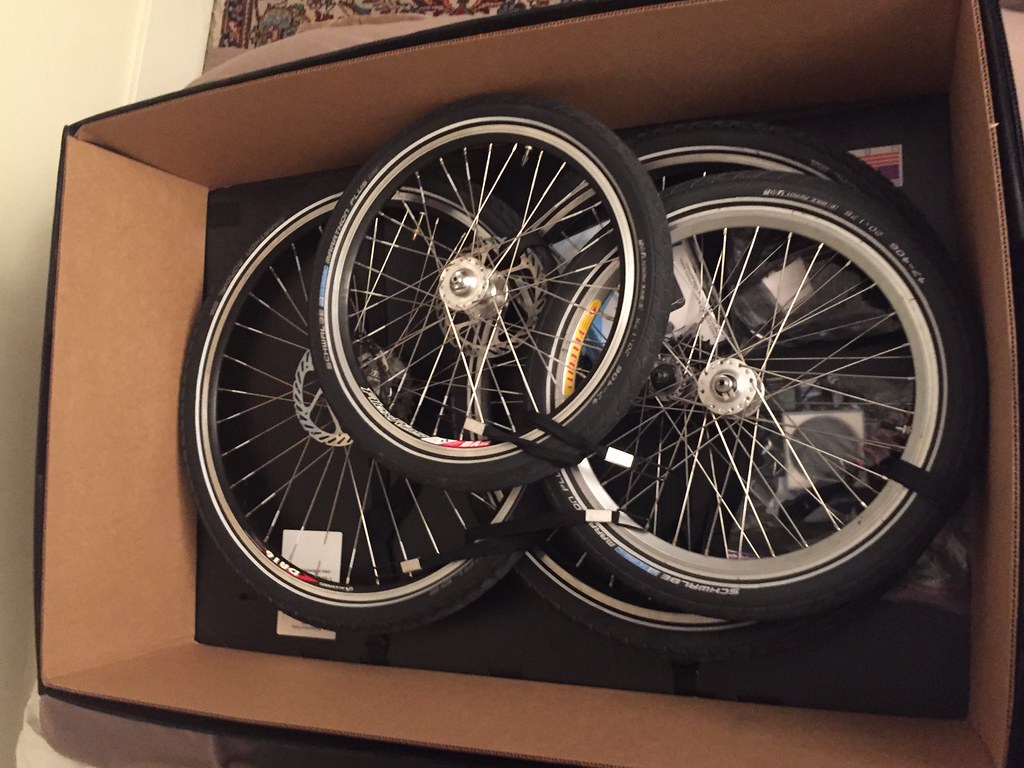
The policy is this: A recumbent bike is an oversize sporting item. If it’s disassembled and packed into a container within 1.8 meters on the longest side and under 70 pounds, it is permissible. A bike divided into multiple boxes to fit within the per-container size and weight restrictions is still counted as a single item of luggage.

So, according to their rules, this is two items of luggage, each one oversize and overweight. We had no other checked items, so all we needed to pay was the oversize and overweight fee for each bicycle.

If you’re patient enough and make your case with confidence, and don’t mind waiting around for the inevitable discussion with the managers, and perhaps the managers’ managers, you’ll make it through at that price. If you’re paranoid, you can do what I did, and overpay the luggage fees in advance, but be warned: Even though the website says the ‘oversize’ and ‘overweight’ fees are interchangeable with the ‘extra bag’ fee, the person at the counter might claim otherwise, and ask you to pay them all over again, minutes before your flight, without letting you apply the extra value of one to the other. Then, your flight will leave too soon for you to get a refund for the ‘extra bag’ units you purchased, screwing you out of many hundreds of dollars.

I say, if it looks like that’s about to happen, pitch a genuine fit. That’s just plain wrong!!

Anyhoo, we got our gear checked, and spent the next 15 hours in a series of highly uncomfortable chairs, barely getting any sleep. You know the drill. Long-haul international flights!

Here’s the view passing over Auckland. Pretend the window glare is a hallucination due to lack of sleep!

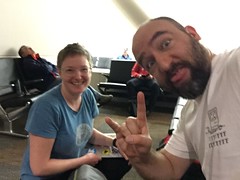
This is us in SFO, then us in Auckland a zillion hours later. As uncouth Americans, we made sure that our first meal in New Zealand was a terrible one. We’re both utter zombies at this point. I’m running on about half an hour of sleep.

To catch our connecting flight we had to walk about half a mile outdoors between terminals. Not a fun thing to do while hugely sleep-deprived. I was muttering the whole time: “Honestly, New Zealand, what brought about this failure of urban planning? Is this some sort of hazing ritual for foreigners? HUrrrr. BRAAAAAAIIIIIINS.”

Anyway, we caught our connection – a charming little prop plane that flew nice and low, giving us an enticing view of the terrain we would soon explore – and then we had one more oversize luggage wrestling match, this time with the shuttle from the airport to our hotel. The only strategy that worked was to commandeer an empty shuttle and stuff the box down the passenger aisle, blocking the whole thing, then shove the smaller boxes into the luggage area, filling it up.

Luckily it was a slow day, and we only had two other people riding the shuttle. They were very gallant about the situation – even hopping out help us unload! We left a nice tip.

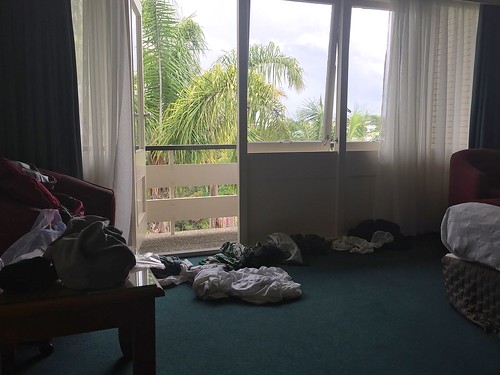
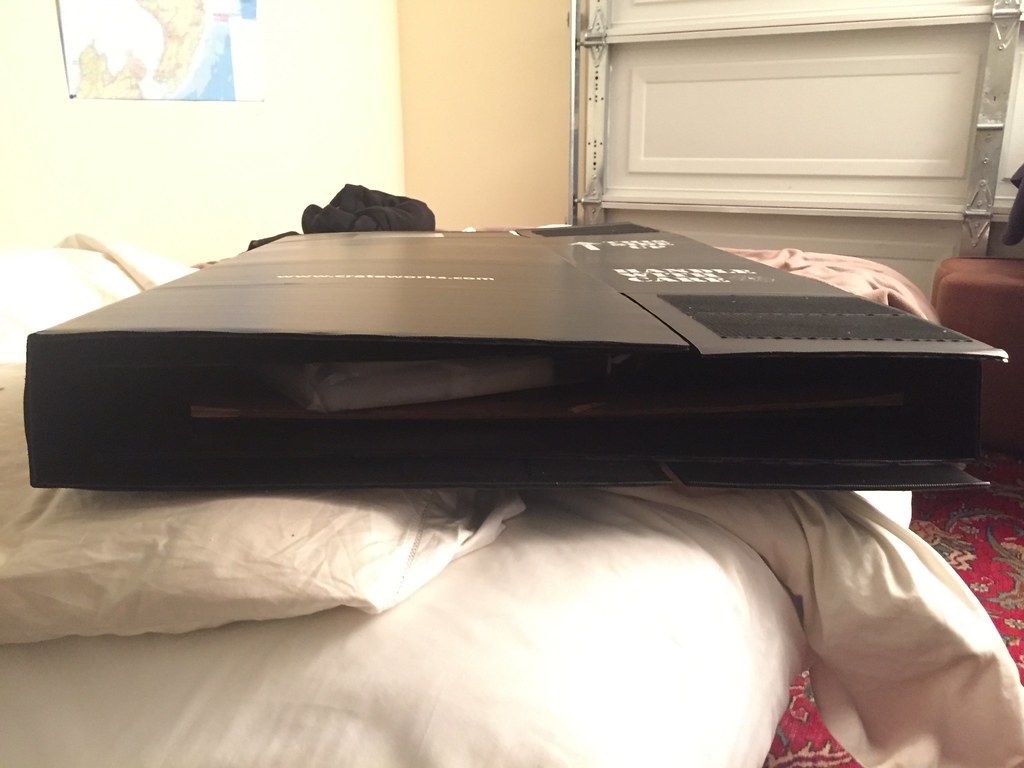
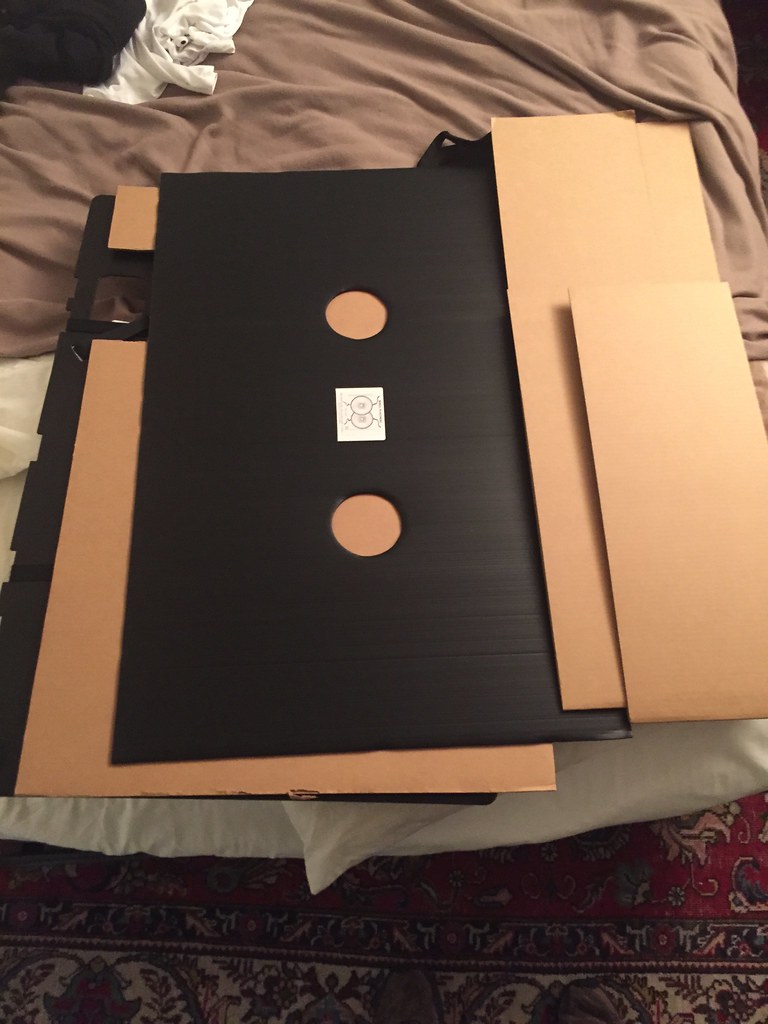
We checked in and I pulled the ripcord on my luggage. KABOOM! The view out the windows was lush and inviting. It rained three separate times while we cleaned up and organized ourselves; a warm tropical rain with sunbeams visible on the bay.

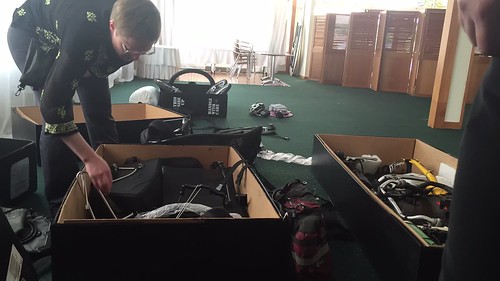
We napped for about half an hour, then spent almost all of the rest of the day doing this, in a sleepy haze. The time-lapse video stops after the first 75 minutes or so because the phone battery died, but we kept going for another five hours.

We made it! ADVENTURE TIME.

Unpacking, or repacking, a Crateworks box

So you’ve arrived somewhere, and you’ve unpacked your bicycle(s) from the Crateworks box(es), and now you want to send the boxes to your destination? Sounds great. But what if you’ve forgotten how they fold up?

It seems straightforward enough. A Crateworks box only has four plastic pieces and three cardboard pieces – the tandem box slightly more – plus some straps and padding. But if you’re paranoid about fitting things together the “intended” way for shipping (as I am), some photo documentation is helpful.

This is what it looks like to unpack a shipped Crateworks box. To re-pack one, just follow the photos in reverse.

It arrives like this, in a cardboard box 54 x 32 x 6 inches. Interestingly, the box for the tandem/recumbent version is exactly the same size as the single version.

And here’s what it looks like to unpack:

And, just to round things out, here’s what a bunch of Crateworks boxes look like on an airport terminal scale:

And here’s what those same three boxes look like, folded up for shipping and taped thoroughly shut:

Bike shipping boxes all wrapped up for sending to New Plymouth. We left them in the hotel lobby and the shipping company picked them up for us the next day. Very handy!

It’s possible to ship the Crateworks boxes without using an enclosing box, if you use enough tape – (we did this very thing in New Zealand) – but the above photos show a serious problem with this. The top and bottom ends of the compressed box are open. Unless you cover them thoroughly, with tape or some other material, all the panels inside will slide easily out.

I really think Crateworks should include an extra rectangle of foldable plastic on the long sides of the bottom piece, so we could fold it to cover the ends of the compressed version, holding all the other parts inside. Then we wouldn’t need to go through an entire roll of packing tape just to seal the ends.

New Zealand North Island Itinerary, Part 3

Day 15 (Mar 9)

Waiotapu Tavern, 2476 State Highway 5, Waiotapu R D 3 3073

to

Waimangu Volcanic Valley, 587 Waimangu Rd, Rotorua 3043

(5 miles)

Some absolutely amazing geothermal formations here.

[ http://www.waimangu.co.nz ]

Waimangu Volcanic Valley, 587 Waimangu Rd, Rotorua 3043

to

Wai-O-Tapu, 201 Waiotapu Loop Rd, Rotorua 3073

(7.3 miles)

One of the larger, busier geothermal parks. The November-March hours are 8:30am-6:00pm, last admission 4:45pm.

[ http://www.waiotapu.co.nz ]

Day 16 (Mar 10)

Waiotapu Tavern, 2476 State Highway 5, Waiotapu R D 3 3073

to

Barcelona Motel, 21 Taniwha St, Taupo 3330

(34 miles)

A relatively flat, straight ride on a relatively calm road, all the way to the Barcelona Motel in Taupo. Watch for the overpass as you approach town – traffic might compel you to route around it.

[ http://www.barcelonamotel.co.nz ]

Day 17 (Mar 11)

Barcelona Motel, 21 Taniwha St, Taupo 3330

to

Canoe & Kayak Taupo, 54 Spa Rd, Taupo 3330

An easy walk to the kayak depot, for a river-run down the Waikato River, followed by a multi-hour kayaking session along the shores of Lake Taupo.

[ http://www.canoeandkayak.co.nz/ … ]

Day 18 (Mar 12)

An unscheduled day! Holy crap, dude! I’m sure we’ll figure something out.

Day 19 (Mar 13)

Barcelona Motel, 21 Taniwha St, Taupo 3330

to

Oasis Motel Tokaanu, 426 Sh 41, Tokaanu 3381

(36.2 miles)

A fairly easy clockwise ride around the lake, except for one steep hill section near the beginning. Might want to bypass the highway there via Rotongaio Road. The shoulder is narrow in a couple sections, then widens out.

[ http://oasismotel.co.nz ]

Day 20 (Mar 14)

Oasis Motel Tokaanu, 426 Sh 41, Tokaanu 3381

to

Mangatepopo Rd trailhead

Shuttle service from Tokaanu/Turangi provided by Turangi Alpine Crossing. Departure times are 6:00am and 7:30am. Cost: $30 one way per person.

[ http://turangirentals.co.nz/ … ]

Mangatepopo Rd trailhead

to

Ketetahi Rd trailhead

(12 miles)

The famous Tongariro Alpine Crossing. 12 miles, with a gentle downhill slope for a good portion of it.

[ http://www.tongarirocrossing.org.nz/ … ]

If we’re feeling particularly ambitious, we can ascend the optional trail up Mt Ngauruhoe. It’s an additional 2000 feet – almost doubling the ascent of the hike. No easy task.

[ http://en.wikipedia.org/wiki/Mount_Ngauruhoe ]

Ketetahi Rd trailhead

to

Oasis Motel Tokaanu, 426 Sh 41, Tokaanu 3381

The latest return shuttle departs at 5:00pm. Cost: $30 per person one way. An additional $50 charge will apply for a later pickup.

Day 21 (Mar 15)

Oasis Motel Tokaanu, 426 Sh 41, Tokaanu 3381

to

The Park Hotel Ruapehu, 2/6 Millar Street, National Park 3989

(38 miles)

This will be a rough riding day, primarily because of the steady ascent. We’ll be going up 2500 feet.

[ http://www.the-park.co.nz ]

Packing two recumbents into one long box

The main boom of a recumbent is the longest component. To transport it internationally you’ll need a long box. What if you’re shipping two recumbents? Will you need two long boxes? Not necessarily. You might be able to get both booms into one box, and put the rest of the components in one or more smaller boxes. The airline will appreciate your efforts.

However, two recumbent booms will get you right up against the oversize weight limit for one container, if not beyond it. Better check with your airline. (Air New Zealand’s limit is 70 pounds for example. Two recumbent booms at 25 pounds each, plus a 19 pound box, will just barely make it.)

Step one: Make sure there isn’t anything else in the box before you start!

Mira wants to help load up the bicycles!

Mira would love to visit New Zealand and kill a thousand birds, I’m sure. Nice try, little cat!

Step two: Strip everything you can from the bicycles. Tires, racks, fenders, pedals, seats, reflectors, lights, bags, kickstands, etc. Take photos as you go, so you have a handy reference when you reassemble the bikes. (Gone are the days of drawing diagrams on paper. Can’t say I miss those days…)

Step three: Arrange the booms side-by-side in opposite directions, with the forks facing inward. If any of the straps inside the box line up, use them to strap the booms in place. Use zipties, threaded through the dropouts in the forks, to anchor each fork to the boom of its neighbor. This will keep the booms from colliding during transit.

Ziptie the handlebars in place as well, and unscrew the rear shifting mechanisms, leaving them hanging freely from their cables. This way they won’t get mangled if the booms detach from their straps and hit a corner.

Since you’re so close to the weight limit, you’ll probably need to fill out the rest of the box with extremely light packing material, rather than additional luggage. The recycled plastic airbags that Amazon and other companies use for shipping will do quite well. Then, you’ll need an additional box to carry all the parts you removed earlier. The wheels will be the bulkiest and most sensitive items, so pack those first.

When you pack up the rest of the pieces, make sure to include a handful of additional zipties. When you’re on the return trip you’ll need them to redo your work.

Looking for a double-pannier rain cover?

For some reason, it’s nearly impossible to find one that’s sold in the United States, let alone manufactured here. But Bear Paw Wilderness Designs has stepped in to fill the gap. I had such a hard time finding these that it’s worth posting about!